Grilled Pork Chops with Garlic Citrus Vinaigrette

SONY DSC

So I sit here at my keyboard wondering how I can explain to you in words what the 4 o’clock hour is like in our house.  How can I put it eloquently?  What sort of words can I use to give you a visual in your head?  But I’m blank.  You want to know the only thing that comes to my mind?  That old game show, Supermarket Sweep.  No, I have not been using illegal drugs.   Seriously, do you remember that show?  The one where the people go absolutely insane running through the grocery store filling their carts with nonsense because they are running out of time.  They look ridiculous…panicked and yelling running down the aisles grabbing food off the shelves.  That’s EXACTLY how I feel inside during the 4 o’clock hour.  Minus the chance to win $5000.  Huge bummer.

The kids are awake from naps…and getting hungry.  Nick is close to heading home.  I’m getting snacks, cleaning up drool, folding laundry, changing diapers, making dinner, taking photos and writing recipes as I go all while hearing “Mommy, watch this” over.  And over.  And over.  Love it, but I gotta tell you…sometimes I need a break from our typical 4 o clock hour.  Which is when I go right to this recipe.  Easy peasy.  I make the vinaigrette while the kids are napping-which takes approximately 34 seconds-so all there is to do is grill the pork for a whopping ten minutes when Nick gets home.  It’s super fresh tasting and the vinaigrette tastes wonderful on any grilled meat, fish or veggies…or tossed with mixed greens.  But these grilled pork chops are our favorite way to enjoy it.  So give this one a shot on your next hectic afternoon…it beats playing make-believe ’90’s game shows any day.

SONY DSC SONY DSC

Grilled Pork Chops with Garlic Citrus Vinaigrette

adapted from Gourmet, July 2007

Ingredients

4 Boneless Pork Chops, about 1 inch thick

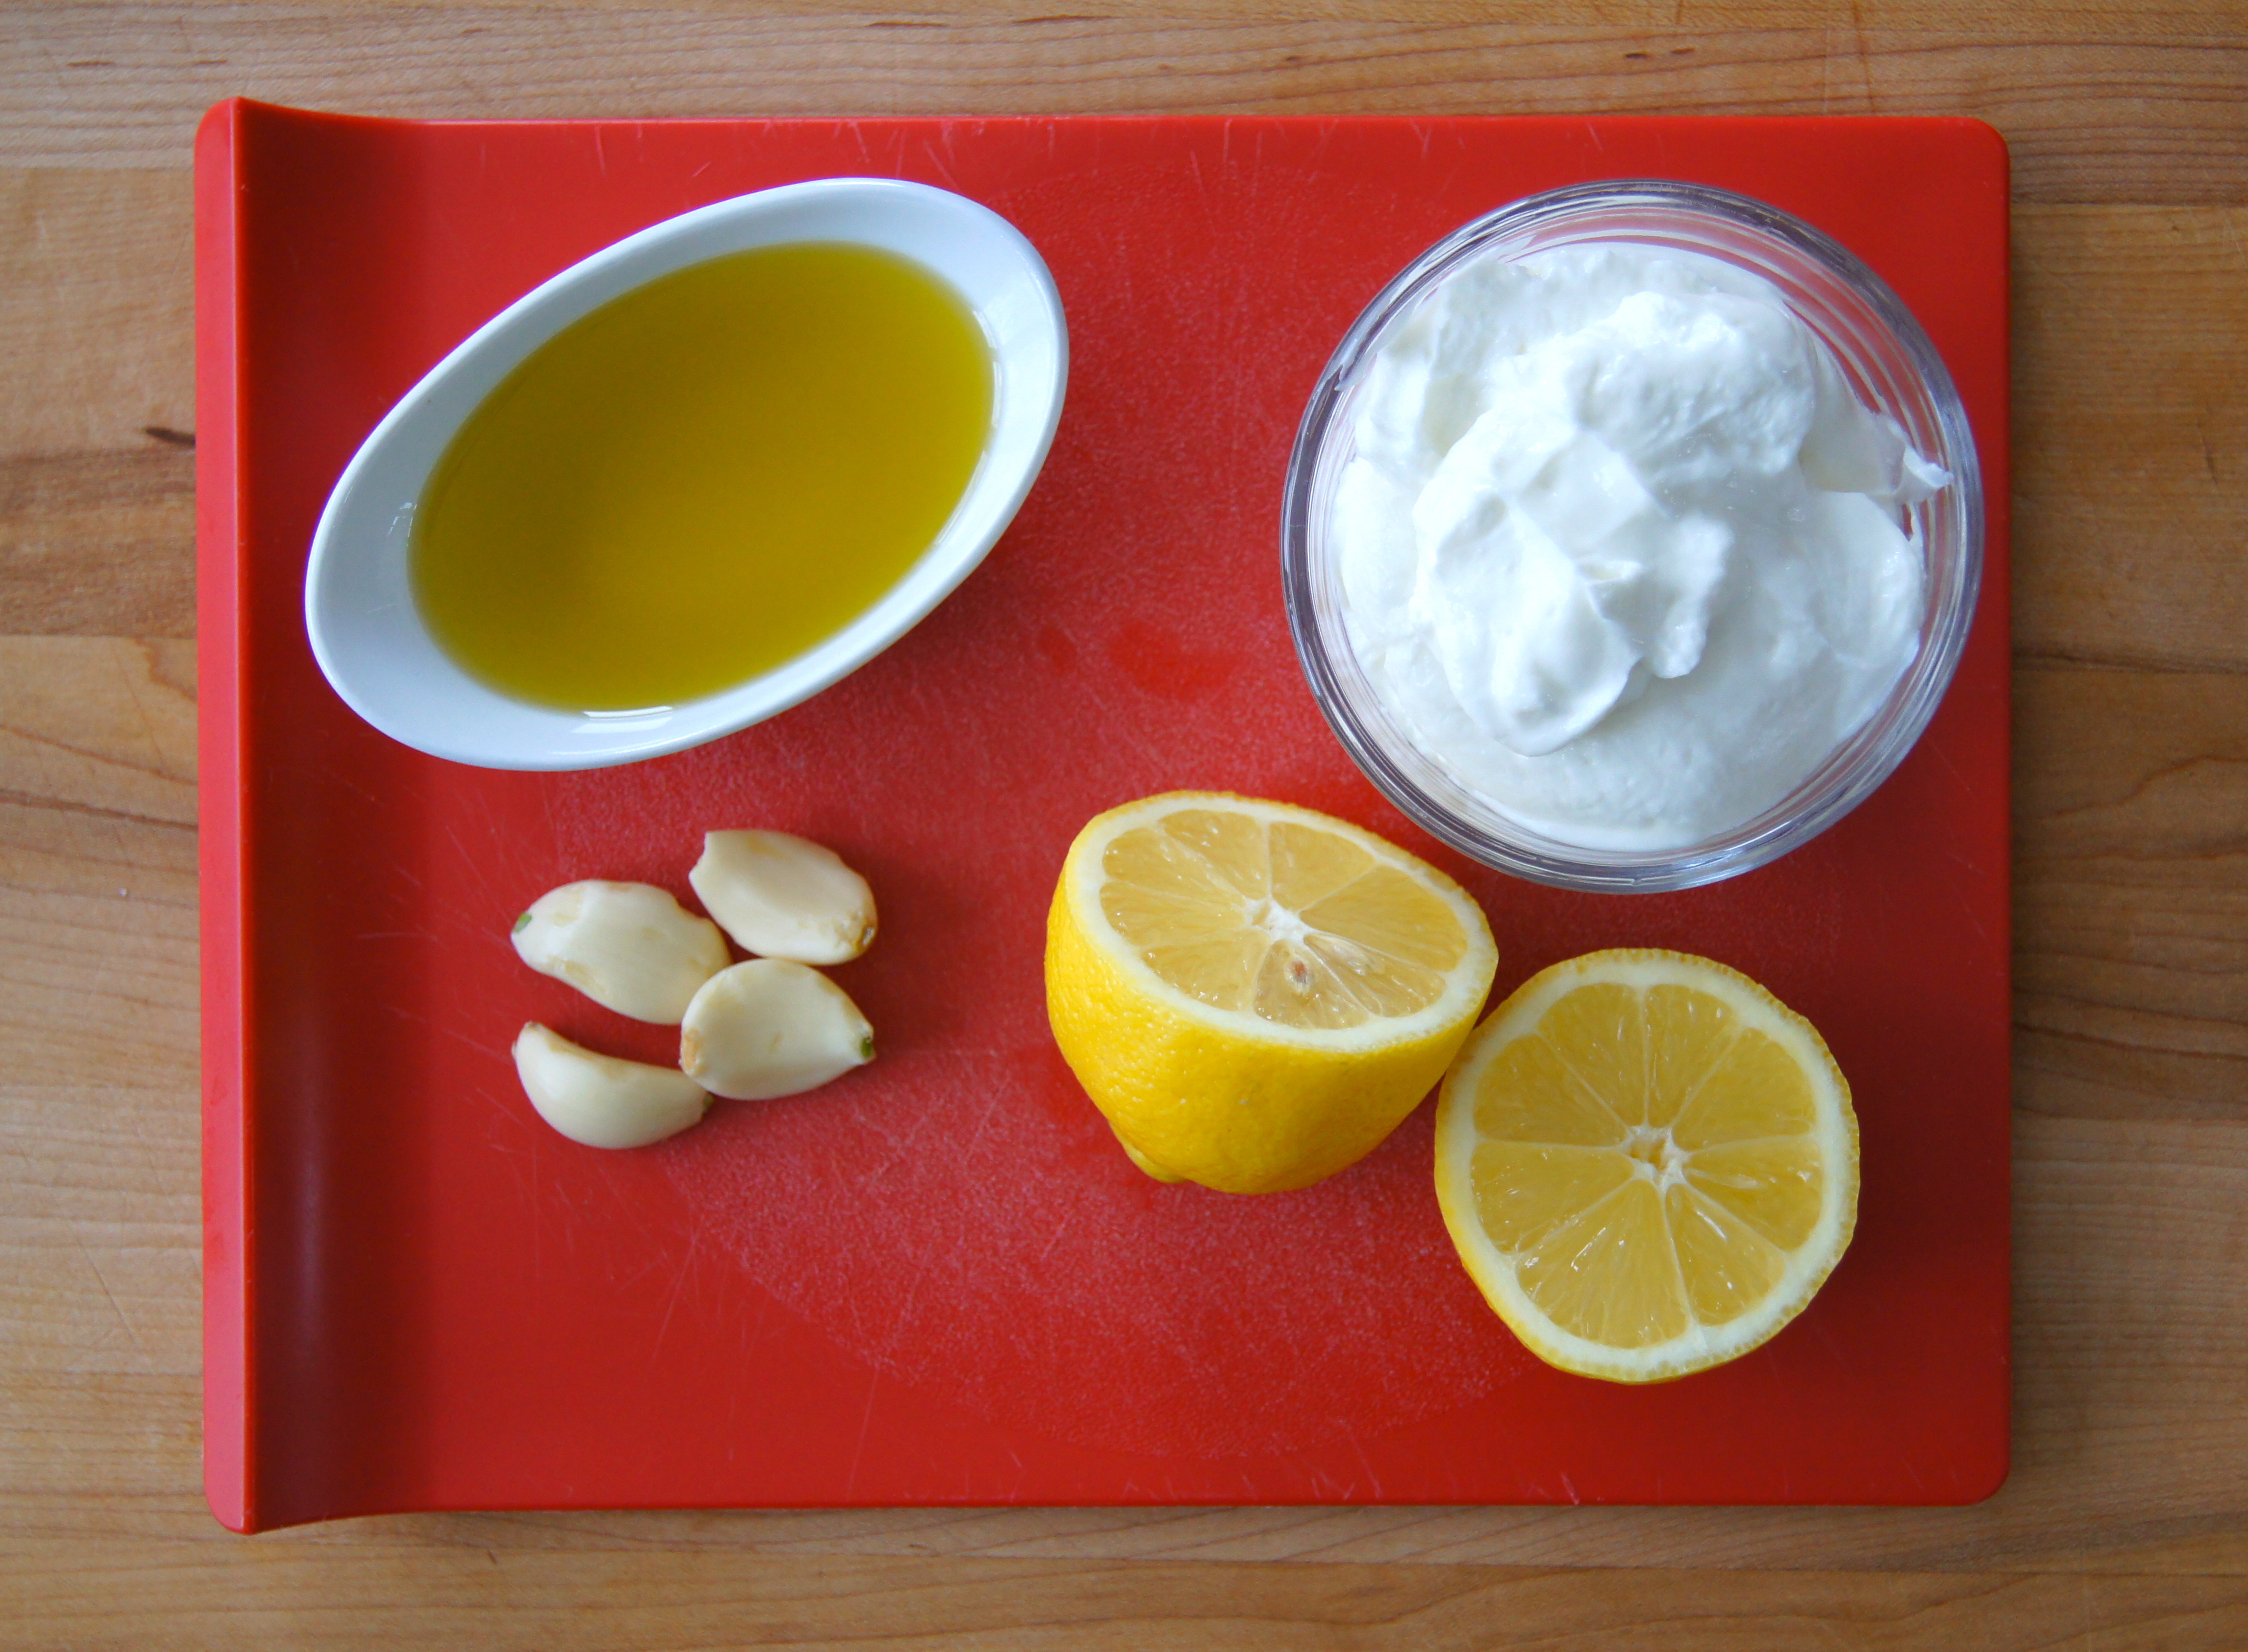
1/3 Cup + 2 Tablespoons Olive Oil

1 Tablespoon Course Black Pepper

1/2 Tablespoon Salt

1/4 Cup Fresh Lime Juice

1/4 Cup Fresh Orange Juice

3 Garlic Cloves

3 Tablespoons Cilantro Leaves

2 Teaspoons Dijon Mustard

1/4 Teaspoon Crushed Red Pepper Flakes

Directions

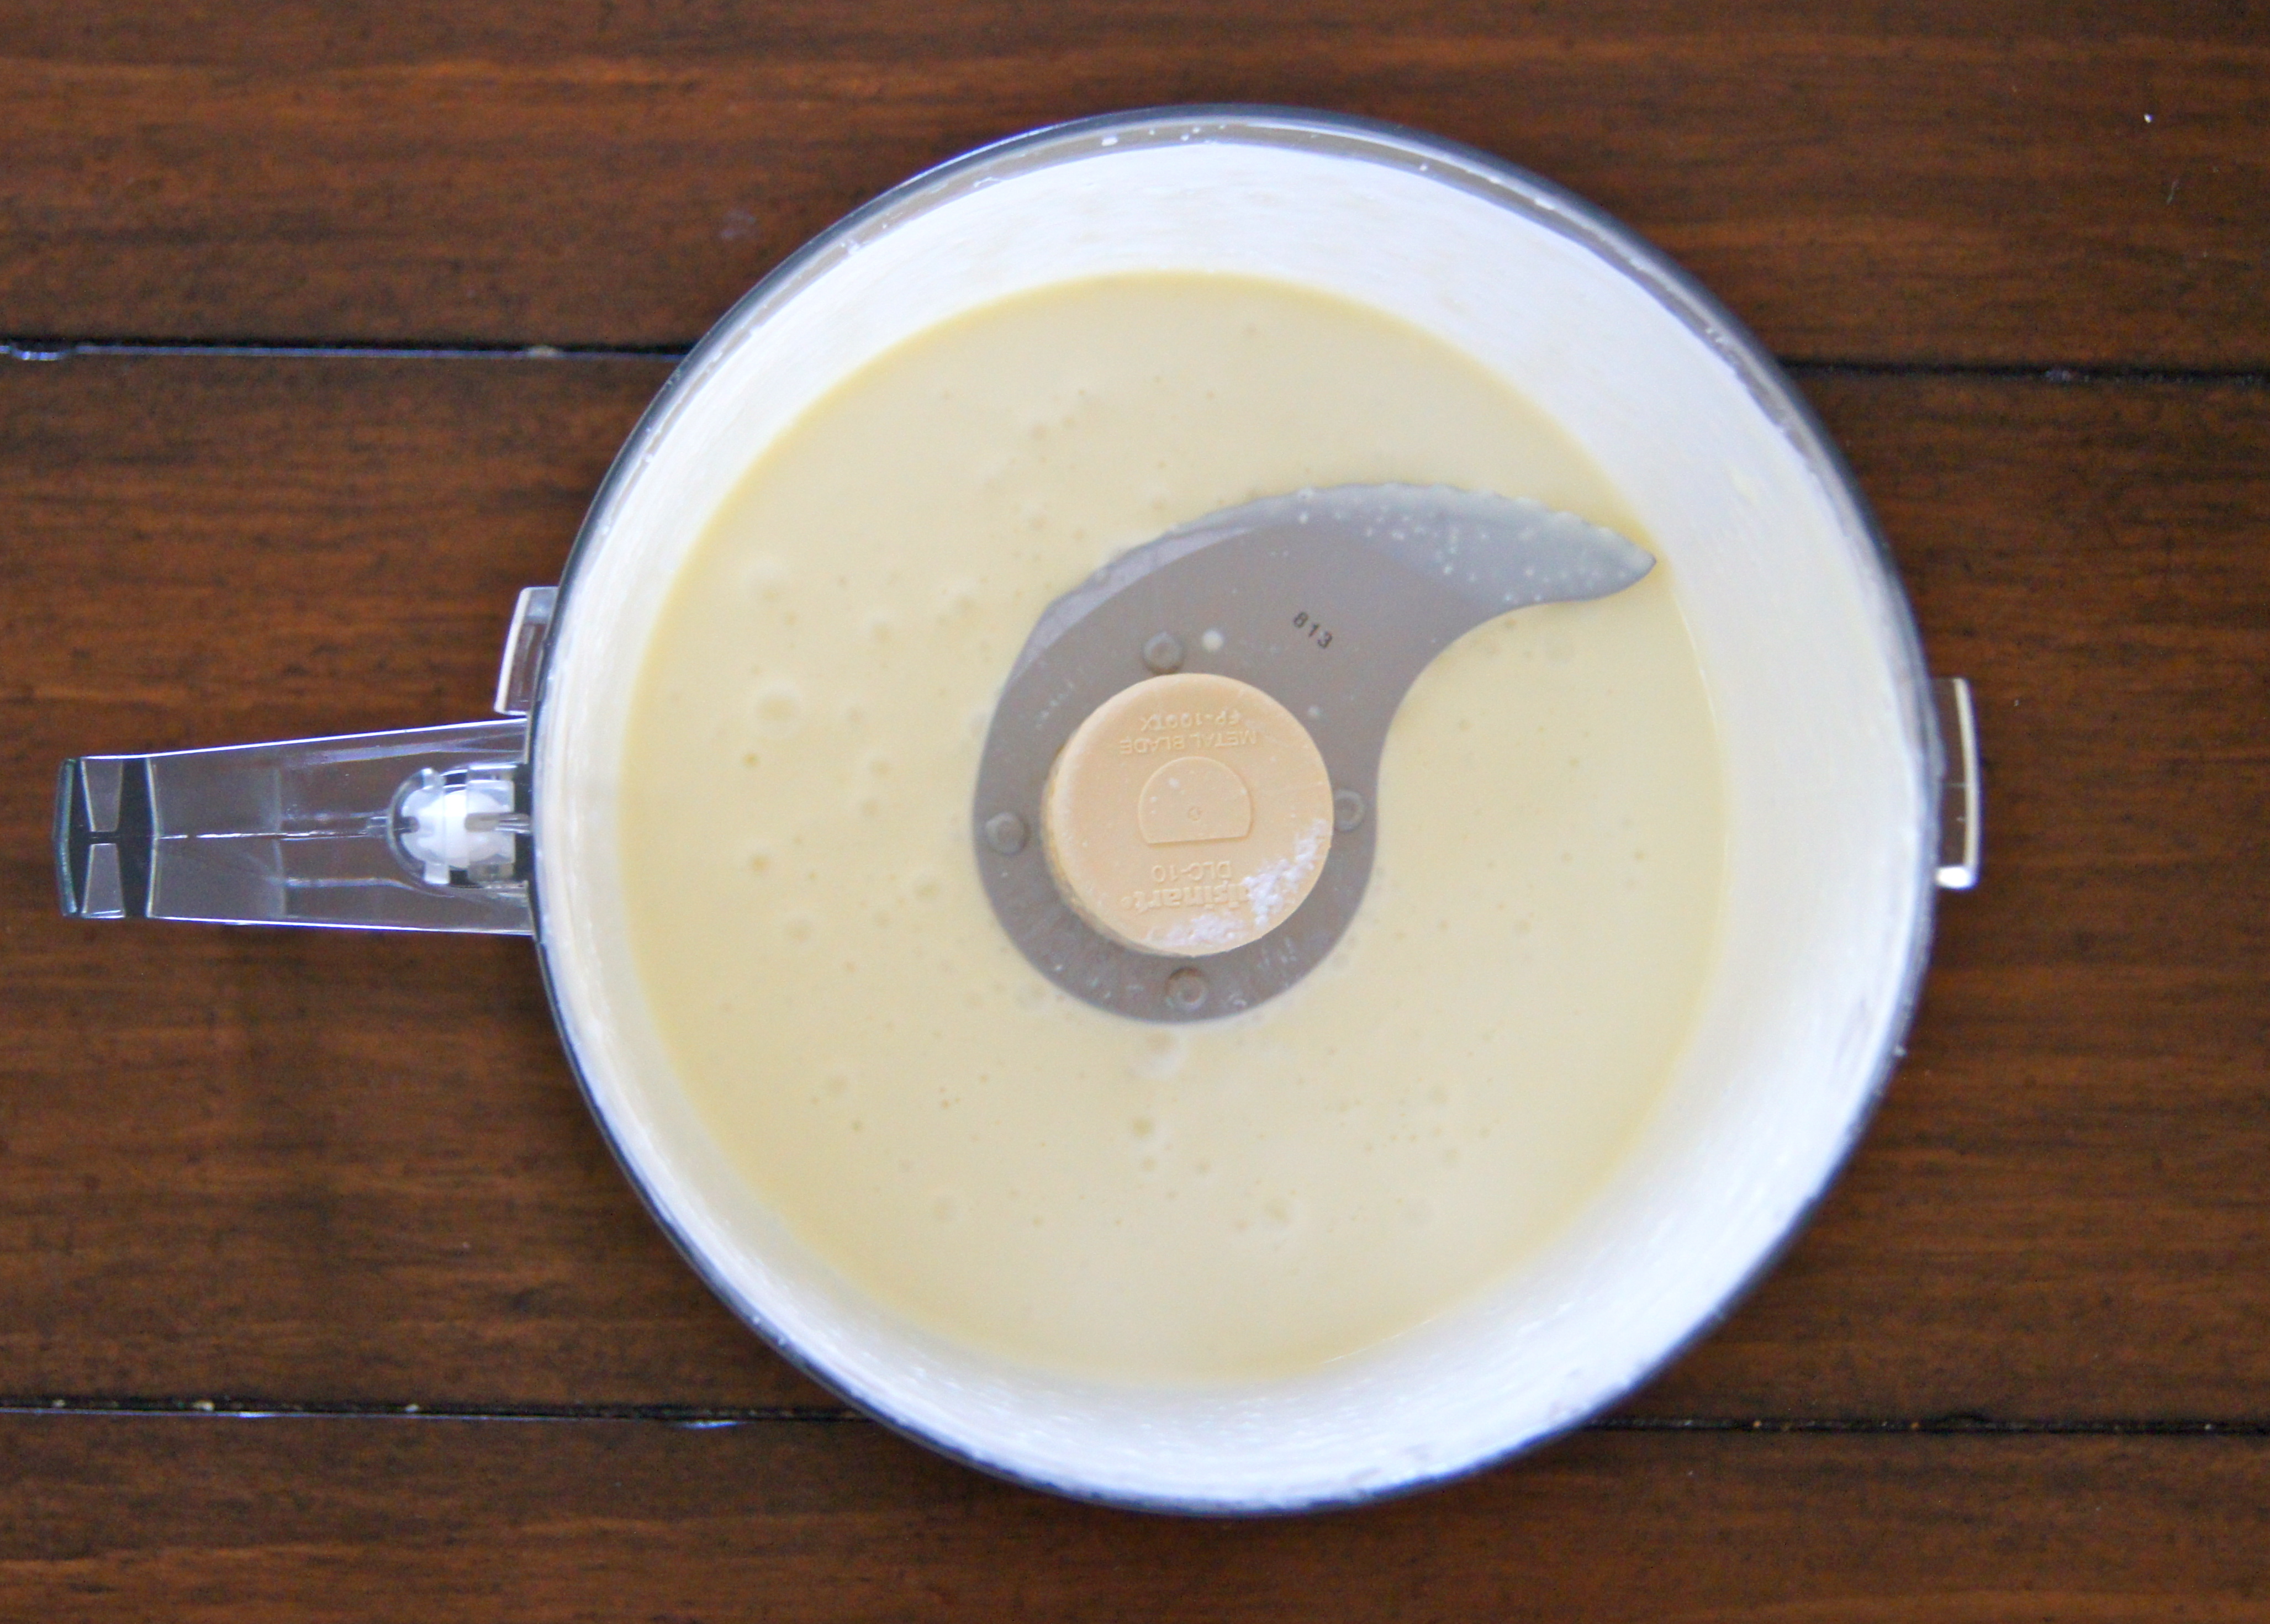
Place 1/3 cup olive oil, lime juice, orange juice, garlic, cilantro, dijon and crushed red pepper flakes in a small blender.  Process until combined and garlic is completely blended.  Set aside.

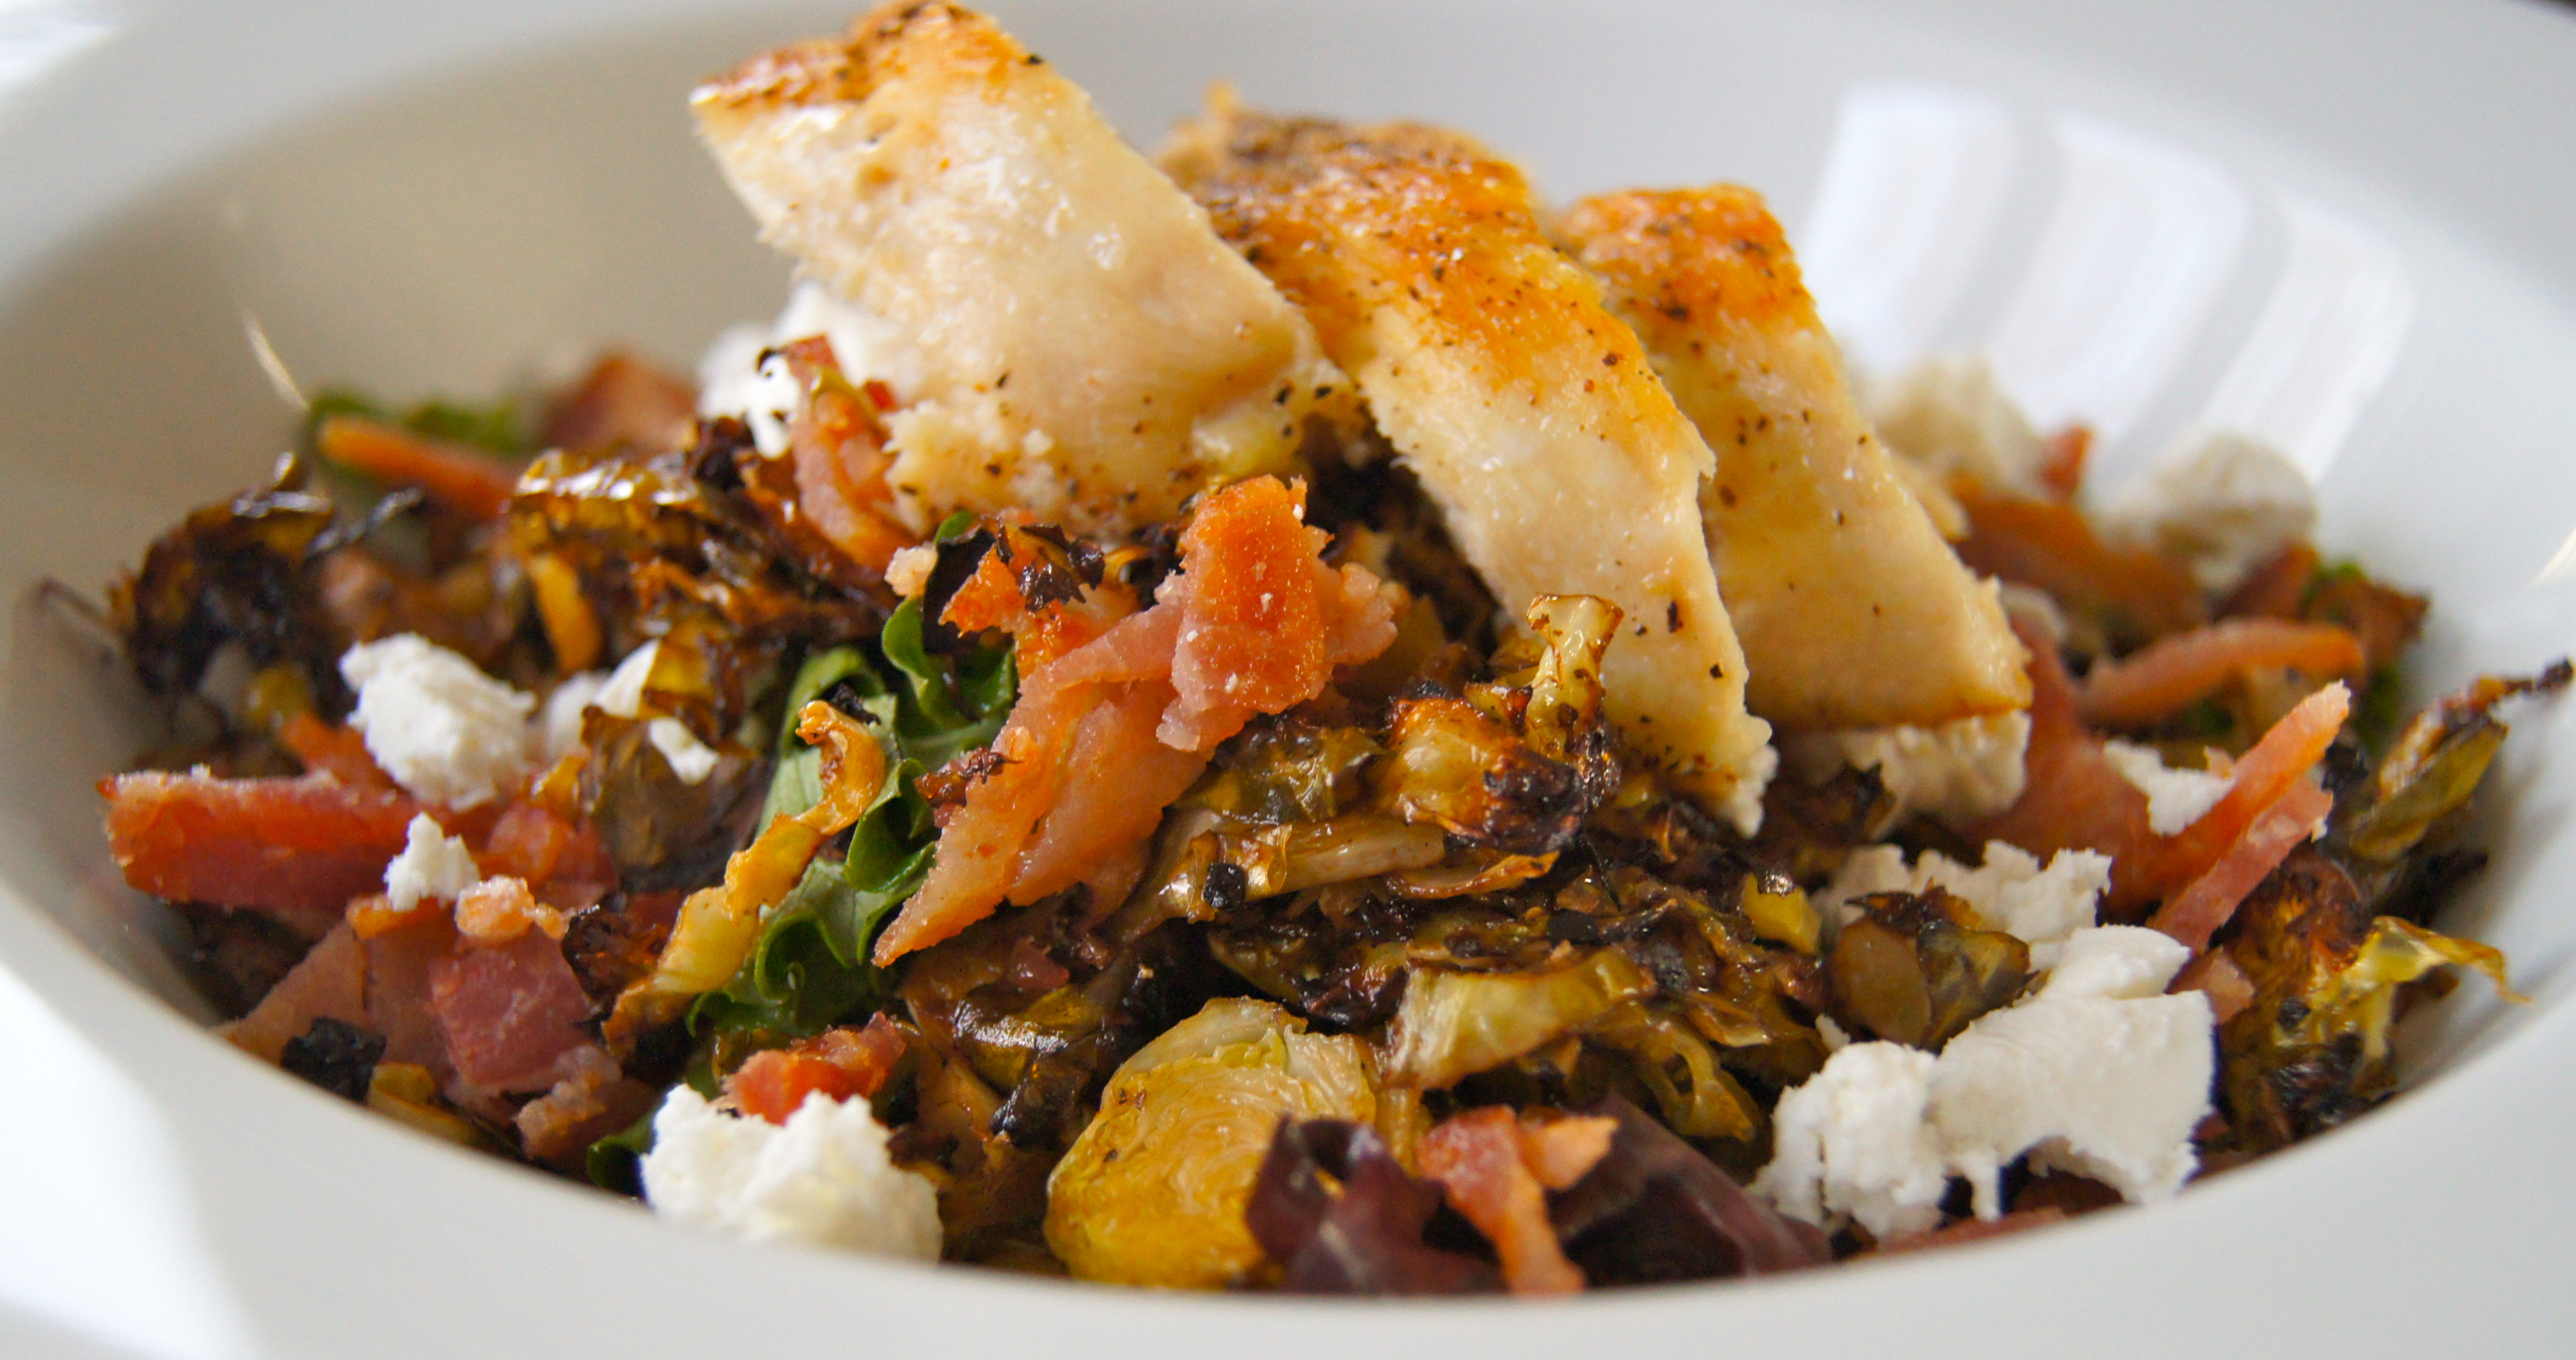
Preheat the grill to medium high heat.  Rub 2 tablespoons olive oil over the pork chops and sprinkle both sides with salt and pepper.  Grill the chops for ten minutes, or until cooked through, flipping once in the middle of cooking.  Serve pork chops with vinaigrette drizzled over the top.  Serves 4


Mexican Stuffed Peppers

SONY DSCI have been playing around with stuffed peppers forever.  Quite honestly, I don’t love them.  I’m not sure what exactly it is about them but the flavor has just never knocked my socks off; and the rice has always thrown me off a bit. Which is why I took them on a little trip down Mexico road 😉  And now?  A taco in a pepper bowl…with all the goods piled right on top.  I’m sold.

I’ve tested them all sorts of ways: precooking the meat before stuffing them, with rice, without, tomato sauce, or not, different cheeses and spices…but this is my favorite version. Easy peasy and delicious!SONY DSC

Mexican Stuffed Peppers

Ingredients

3 Bell Peppers, seeded, cored and halved

1 Pound Lean Ground Beef

1 Cup Pinto or Black Beans

1 (15 Ounce) Can Tomato Sauce

1 Cup Shredded Monterey Jack Cheese

3/4 Cup Frozen Corn

3 Tablespoons Taco Seasoning

1 Avocado, diced

1/4 Cup Greek Yogurt

1/4 Cup Sour Cream

1/3 Cup Salsa

Directions

Preheat oven 350.  In a large bowl mix together beef, beans, tomato sauce, 3/4 cup cheese, corn and taco seasoning.  Stuff the mixture into the pepper halves and place on a baking sheet.  Bake for 30 minutes or until filling is cooked through and peppers are beginning to soften.

While peppers are cooking, whisk together the greek yogurt, sour cream and salsa.  Top cooked peppers with diced avocado and yogurt sauce.  Serves 4-6.

Sweet and Smokey Roasted Potatoes

SONY DSCPraise the Lord, it’s grilling season!  Many nights, as our protein is cooking away outside, these potatoes are in the oven smelling our house up just wonderfully.  They’ve got a crispy texture on the outside with a soft, warm center and the sweet and smokey combination is such a winner.  Sometimes the most simple dishes yield the most sophisticated flavor…and this is one of those.  What’s your favorite go-to grilling side?  Share the wealth, my friends!SONY DSC

Sweet and Smokey Roasted Potatoes

Ingredients

1 Pound Sweet Potatoes, peeled and cut into 1-2 inch pieces

1 Pound Baby Red Potatoes, cut into 1-2 inch pieces

3 Tablespoons Olive Oil

1 Teaspoon Salt

1 Tablespoon Chili Powder

Directions

Preheat oven to 425.  Place the potatoes on a large baking sheet, drizzle with olive oil, sprinkle with salt and chili powder and toss well to coat.  Spread them out into an even layer and roast, in the oven, for 35-45 minutes or until they begin to crisp up, flipping once in the middle of cooking.  Serves 4-6

Mediterranean Chicken with Garlic Sauce

SONY DSC

If you have ever eaten at a Lebanese restaurant or been blessed enough to experience schwarma I’m sure you’ll catch my drift here.  That garlic sauce?  Obsessed.  Like, eat-it-with-a-spoon-obsessed.  It’s tart and bold
and has the perfect bite to it…and quite frankly you could put it on top of anything and it would be delicious.  But over this grilled chicken?  Accompanied by this juicy, simple tomato salad?  My gosh, people, it’s almost unacceptable it tastes so good.

Traditional Lebanese garlic sauce is made with vegetable oil, garlic and lemon….but emulsifying the oil and lemon juice can get a bit tedious and the results are so inconsistent; not to mention that vegetable oil isn’t necessarily the most healthy.  So, in an effort to simplify the process, health it up and make it no-fail each and every time I came up with my own non traditional recipe that truly tastes just as good.  We use this sauce for so many different things.  It’s fabulous with any grilled meat or fish, works beautifully as a dressing for green salads and makes a great dip for veggies, pizza, anything, really.  Now I must warn you…it is spicy.  Not burn-your-mouth spicy but it has a strong bite to it from the garlic.  Feel free to use 2-3 garlic cloves instead of 4 if you are afraid it will be too much bite for you..4 is great for us, even my 2 year old loves it.

Image

Image

Image

This is such  a simple, quick meal and pairs beautifully with rice or roasted potatoes…perfect for welcoming the spring sunshine.

Mediterranean Chicken with Garlic Sauce

Note: four cloves of garlic will give you a pretty big bite in this sauce..i stick with 3 for my family and it’s still very garlicky..but if you’re feeling edgy, use four;)

Ingredients

For the Garlic Sauce

3-4 Cloves Garlic, see note above

1 Cup Whole Fat Greek Yogurt

2 Tablespoons Fresh Lemon Juice

1 Tablespoons Mayonaise

3/4 Teaspoon Salt

1/3 Cup Olive Oil

For the Tomato Salad

1/2 Cup Chopped Cucumber

1/4 Cup Thinly Sliced Red Onion

3/4 Cup Halved Cherry Tomatoes

1/4 Teaspoon Salt

1/8 Teaspoon Black Pepper

1 Tablespoon Chopped Fresh Parsley or 1 Teaspoon Dried Parsley Flakes

1 Tablespoon Olive Oil

1 Tablespoon Lemon Juice

For the Chicken

2 Tablespoons Olive Oil

1 Tablespoon Greek Seasoning

1 Pound Chicken Breast Filets

Directions

For the Garlic Sauce

Place garlic in the bowl of a food processor or blender and process until the garlic is finely chopped, about 30 seconds.  Scrape the sides of the bowl to get the garlic pieces to the bottom and add the yogurt, lemon juice, mayonnaise and salt and process until combined, 30 seconds.  With the motor running, stream in the olive oil slowly and process until completely combined, about 1 minute.

For the Tomato Salad

Combine all ingredients in a small bowl and set aside.

For the Chicken

Preheat the grill over medium high heat.  Sprinkle the chicken with Greek seasoning, drizzle it with olive oil and toss to coat evenly.  Grill the filets for 8 minutes or until cooked through, flipping once after 4 minutes.  Remove from heat, top with tomato salad and drizzle with garlic sauce.  Serves 2-3.

Charred Brussels Sprout Salad

Image

Nick and I hit up one of our favorite date night spots this past weekend and let me tell you.  I am just never EVER disappointed with a single darn thing this place has to offer.  The atmosphere is just perfect…lively, casual and filled with food lovers alike.  The service?  Impeccable.  Every.  Single.  Time.  And the food?  Oh the food.  If you haven’t checked it out and you are in the Minneapolis area I highly suggest you do.  It is truly special.

When Nick and I do dinners alone we tend to order quite a few different items to share so that we can have a little taste of everything…I may or may not be as good at sharing as he is when it comes to food 😉  But when we ordered the Charred Brussels Sprout Salad the server was kind enough to take it upon herself to have it split into two servings, on two plates, for us.  I’m not sure if its because she felt bad for my husband after seeing me devour the lamb tartare the course before or because she just knew that this salad was so over the top that my husband and I could have caused a scene arguing over who gets the last bite.  Nonetheless, we were both speechless.  Crispy, caramelized brussels paired with smokey pancetta, tart chèvre cheese and tangy yet sweet vinaigrette?  Heaven on earth.

As I was meal planning on Sunday I asked Nick what sounded good this week.  “Ya know, you mentioned wanting to try to replicate that brussels sprout salad at home…that sounds really good”, he said. Darn it, he wanted to eat that dish again?  Arm twisted.

I figured there couldn’t have been much to it…I’d simply roast the sprouts like I typically do only slice them thinly with a knife before hand which would equal more of a charred flavor versus roasting them whole.  Then all I needed to do was tie in some greens, pork fat and goat cheese and a sweet, tangy vinaigrette, to boot.  I opted for bacon instead of pancetta because I already had some in the freezer and added a roasted chicken breast to the top to make it a balanced meal.  So so delish, you guys.

Image

Image

Charred Brussels Sprout Salad

Ingredients

1 1/2 Pounds Brussels Sprouts, ends removed and sliced thin

3 Tablespoons Olive Oil

1 Tablespoon Balsamic Vinegar

6 Ounces Mixed Greens

4 Ounces Goat Cheese, crumbled

4 Slices Bacon, cooked and crumbled

Roasted Chicken, optional, for topping

3 Tablespoons Olive Oil

2 Tablespoons Red Wine Vinegar

1 Tablespoon Dijon Mustard

2 Teaspoons Pure Maple Syrup

1/4 Teaspoon Salt

Pinch of Black Pepper

Directions

Preheat oven to 400 and place sliced brussels sprouts on a baking sheet.  Drizzle 3 tablespoons olive oil and balsamic vinegar over the sprouts and toss well with your hands.  Spread them out in a single layer and roast in the oven for 15-20 minutes or until tender and lightly charred, stirring once in the middle of cooking.

While sprouts are roasting whisk together the remaining 3 tablespoons olive oil, red wine vinegar, dijon, maple syrup, salt and pepper.  Toss the mixed greens with the vinaigrette and distribute the greens among plates.  Top with charred sprouts, goat cheese, bacon and chicken, if desired.  Serves 6 as a side dish, 2-3 as a main dish.


Spinach Salad with Roasted Salmon and Maple Vinaigrette

Image

Well, apparently it took this salad to get me off my butt and get more than one post in per week.  I’m now questioning myself.  Maybe the reason I have only been posting once a week is not because I don’t have time.  Maybe it’s not because I typically only have one hour of the day to myself and I need to fill it with obligatory household duties. Perhaps it’s because the food I have been cooking isn’t need-to-post-immediately material?  I just made this dish last night and I truly couldn’t wait to pass it on to you (yes, a randomly thrown together meal actually turned out amazing on the first try-tickled pink).  The household crap can wait…this is an urgent matter.  Make this salad.  Just do it.  It’s so savory and so sweet and so salty and just plain awesome.  And the crispy skin on the salmon?  My gosh.  And now that I am one hour behind in household chores I expect you to come over and get them done for me.  No need to knock…just let yourself in.  And would you mind stopping to pick me up a latte on your way?  xo

Image

Spinach Salad with Roasted Salmon and Maple Vinaigrette 

Ingredients

For the Vinaigrette:

2 Tablespoons Stone Ground Mustard

2 Tablespoons Pure Maple Syrup

1/2 Teaspoon Salt

1/3 Cup Olive Oil

For the Salad:

2 Tablespoons Olive Oil

2 (4-6 ounce) Salmon Filets, skin on + salt and pepper

6-8 Ounces Baby Spinach

4 Slices Nitrate and Nitrite Free Bacon, cooked and crumbled

2 Hard Boiled Eggs, sliced in half

1/4 Cup Shredded Parmesan Cheese

1/3 Cup Walnuts

Directions

Preheat oven to 350.  In a small bowl whisk together all of the ingredients for the vinaigrette.  Set aside.

Heat olive oil in a oven proof skillet over medium high heat.  Season both sides of the salmon with salt and pepper and place the salmon skin side down in the pan.  Cook the salmon for 5 minutes (do not move the salmon) and then transfer the pan to the oven and cook it for 5 additional minutes or until desired doneness.

Toss spinach with the dressing and divide among two plates.  Top with bacon, eggs, parmesan and walnuts.  Place the salmon filets on top of the salads and serve.  Serves 2

Quick Ham and Bean Soup

Image

Lets do a little mathematics, my dear friends:

Ham hock + beans + simmering all day = my heart runneth over.

The same taste as the previous equation + minimal work + no time at all = my heart runneth over.

Same results?  I choose the latter.

The first time I made this I was looking for a way to use up leftover baked ham and it has become a staple in our meal rotation ever since.  You will be shocked at how something so quick and simple can yield such flavor.  And by the way, stop picking on me and making me do your math homework for you…next thing you know you’ll be stealing my lunch and shoving me into lockers.  Not okay.

Quick Ham and Bean Soup

Ingredients

2 Tablespoons Olive Oil

1 Small White Onion, chopped

2 Carrots, chopped

6 Cloves Garlic, chopped

2 Teaspoons Dried Thyme or 2 Tablespoons Fresh Chopped Thyme

3/4 Teaspoon Black Pepper

1 (15 Ounce) Can Petite Diced Tomatoes

2 (15 Ounce) Cans Cannellini Beans, drained and rinsed

3 Cups Chicken Stock

2 Cups Diced Ham

2 Teaspoons Stone Ground Mustard

1/2 Cup Cream

Fresh Parsley, for garnish *optional

Salt to taste

Directions

Heat olive oil in a soup pot over medium high heat.  Add the onion and carrot and sauté until beginning to soften, about 5 minutes.  Add the garlic, thyme and pepper and sauté 1 minute.  Stir in the tomatoes, beans, chicken stock and ham and bring to a boil; turn down the heat and simmer for 20 minutes.  Stir in the mustard and cream, simmer for 5 additional minutes and season with salt, if needed.  Serves 4

Roasted Buffalo Chicken Salad

Image

Time consuming dinners are becoming a little more challenging during the week in our house…I’ve been saving those for the weekends these days.  This buffalo chicken salad recipe has been used and abused around here during the week because it is so incredibly quick and simple and, well, it’s basically buffalo wings on crack which equals beyond delicious.  I use the help of store bought wing sauce most of the time and if you’re really struggling for time you could always use a store bought roasted chicken but this method for roasting the chicken is incredibly simple and the taste beats out any store bought chicken you can buy.  Bar grub perfected at home…just how we like it.

Image

Roasted Buffalo Chicken Salad

Ingredients

2 Tablespoons Olive Oil

2 Boneless Skinless Chicken Breasts

Salt + Black Pepper

1/2 Cup Buffalo Wing Sauce

6 Ounces Mixed Greens or Romaine

3/4 Cup Cherry Tomatoes, halved

1/2 Cup Grated Carrot

1/2 Cup Crumbled Bleu Cheese

1 Green Pepper, chopped

1 Avocado, diced

1/3 Cup Ranch Dressing

Directions

Preheat oven to 400 and season both sides of the chicken with salt and pepper.  In an oven proof skillet heat olive oil on medium high heat.  Add the chicken and cook, top side down, until you get a nice sear on top, about 4 minutes.  Flip chicken over, transfer to the oven and bake until cooked through, about 20 minutes.  Let the chicken rest and cool for ten minutes after taking it out of the oven so the meat can absorb all of the juices.  Slice the chicken, pour the buffalo wing sauce over it and stir it in the pan.  Set aside.

In a large bowl add the greens, tomatoes, carrots, bleu cheese, green pepper and avocado.  Pour the ranch dressing over the top and toss gently with your hands.  Distribute the salad onto plates and top with the roasted buffalo chicken.  Serves 2-3

The Nourished Smoothie

Image

My darling friend and neighbor, Heather, stopped to say hi as I was out shoveling the other day.  She is about as supportive with this blog as they come…always sending me cute messages about how she made and loved a recipe and giving me pats on the back that are priceless, in my opinion.  As she pulled away I mentioned to her that I am always open to suggestions and ideas for things she would like to see more of on the blog (that goes for all of you as well…I LOVE direction-even if my husband may disagree). Oddly enough she sent me a message later suggesting the idea of a smoothie recipe.  This is so incredibly coincidental because Georgia and I have been playing with smoothie recipes for the last week…trying to mix up something we both really love.  Great minds think alike, Heather 😉

Let me start off by telling you I have been boycotting smoothies for years.  I had straight up no time for them.  I mean, come on…I’d so much rather eat my food than drink it.  And then my second child came along. And my 2 year old became a 2 year old. And I’ve become desperate.  Desperate for quick, simple, easy, on the go options for breakfast.  My poor daughter is on the verge of turning in to a hard boiled egg, I swear.  You see, often times we are rushing out the door about 5 minutes late before we’ve even left the house.  I’m nursing one kid in an attempt to fill him up before we leave (because as you can see from my previous post he’s extremely malnourished) and the other is taking her socks and boots off before we can get out the door.  So I finish feeding Jude, put him in his carseat, go put Georgias socks and boots back on along with her coat and hat, get my own winter gear on, get Jude out of his carseat and changed because of course he pooped the minute I got him in, put him back in his carseat, put Georgias hat and boots back on again (this time I can usually catch her before she gets everything off), get the car started, get back inside to find that Georgia has taken her boots off again, put her boots back on, get the car packed up, put the kids in the car and this is when I realize I need to get Georgia something to eat.  She’s not a big breakfast eater but we try to have at least a little protein to get our day started.  I’d like to let you know on a side note that the other day as we pulled out of the driveway I felt I had an eyelash in my eye so I pulled the mirror down to find Georgias “princess crown” on top of my head.  In addition to the above process, I also now attempt to check myself in the mirror before getting in the car myself. If you could see me today you’d find that I rarely stick to that.

So, after telling you about our total debacle of an attempt to get out the door I need to tell you that these smoothies have saved me.  I typically make them up either the night before or in the morning before the kids get up, store them in the fridge and they are all ready to go as we rush out the door.  They are so incredibly simple and yummy…they’ve converted me to a smoothie lover.  Through our week of testing out recipes I learned that I absolutely positively can not stand seeds in my smoothies so most berries were out.  This recipe was the winner for both of us.  The peaches and banana are an awesomely sweet combination, the spinach simply adds color and nutrients without effecting the taste and the coconut milk and yogurt provide healthy fats, protein and give it an amazingly smooth taste and texture.

Image

On another side note…here is the view from our living room window today.  We are supposed to get 10 more inches.  Im considering putting tequila in my smoothie tomorrow.

Image

The Nourished Smoothie

Ingredients

1 Cup Frozen Peaches

1 Cup Spinach Leaves

1 Banana

3/4 Cup Greek Yogurt

1 Cup Unsweetened Coconut Milk

1 Tablespoon Honey, optional

Directions

Combine all ingredients in a blender; blend until smooth.  Serves 2

Berry Streusel Muffins

Image

I have a VERY large proclamation to make.  These are THE best gluten free muffins I have ever had.  Ever.  It was a fun saturday experiment for Georgia and I.  Jude was napping and Nick was over at the pond playing boot hockey so we played around in the kitchen for a bit….attempting to concoct a late morning snack.  After lots of measuring and scooping and spilling and getting our hands messy (I say this as if I was partaking in all of these things when, in all actuality it was mostly just G…I was the person in the background whispering to myself “Miss, she’s only two…be patient…its good for her brain…you can clean up later…no, you can’t have a glass of wine at 10:30 AM”) we had the batter ready and popped them in the oven.  We tasted them immediately…all warm, sweet and crumbly with that oh so crunchy topping…we gave ourselves two thumbs up for sure.  And then Nick came home and polished off the entire rest of the pan in approximately 7 minutes.  Catch my drift?  You’ll love them.

Image

Berry Streusel Muffins

Notes:  If you do not have or prefer to use coconut sugar you can use half brown sugar and half white granulated sugar instead.  I prefer the taste of coconut sugar along with the fact that it is a more nutritious option.  Whole wheat flour can be substituted for the buckwheat flour as well…although it would not be wheat free. Also, it is extremely simple to make oat flour yourself instead of buying it already packaged:  just place old fashioned or rolled oats in a food processor and process until it becomes the texture of a flour…it will look like this…

Image

Ingredients

For the Streusel Topping

1/4 Cup Gluten Free Oats

1/4 Cup Coconut Sugar

3 Tablespoons Gluten Free Oat Flour

3 Tablespoons Coconut Oil or Butter, melted

1/2 Teaspoon Ground Cinnamon

Pinch of Salt

For the Muffins

1 Cup Gluten Free Oat Flour

3/4 Cup Buckwheat Flour

1/2 Cup Almond Meal

2 Tablespoons Flax Meal (optional)

1 Teaspoon Baking Powder

1/2 Teaspoon Baking Soda

1/2 Teaspoon Salt

2 Eggs

1/4 Cup Coconut Sugar

1 Cup Milk (preferably 2% or whole)

1/3 Cup Honey

2 Teaspoons Pure Vanilla Extract

1/2 Cup Butter or Coconut Oil, melted

1 1/4 Cup Berries (fresh or frozen-I prefer a mix of blueberries, blackberries and raspberries but any will do)

Directions

For the Streusel Topping

Mix all ingredients together with your hands until a crumble is formed.  Set aside.

For the Muffins

Preheat oven to 350 and grease or line 12 muffin cups.  In a medium bowl whisk together oat flour, buckwheat flour, almond meal, flax meal, baking powder, baking soda and salt.  In a separate bowl whisk together eggs, coconut sugar, milk, honey, vanilla and coconut sugar or butter.  Pour the dry ingredients into the wet ingredients and stir well until just combined.  Stir in berries.  Fill the muffin cups up about 2/3 of the way full and sprinkle the streusel topping evenly among the tops of the muffins.  Bake for 25 minutes or until a toothpick comes out clean when inserted into the middle of the muffin.  Makes 12 muffins.