Oh guys. Today has been quite the adventure. Nothing like a two year old to keep things fresh and new.
First off, let me tell you that my intention of making these cookies this afternoon was to have them to take to the nurses when “go-time” finally arrives….which is looking like it could be any day now, by the way. I mean, I had the BEST experience ever with the birth of my daughter with regard to the staff at the hospital…they were all just amazing and I love to be able to take treats to them just to let them know that they are appreciated.
Second, let me tell you that I may need you to remind me of how wonderful and easy and low-maitenance Georgia is. I know Ive shared so many moments with you where I am just amazed at how this kid could be so simple to raise thus far..is there any way you could share those stories with me right this very minute? I seem to have forgotten at the moment.
I put her down for her nap this afternoon and got started on these cookies. She was playing in her bed for quite some time, reading books, which is normal for her before she falls asleep. But each time I looked at the monitor I noticed she was standing on her bed, not sitting like she usually does. Ah-ha! Totally figured it out. She pooped…I’d just go change her quick and shed be all set to get a nice snooze in..and I could get the cookies made, photos taken and then sit down to write. I put my cookie madness aside and ran upstairs, grabbed a diaper and wipes and headed into her room. And this is where the ease of this child tends to get a little blurry for me. You guys. I walked in to her standing there looking at me with those big eyes…and two HUGE, ENORMOUS, RIDICULOUSLY LARGE handfuls of poop. She apparently dug in her diaper and thought it would be fun to not only get it all over her bedding but continue to look at books, play with her stuffed animals..the whole bit. Her bed and everything in it was covered. Ugh. So I took her and just threw her in the shower, got her cleaned up the best I could and left her in the shower while I conquered her room. God bless Clorox, Lysol and Oxyclean, people.
So after I got her room cleaned up, the first load of laundry in, and Georgia out of the shower and dressed I headed back down to finish these cookies. Don’t worry, I washed my hands at least 457 times after I showered too 🙂
She is now sitting by me on the couch, with a warm cookie in her belly and a cup of milk and acting like nothing ever happened. What a life. And somehow, after writing this and venting to you..all I can think about is how much I love that little shit (no pun intended)
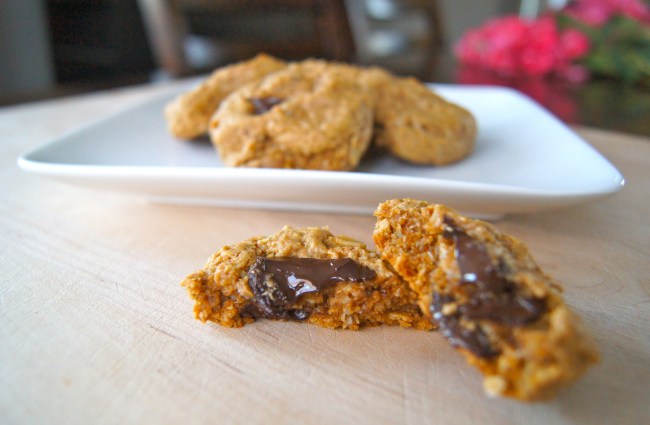
These cookies are perfect in every way…my personal favorite. I adapted this recipe a bit from a monster cookie recipe a friend gave to my sister some years ago. They are so chewy, so crunchy on the outside and soft on the inside, so sweet, so nutty and they have just that tiny hint of salt that takes them over the edge of delicious. I’m pretty sure the hospital staff wont be disappointed. And I must admit they were worth the minor roadblock we encountered this afternoon 🙂
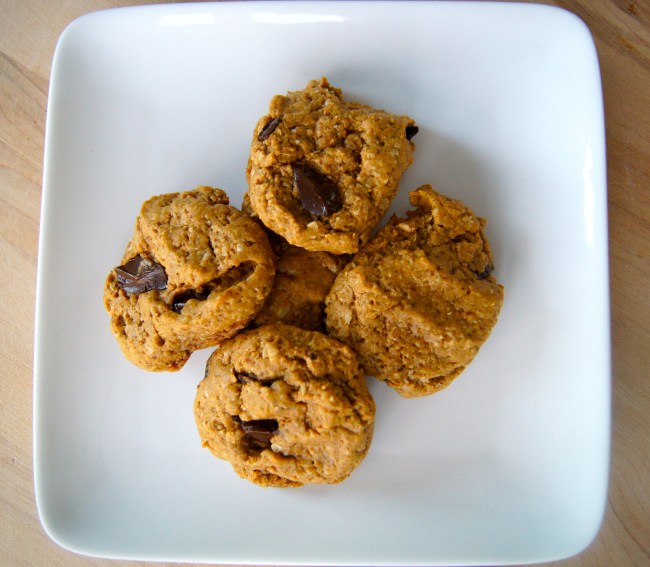
Oatmeal, Peanut Butter, Chocolate Chunk Cookies
Notes: If you do not have or prefer to use coconut sugar you can use half brown sugar and half white granulated sugar instead. I prefer the taste of coconut sugar along with the fact that it is a more nutritious option. Also, if you’d like to make this recipe 100% gluten free just substitute gluten free oats.
Ingredients
1 Stick Unsalted Butter, softened
1 3/4 Cup Coconut Sugar
3 Eggs
1 1/2 Cup Creamy Peanut Butter (preferably no sugar added)
2 Teaspoons Pure Vanilla Extract
2 Teaspoons Baking Soda
3/4 Teaspoon Salt
4 1/2 Cups Quick Cook Oats
1 Cup Semi Sweet Chocolate Chunks
Directions
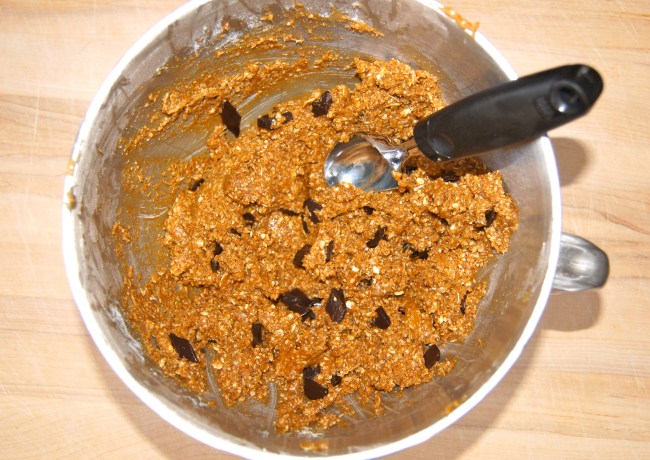
Preheat oven to 350. In a large bowl or the bowl of a stand mixer beat butter and sugar until combined. Add eggs and beat until smooth. Add peanut butter, vanilla, baking soda and salt and beat until completely combined, scraping the sides of the bowl if needed. Add oats and mix until just combined. Stir in chocolate chunks. Using an ice cream scoop (about 2 tablespoons full) drop dough 2 inches apart on a parchment lined cookie sheet and flatted slightly with the palm of your hand. Bake 10-12 minutes. Makes 40 cookies.