Protein Packed Granola

Image

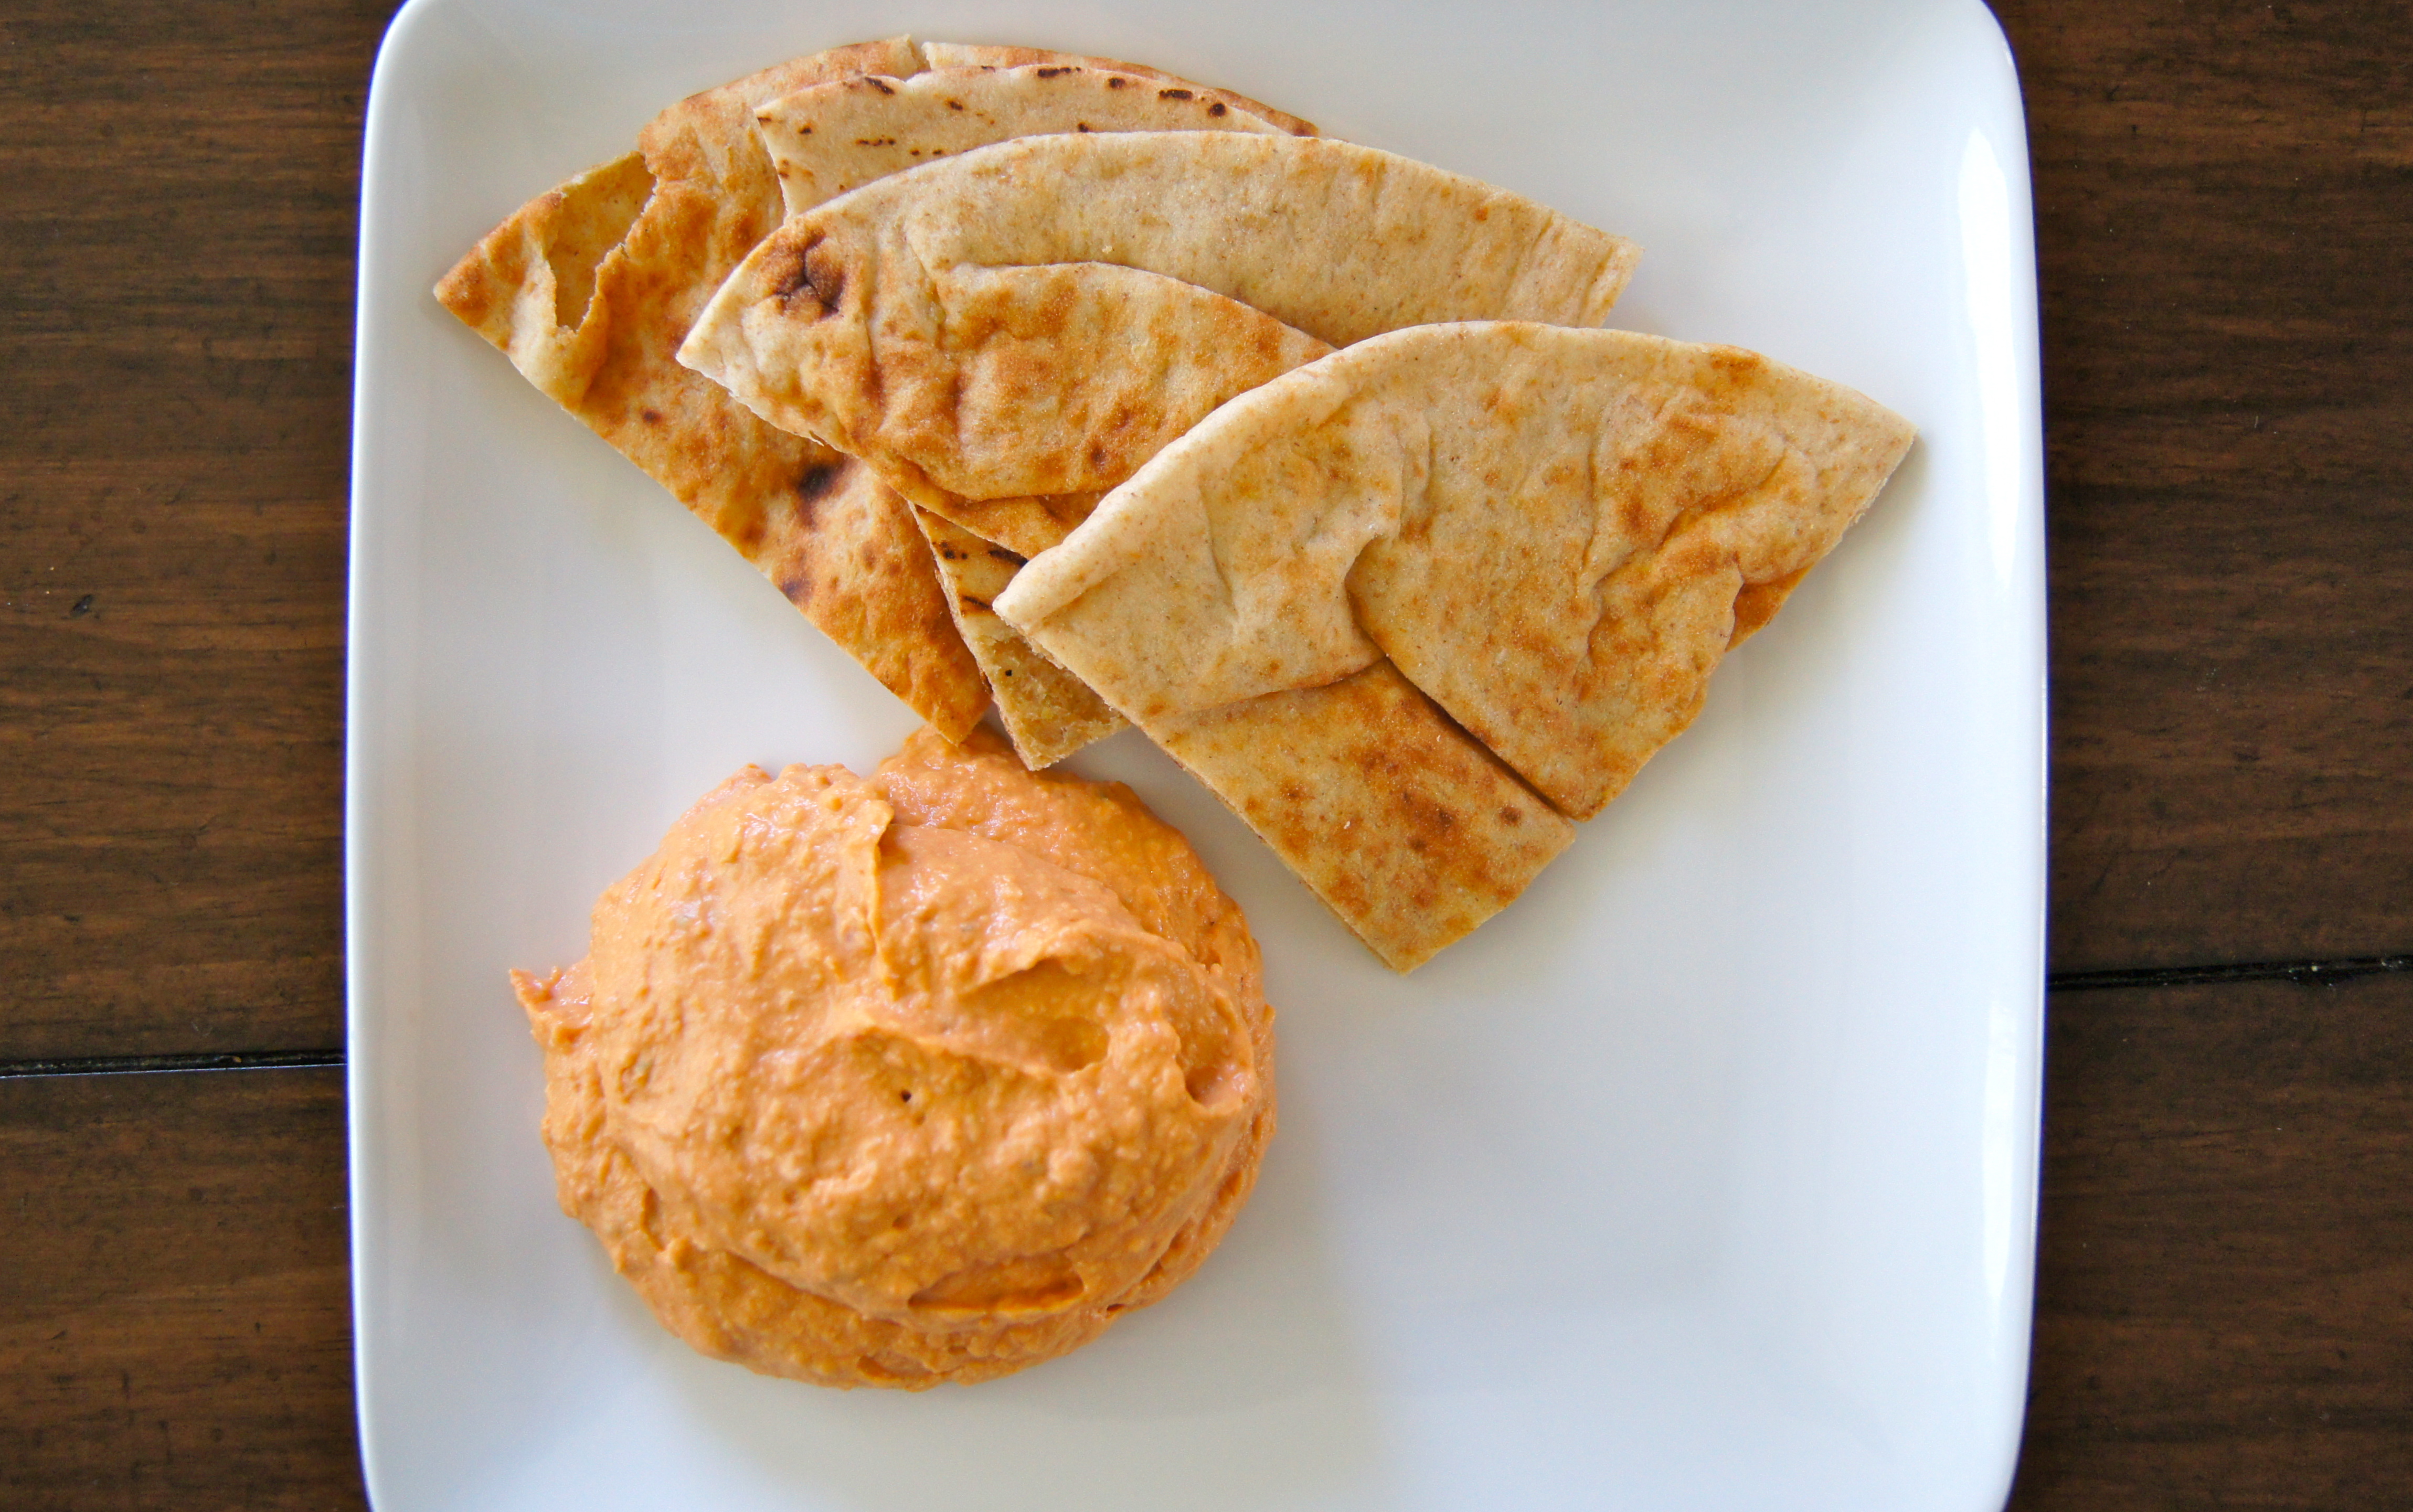
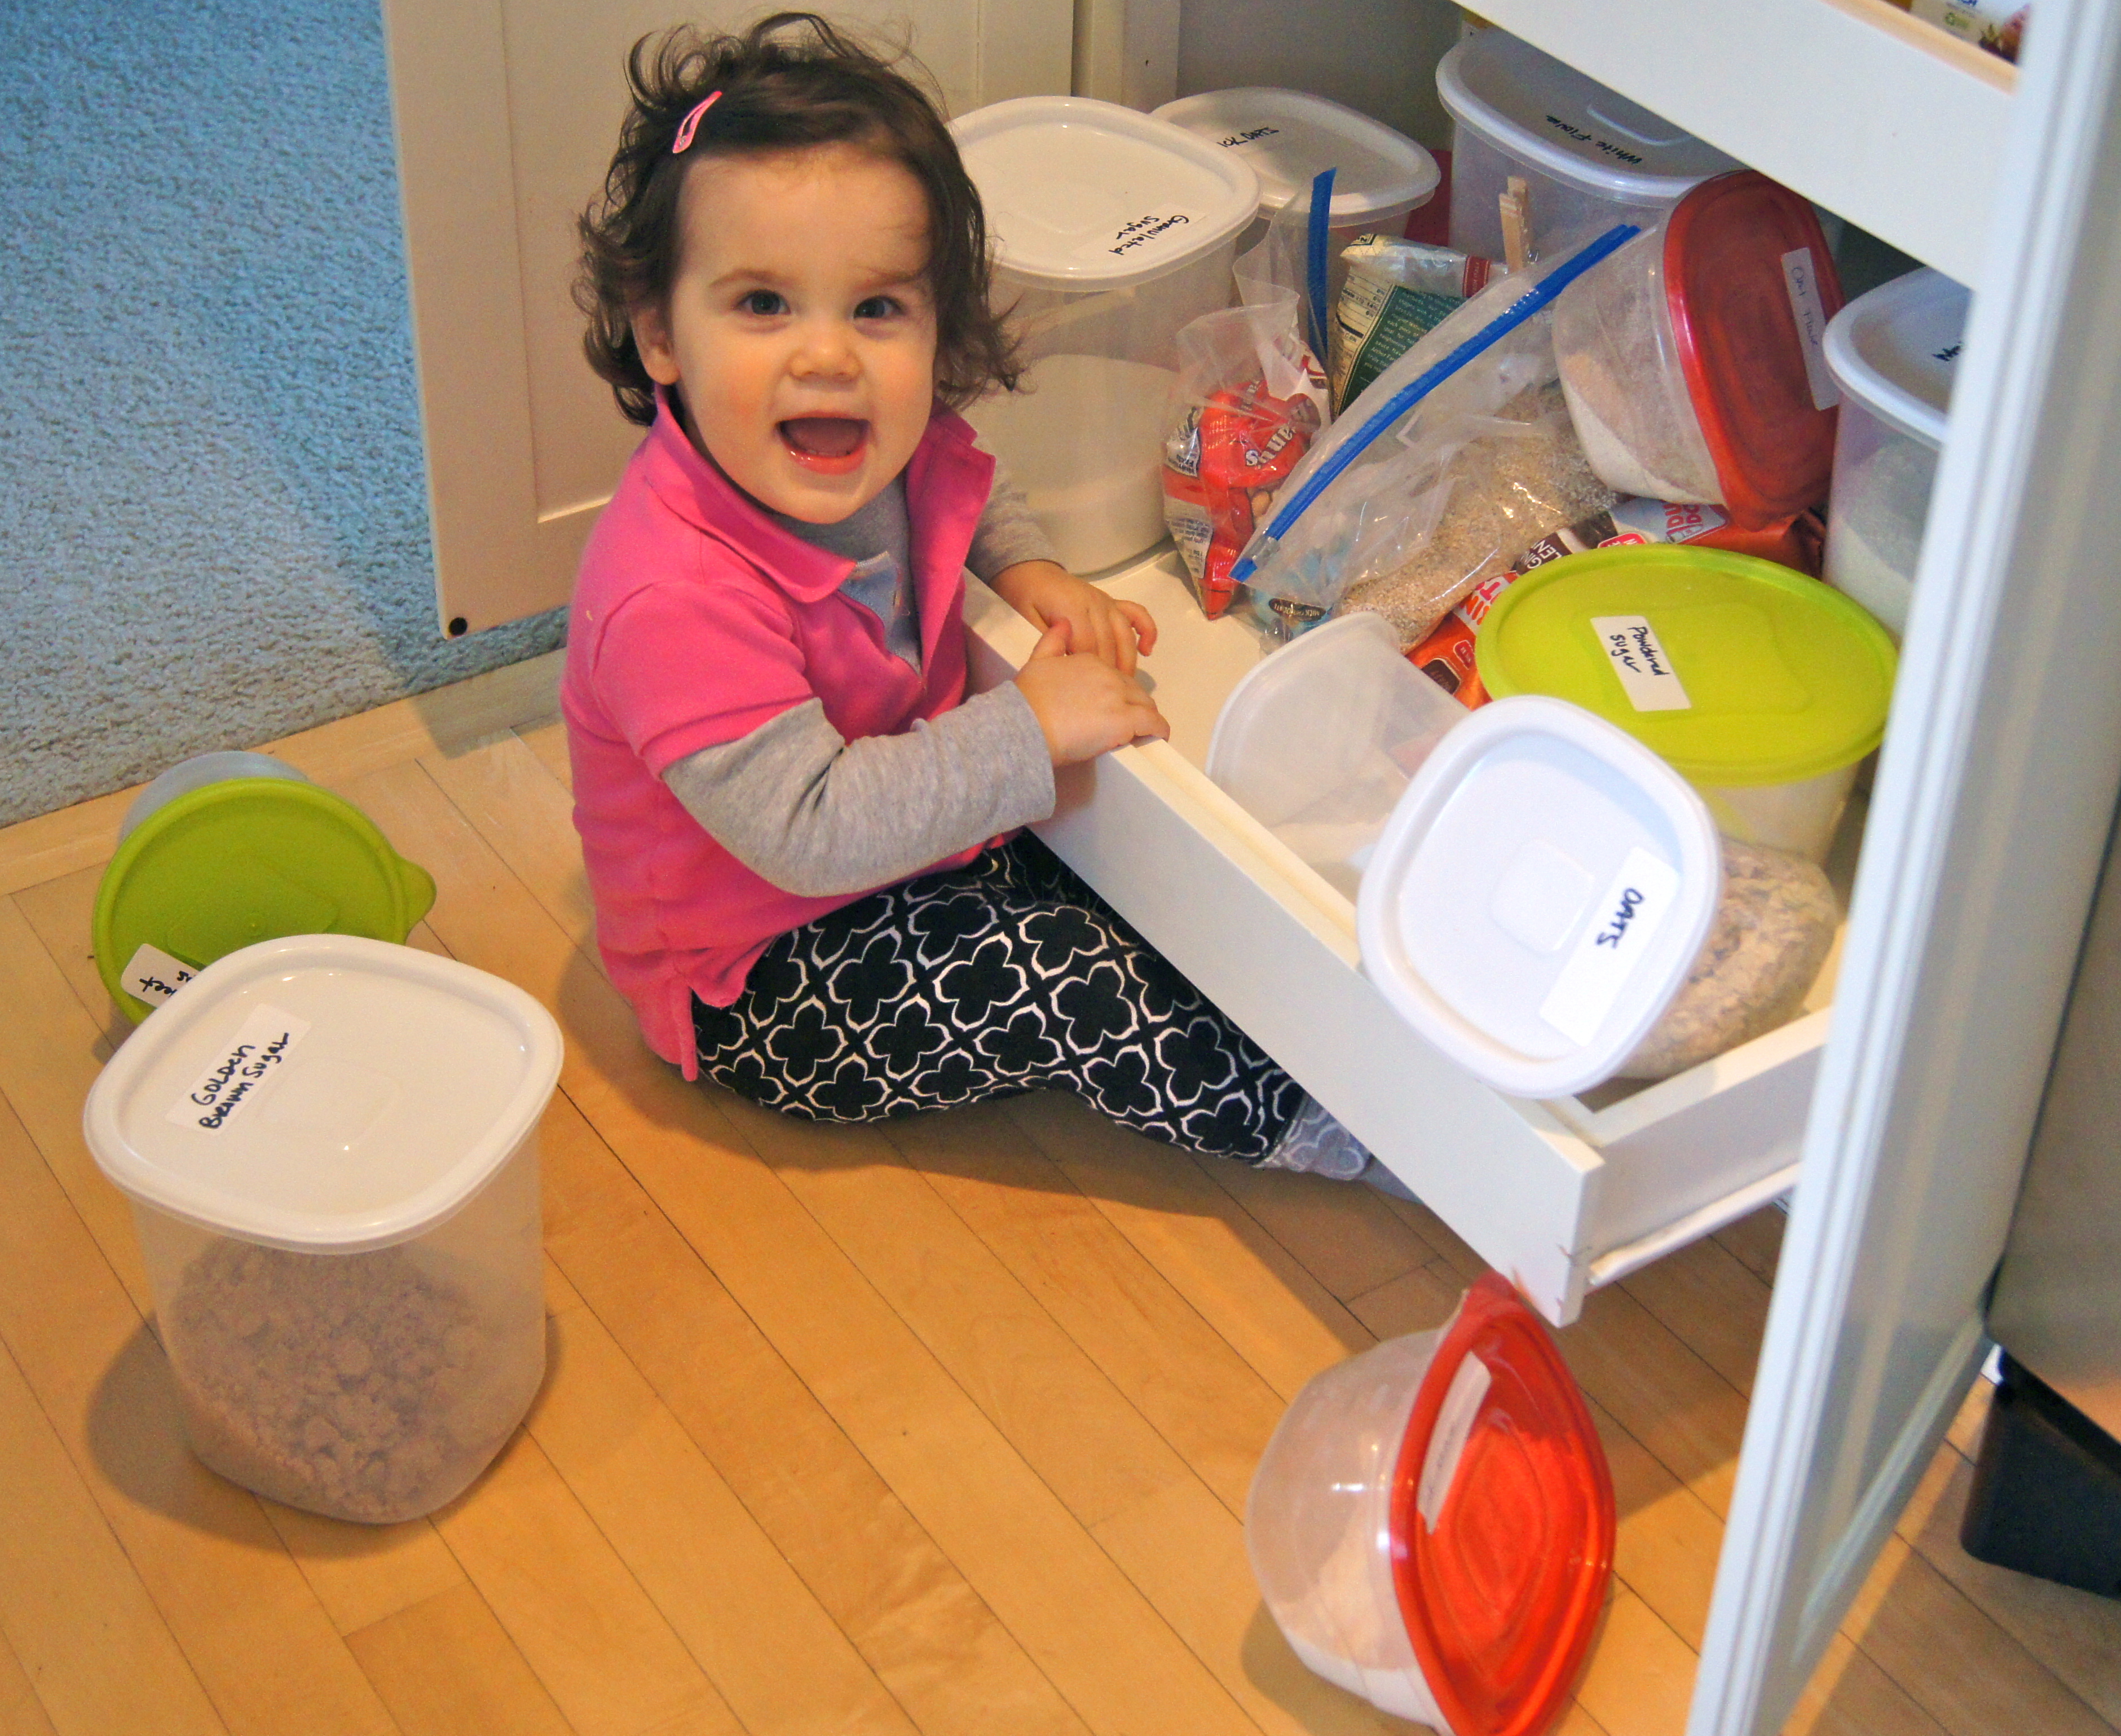
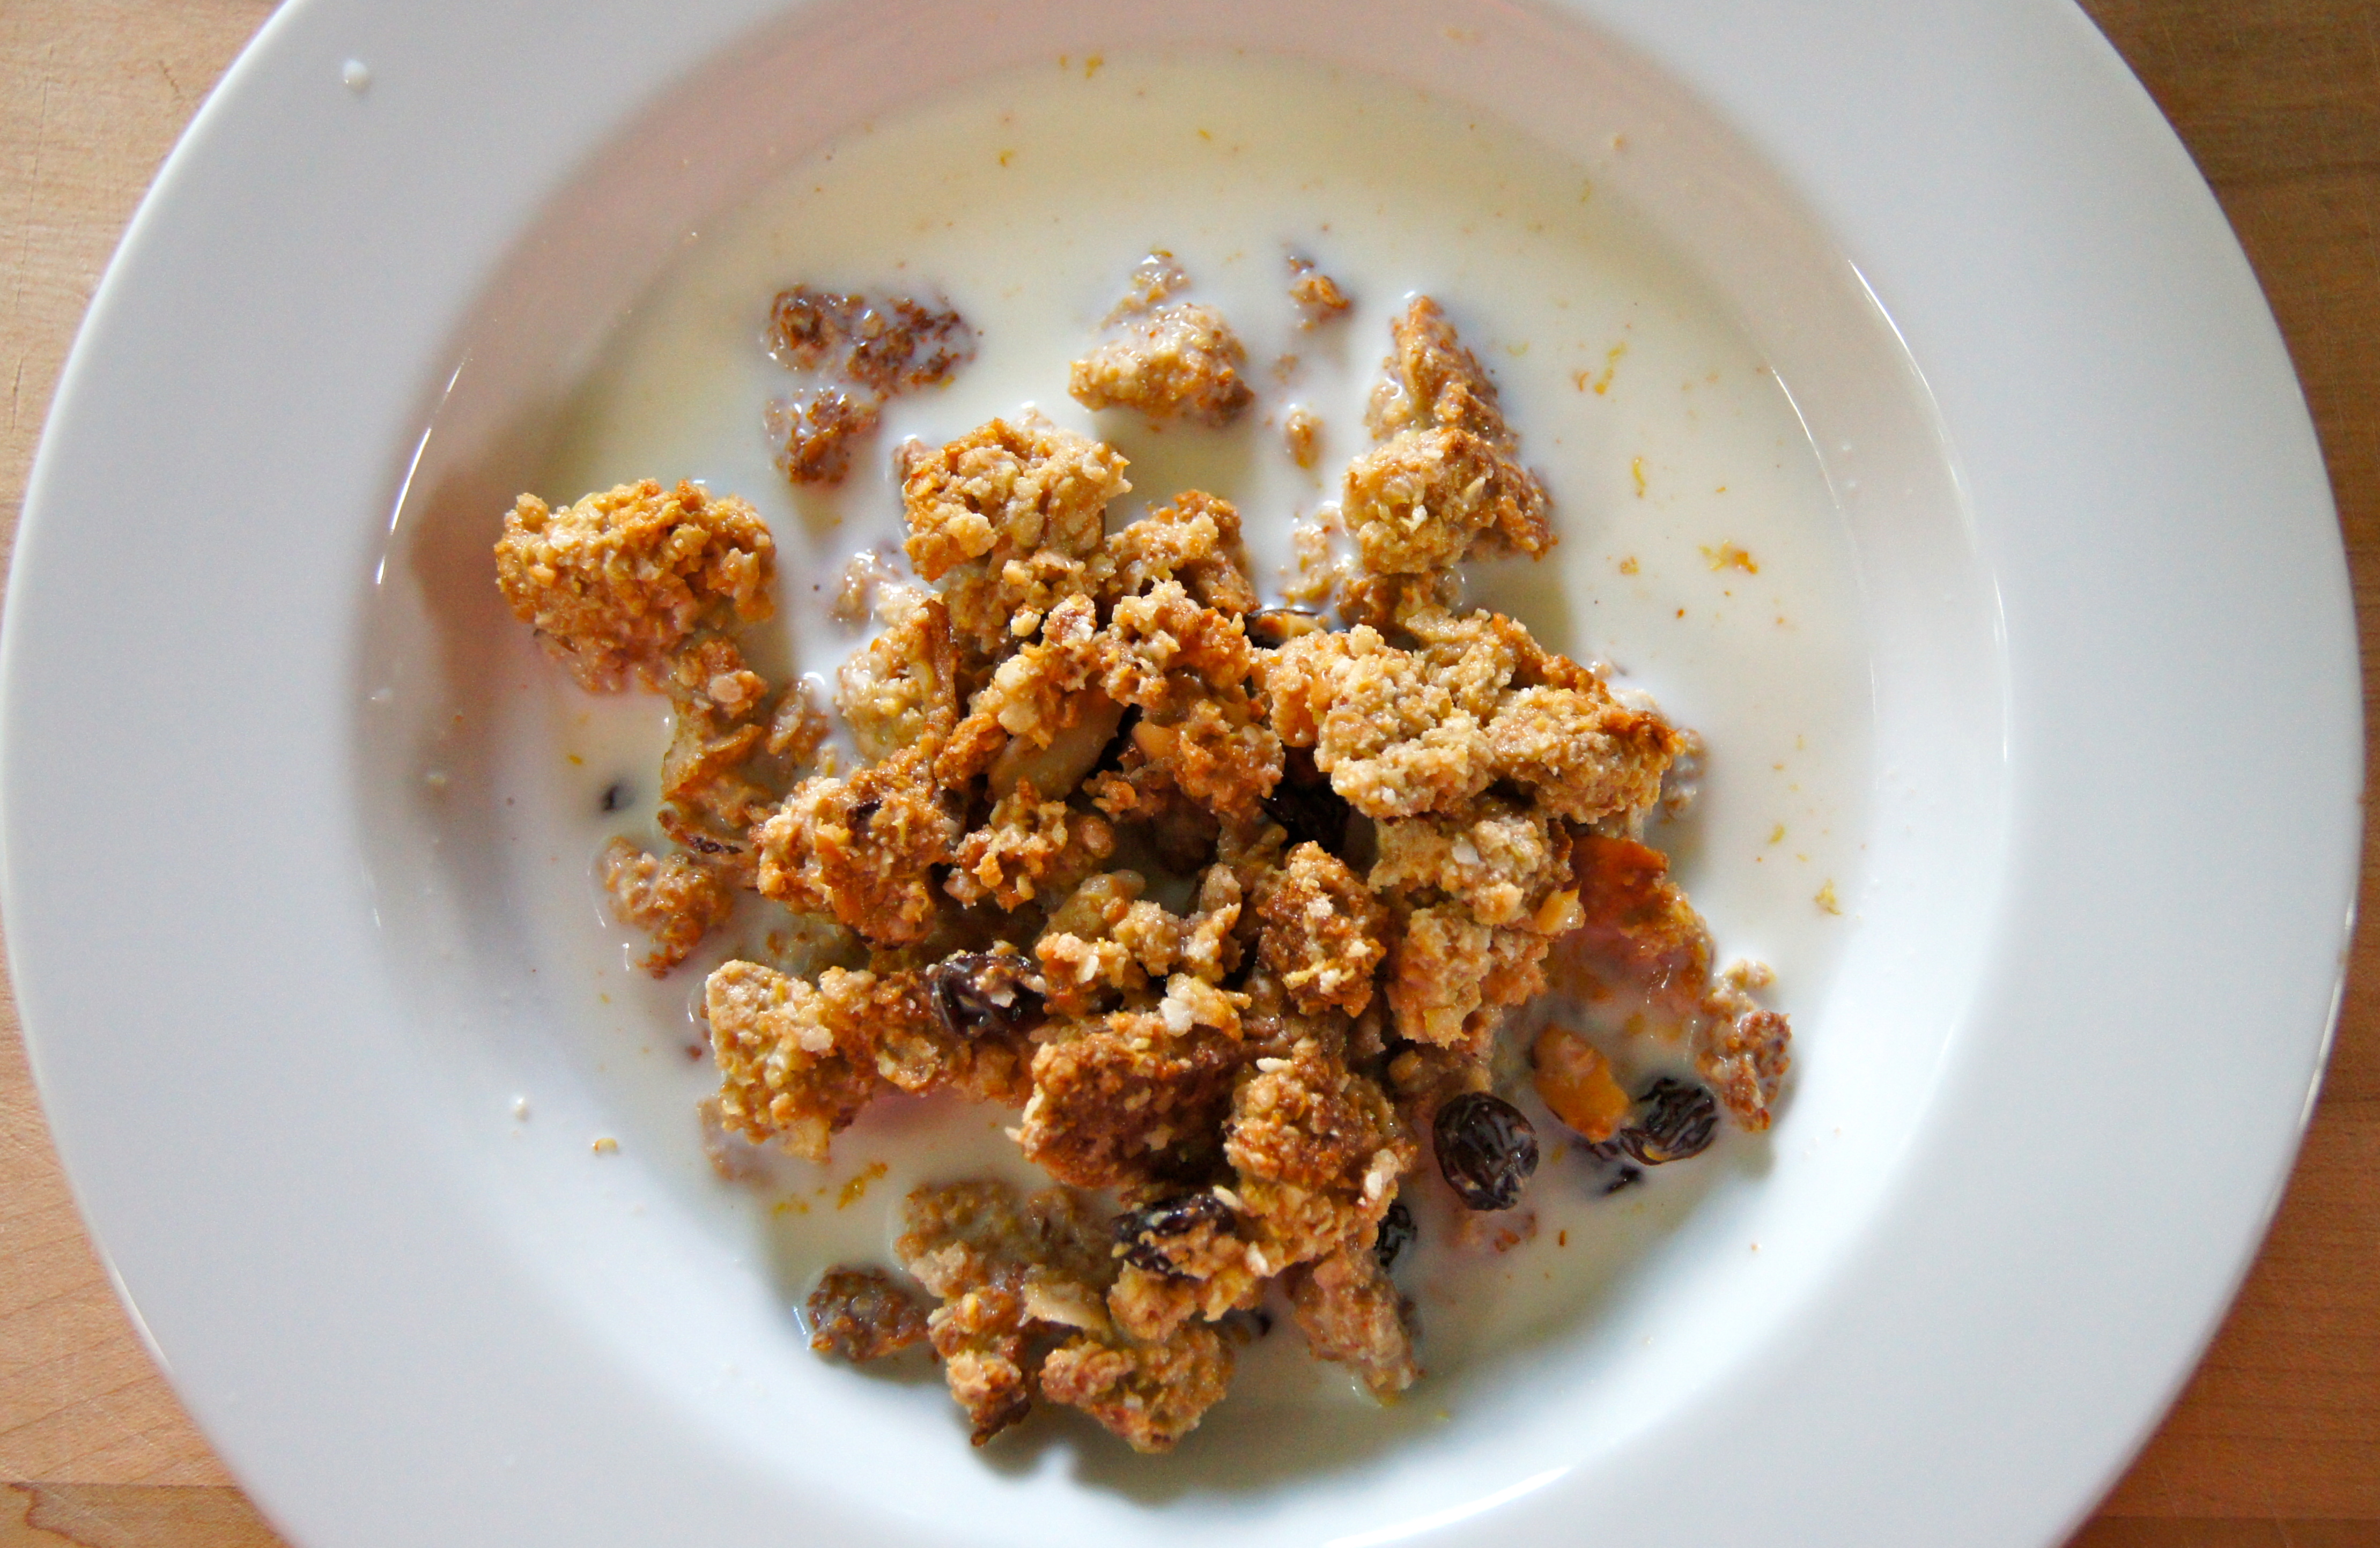
I am always trying to create new ideas for healthful, protein rich breakfasts and snack ideas for my toddler, specifically, and this recipe is one I will continue to utilize (it doesn’t hurt that my husband and I love it, too).  It is a great replacement for store bought cereals that are loaded with refined flours, sugar and additives.  This granola is packed with real protein, fiber and antioxidants and is sweetened with pure maple syrup which contains great amounts of manganese and zinc.  All in all it’s a great treat to have on hand, whether you eat it for breakfast with milk poured over it or you grab a cluster for a mid afternoon fix.

Image

Image

Image

Protein Packed Granola

Inspired by this recipe

Notes:  quinoa flakes and flax meal (ground flaxseed) are available at every market I’ve been to…you can typically find them in either the gluten free or health food aisle.  also, i use 1/3 cup maple syrup here but the granola is not overly sweet.  if you prefer a sweeter granola go for the 1/2 cup.

Ingredients

2 1/4 Cups Quinoa Flakes

1/4 Cup Flax Meal

1/2 Cup Sliced Almonds

1/2 Teaspoon Cinnamon

1/4 Teaspoon Salt

1/2 Cup Peanut Butter (no sugar added)

2 Tablespoons Coconut Oil or Butter

2 Egg Whites, beaten

1/3-1/2 Cup Pure Maple Syrup (no sugar added)

Dried Fruit such as blueberries, cranberries, etc, optional

Directions

In a small microwave safe bowl melt peanut butter and coconut oil or butter for 20 seconds or until oil/butter is just melted.  Set aside to slightly cool while you measure out the dry ingredients.

Preheat oven to 350 and line a baking sheet with nonstick foil or parchment paper.  In a medium bowl, combine quinoa flakes, flax meal, almonds, cinnamon and salt.

Add maple syrup and egg whites to the peanut butter mixture and whisk until combined.  Pour mixture over the dry ingredients and stir well to coat.  Pour mixture onto baking sheet and bake for 20-25 minutes or until golden and slightly crispy.  Remove from oven and stir in dried fruit, if desired.  Cool completely before storing in an airtight container for up to 1 week.

Banana Chocolate Chip Cookies

SONY DSCI have cherished this recipe for a couple of years now and I tell you we just don’t get sick of these treats.  They taste like a cross between banana bread and a chocolate chip cookie and they are as close to healthful as you can get for a “cookie”.  My husband, who could give any sweet fanatic a run for their money, devours theses every time I make them.  I, myself, love them because they are not overly sweet.  They don’t contain refined sugar or flour and It’s so gratifying to feed your family such a delicious sweet treat that you can feel good about.  SONY DSC

Banana Chocolate Chip Cookies

Notes:  I often substitute almond meal for flax meal depending on what I have on hand.  Also, these cookies will not flatten out and rise like your “typical” cookie.  For the most part they will remain in the shape you’ve dropped them.

adapted from this recipe

Ingredients

2 Very Ripe Bananas, mashed (about 3/4 cup)

1/2 Cup Unsweetened Applesauce

2 Tablespoons Peanut Butter

1 Teaspoon Vanilla Extract

1/4 Cup Melted Coconut Oil or Butter

2 1/4 Cup Rolled Oats

2/3 Cup Flax Meal

1 Teaspoons Ground Cinnamon

3/4 Teaspoon Salt

1 Teaspoon Baking Powder

3/4 Cup Chopped Dark Chocolate or Chocolate Chips

Directions

Preheat oven to 350 and line a baking sheet with parchment paper.  In a large bowl whisk together banana, applesauce, peanut butter, vanilla and coconut oil or butter.  In a medium bowl mix together oats, flax meal, cinnamon, salt and baking powder.  Stir the dry ingredients into the wet ingredients until mixed well.  Fold in chocolate chips.  Drop by tablespoonfulls onto prepared baking sheet about 1 inch apart.  Bake until cookies start to turn golden, about 18- 20 minutes.  Yeilds 2 dozen cookies.

Chickpea and Sun Dried Tomato Dip

Image

Hello friends!  I apologize for my short absence…the little peach and I went away for a few days for some MUCH needed family time.  Felling rejuvenated and blessed, to say the least.

Hummus is something I always keep in the fridge whether it’s homemade or I’ve picked it up from our favorite local Lebanese spot.  It’s a fantastic source of protein and a great dip or topping for so many things.  I went to whip up a batch this afternoon to find that I am out of tahini.  Reason number 472 why I wished my parents lived here.  “Mom, do you have some tahini I could borrow?  Or better yet, would you mind coming over and sitting at the house while the kiddo sleeps so that I can run out and grab some?  And then maybe I’ll stop and grab a coffee.  And run to target super quickly.  What?  You’ll just make me some hummus?  Ok!”  Keep dreaming, me.

I decided to try something different today with what I had on hand and I am so very happily surprised by the results.  Still packed full of protein, still hits the “hummus spot” and is such a nice change of pace.

Image

Chickpea and Sun Dried Tomato Dip

Ingredients

15 Ounce Can Chickpeas, drained and rinsed

1/4 Cup Sun Dried Tomatoes

1/2 Cup Greek Yogurt

1 Green Onion, green part only

2 Ounces Goat Cheese or Cream Cheese

1 Garlic Clove

2 Tablespoons Olive Oil

Salt, Pepper to taste

Directions

Combine all ingredients in a food processor and puree until smooth, about 2 minutes.  Season with salt and pepper to taste and chill.

Whole Wheat Cheddar Crackers

Image

I am all about getting our kids in the kitchen.  I believe we have a responsibility, as parents, to show our kids where our food comes from; that it is something to respect.  I also feel that getting our littles involved in cooking ensures them to be more engaged in trying new foods and being open to different tastes.  If they are a part of the process, they are more likely to take interest in the final product.  No matter their age, we can make them a part of it.

These crackers were our project for the morning.  It took a whopping 40 minutes from start to finish…and was definitely time well spent for my toddler and I.  I find it safe to say that most kids love those little goldfish crackers, mine included.  This is a great take on that concept…for a fraction of the price.  Have you ever peeked at the ingredient list on those little fishies?  I am guilty of treating my child to them on occasion but I always cringe at the thought of what is in them.  It’s so gratifying to know that you can accomplish the same result in your own kitchen, with nothing but whole grains and real ingredients; no additives, MSG, dyes…and a list of other things I cant pronounce;)  I would encourage you to gather your kiddos and make this your own project on the next rainy or snowy day…you’ll have a blast and your kids will feel so proud of their accomplishment!

Whole Wheat Cheddar Crackers

Adapted from this recipe

Ingredients:

1 1/2 Cup Fresh Grated Sharp Cheddar Cheese

4 Tablespoons Butter, cut into 16 cubes

1/2 Cup Whole Grain Whole Wheat Flour + more for rolling dough

1/4 Cup Almond Meal or Flour

1/4 Teaspoon Onion Powder

1/4 Teaspoon Salt

Directions:

First, gather your ingredients.  I had a lovely assistant to do that job for me

Image

Preheat oven to 350.  Combine all of the ingredients in a food processor and process for 4 minutes.  Turn off the motor, stir the loose dough to combine and firmly press it together with your hands, forming a ball.  Place dough ball in plastic wrap and let chill in the refrigerator for 15 minutes.  My sous chef gets a kick out of the food processor

Image

Remove from refrigerator and allow to stand at room temperature for five minutes.  Sprinkle surface with a liberal amount of flour and place dough on top.  Firmly pat the dough out with your hands, just like this

Image

Sprinkle top of dough with flour and roll out until it is 1/8 inch thick.  Next, use your favorite mini cookie cutters and make as many imprints as you are able to fit into the dough, like this

ImageNext, take a small spatula and scoop up as much dough as you are able to fit onto the spatula.  Remove the excess dough around the shapes so that all you are left with is the shapes you’ve cut out, like this

ImagePlace cracker shapes onto a non greased baking sheet, 1/2 inch apart.  Gather the scraps and form into a ball and repeat the patting, rolling and cutting out process.

Bake crackers for 10 minutes, or until they are firm to the touch on the outsides and a tiny bit soft in the middle.  Cool completely.  Store in an airtight container.

Snack-a-licious

Image

My little lady and I had an excellent post workout snack this morning with the leftover Tomato Relish from our Kofta Burger dinner last night.  Spooned the juicy relish right on top of a bowl of cottage cheese…muy delicious and great fuel after a draining trip to the gym..or for that mid day hunger fix!