Salata

Image

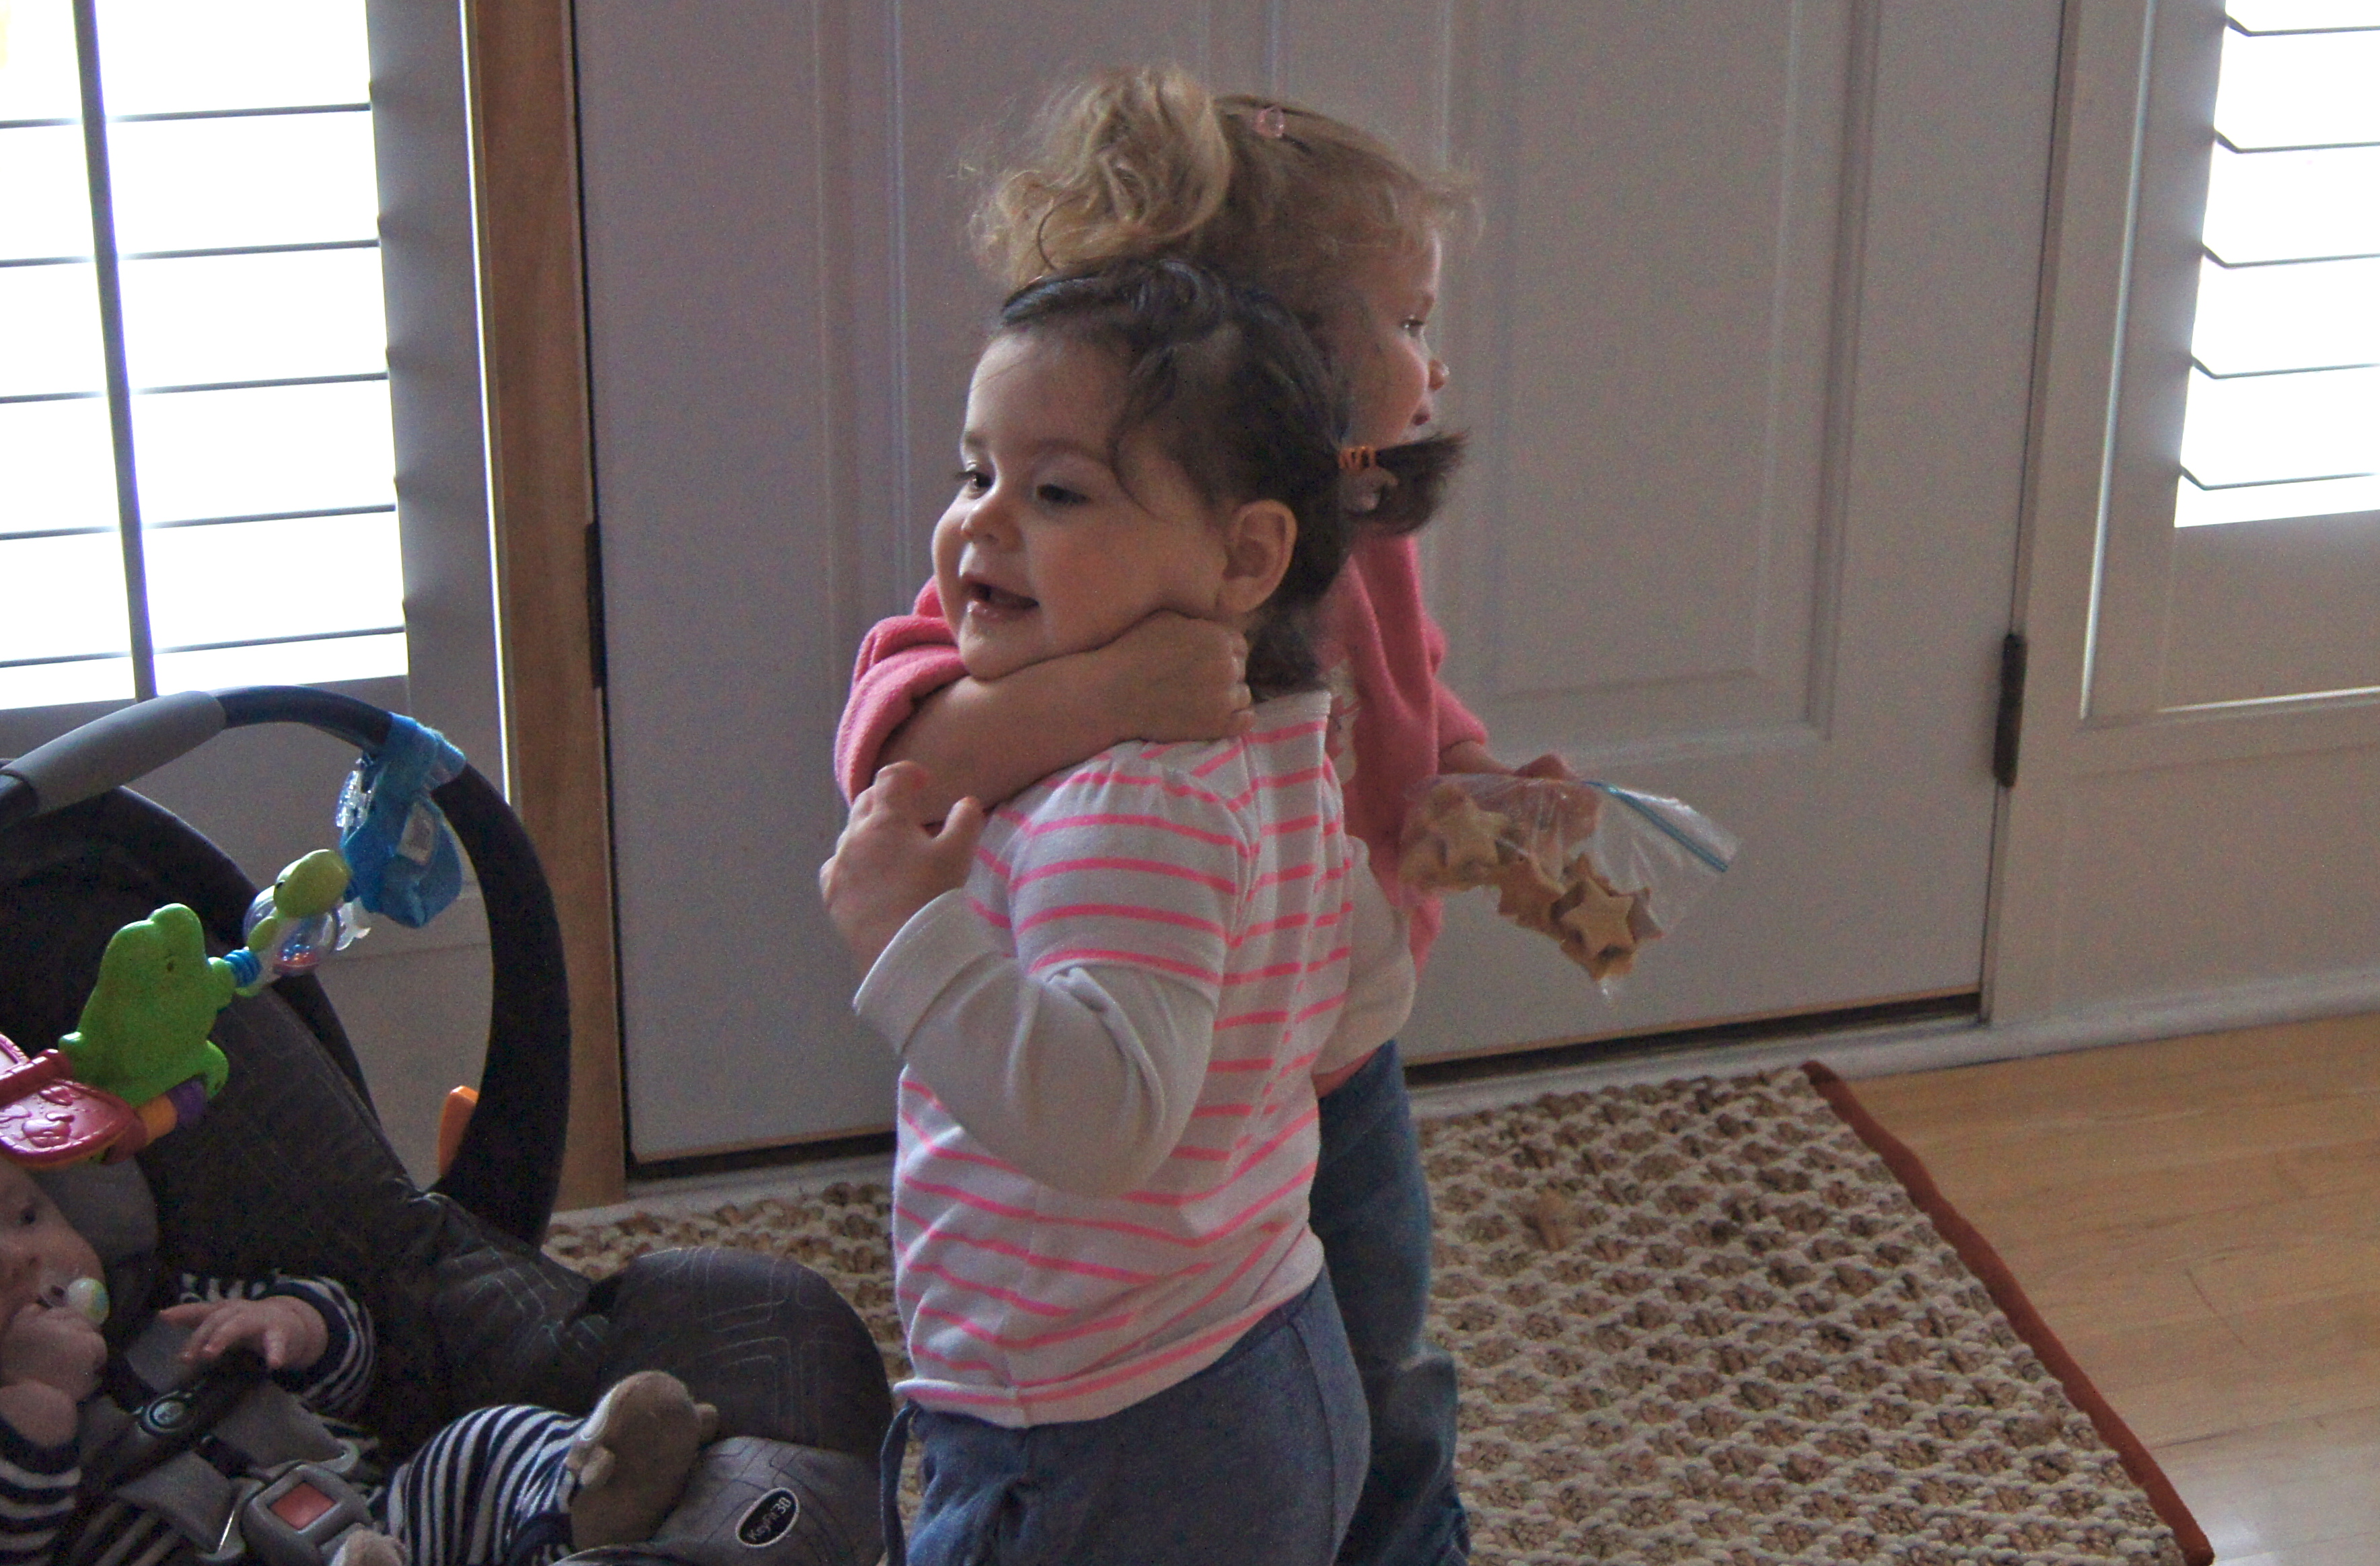
Please brace yourself…this post may include but is not limited to:  a LOT of food, some bragging, extremely adorable children, probably too many photos and so much love it’s almost gross.  We took a trip back to my parents house for fathers day weekend.  Here’s where the bragging comes in: there are just no words to describe how wonderful it was to see these sweet faces and spend such quality time with my parents, a few of my siblings and their families.  Quite frankly, I sit here with a heavy heart as I write this because I want nothing more than for my own daughter to be able to experience this type of sense of family and love on a regular basis; but we will take what we can get and cramming an obscene amount of it into a few short days really did hit the spot and make for some tremendous memories.

On another note you would not believe the amount of unbelievable food that my mom prepared for fathers day dinner.  She was working her little teezo off in the kitchen all weekend and you could taste every ounce of the work in each dish she prepared.  Every single bite was over-the-top-good…Lebanese cuisine at it’s true best.  And as for the 10 pounds I probably gained..meh, totally worth it.  Heres a few highlights of the trip:

Sittie preparing the squash for the KusaImageGeorgia and Sit washing the squashImage

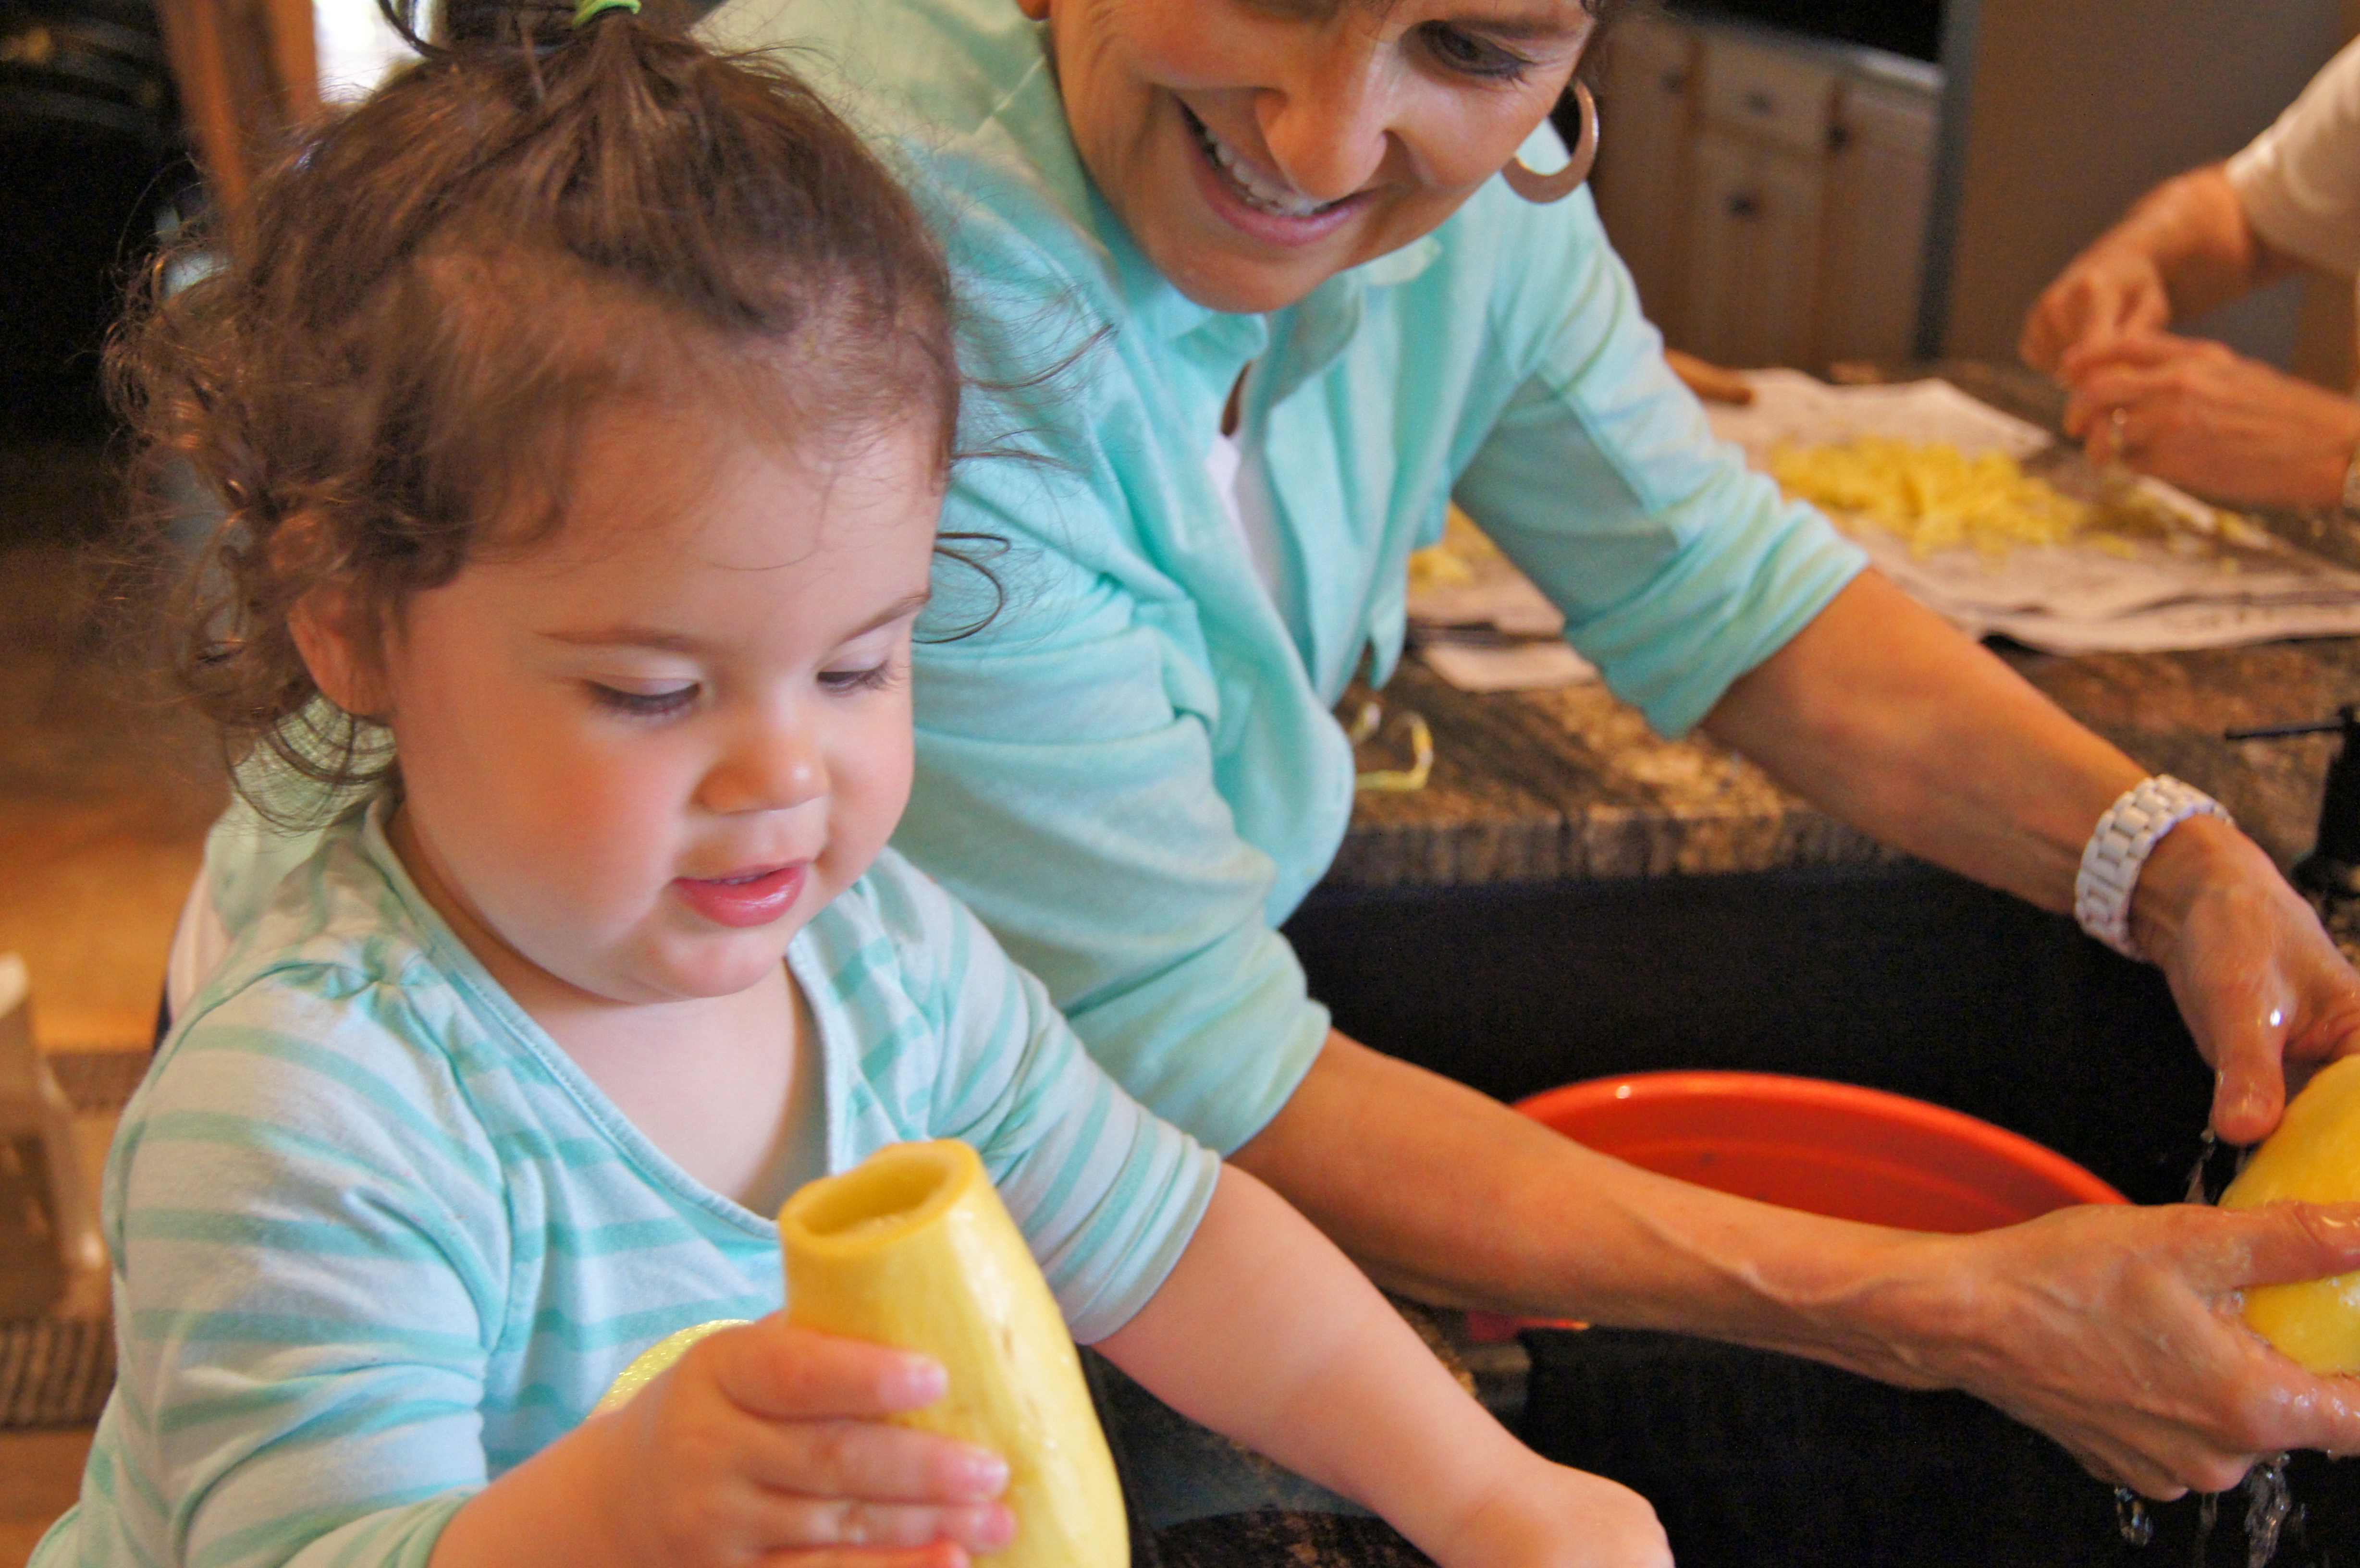
Jiddo trimming the meat for the KibbiImage

Sittie grinding the meat Image

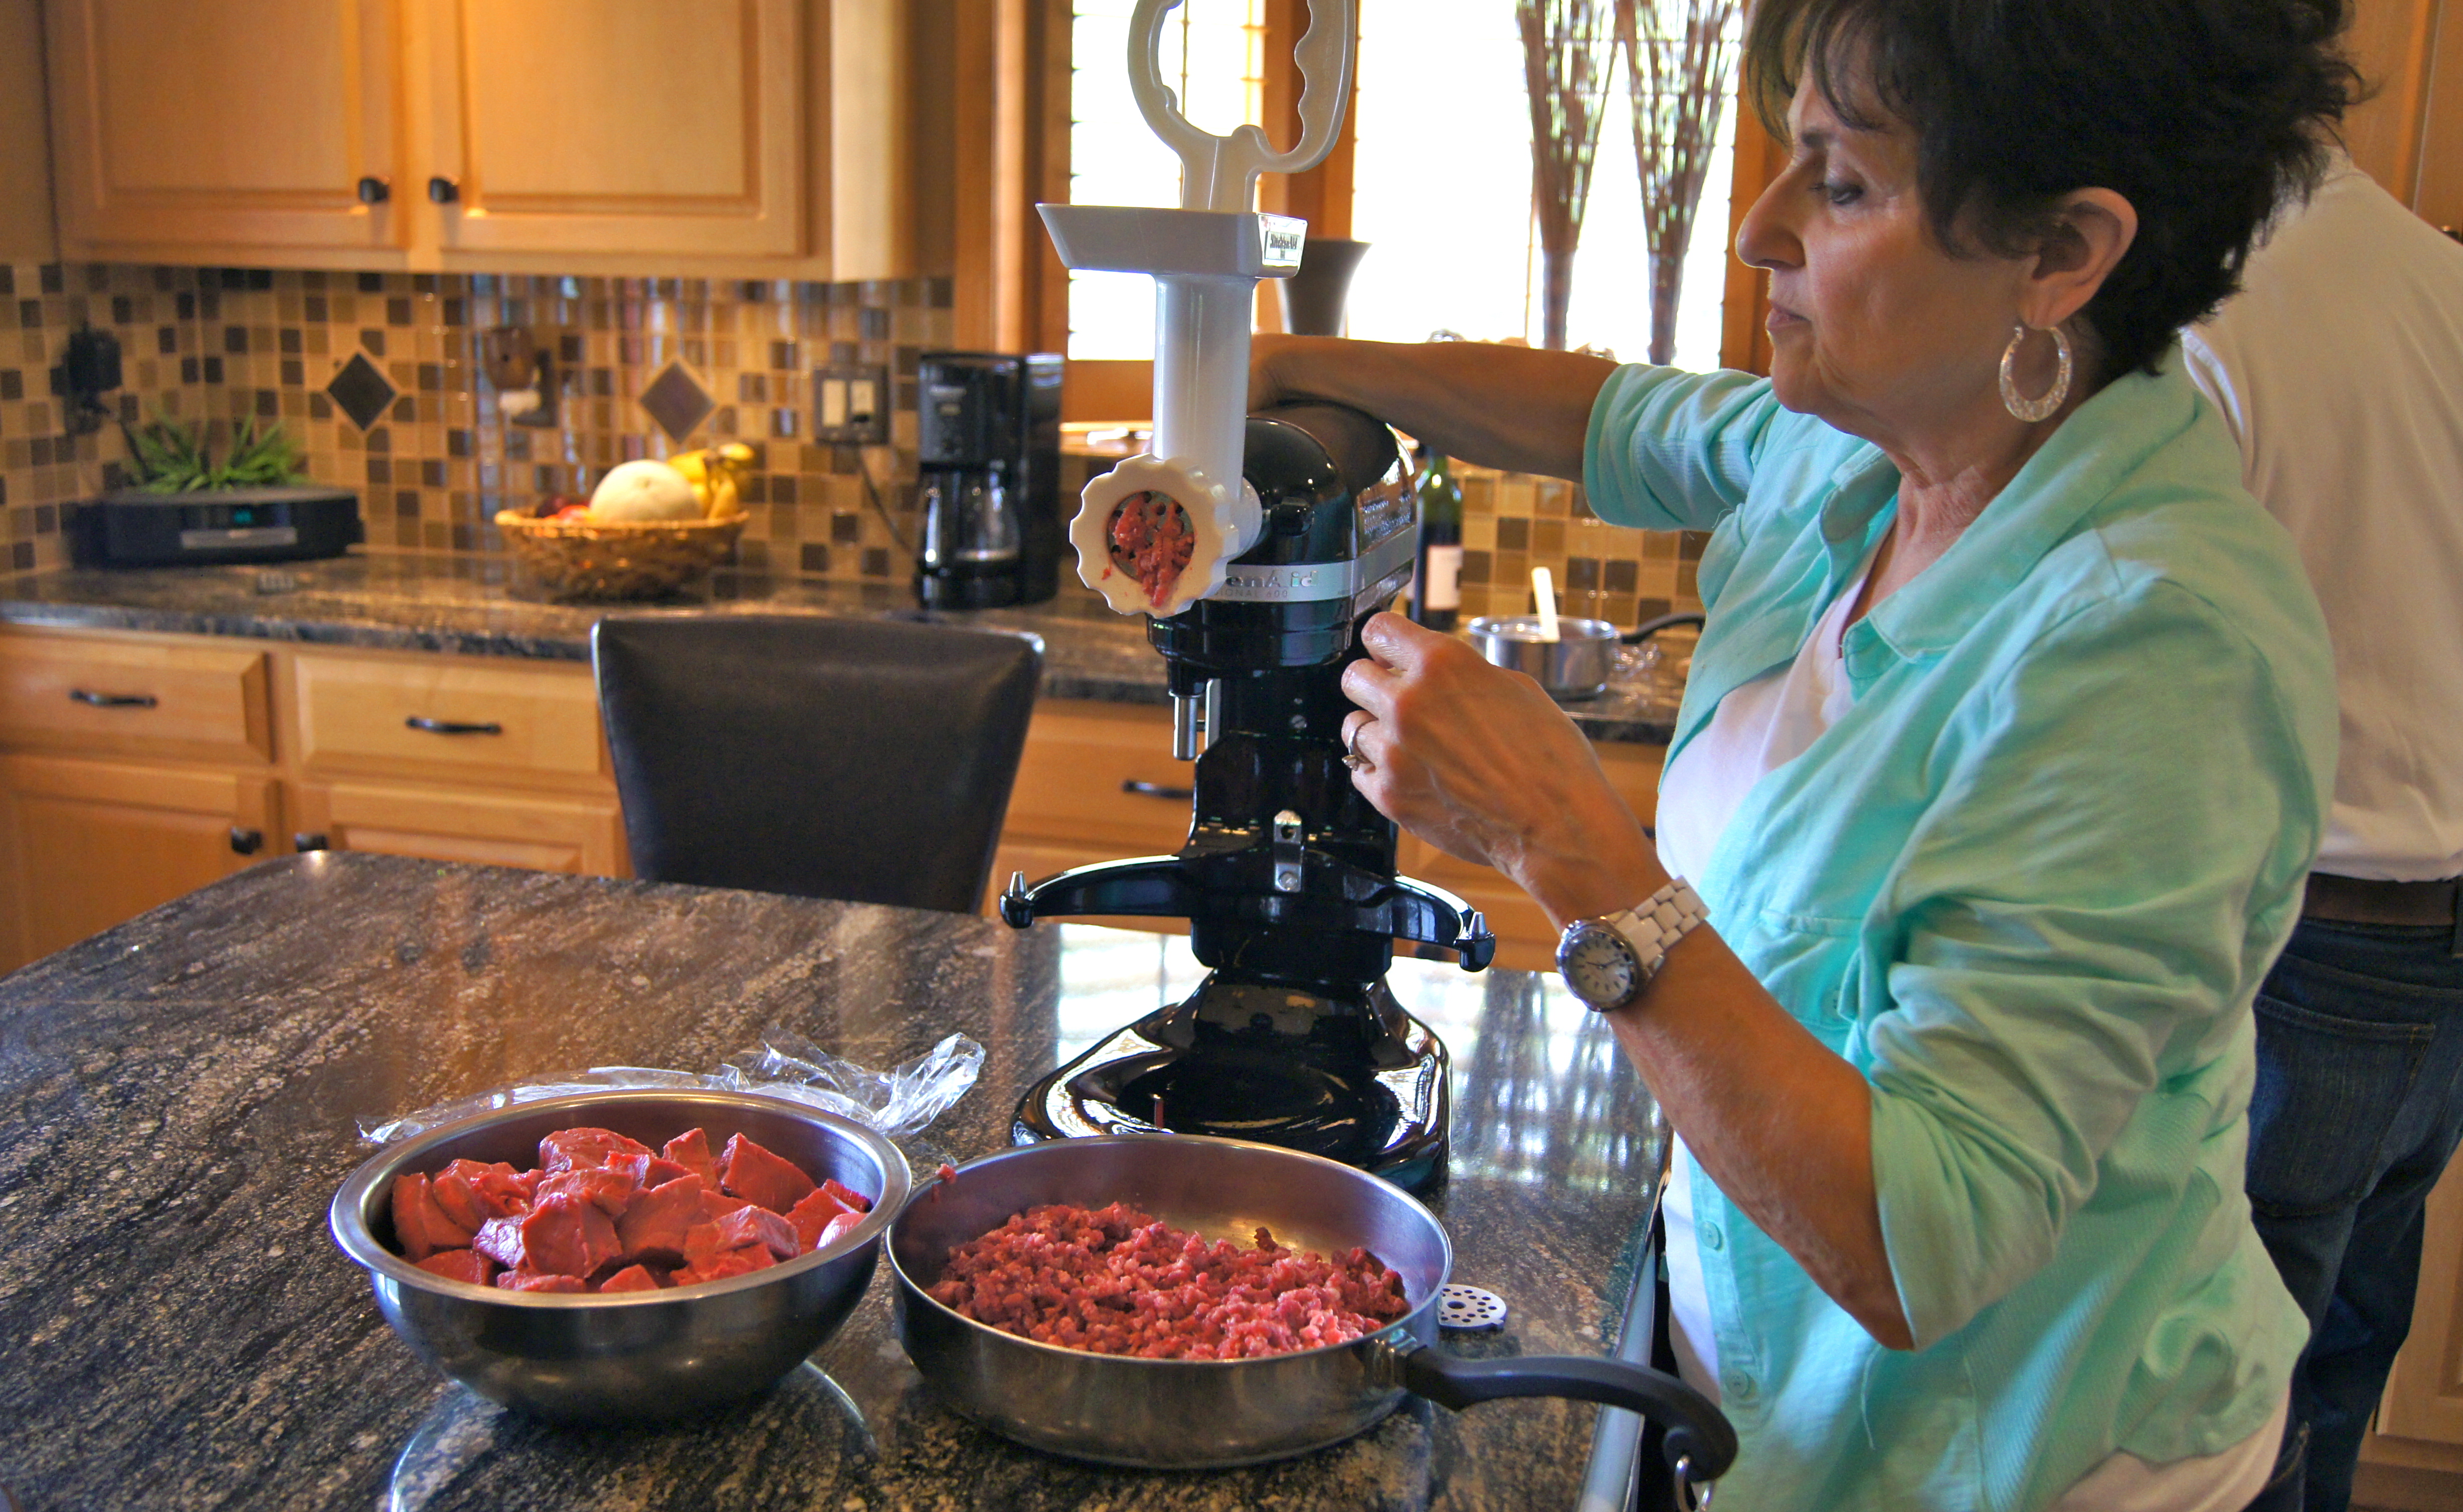
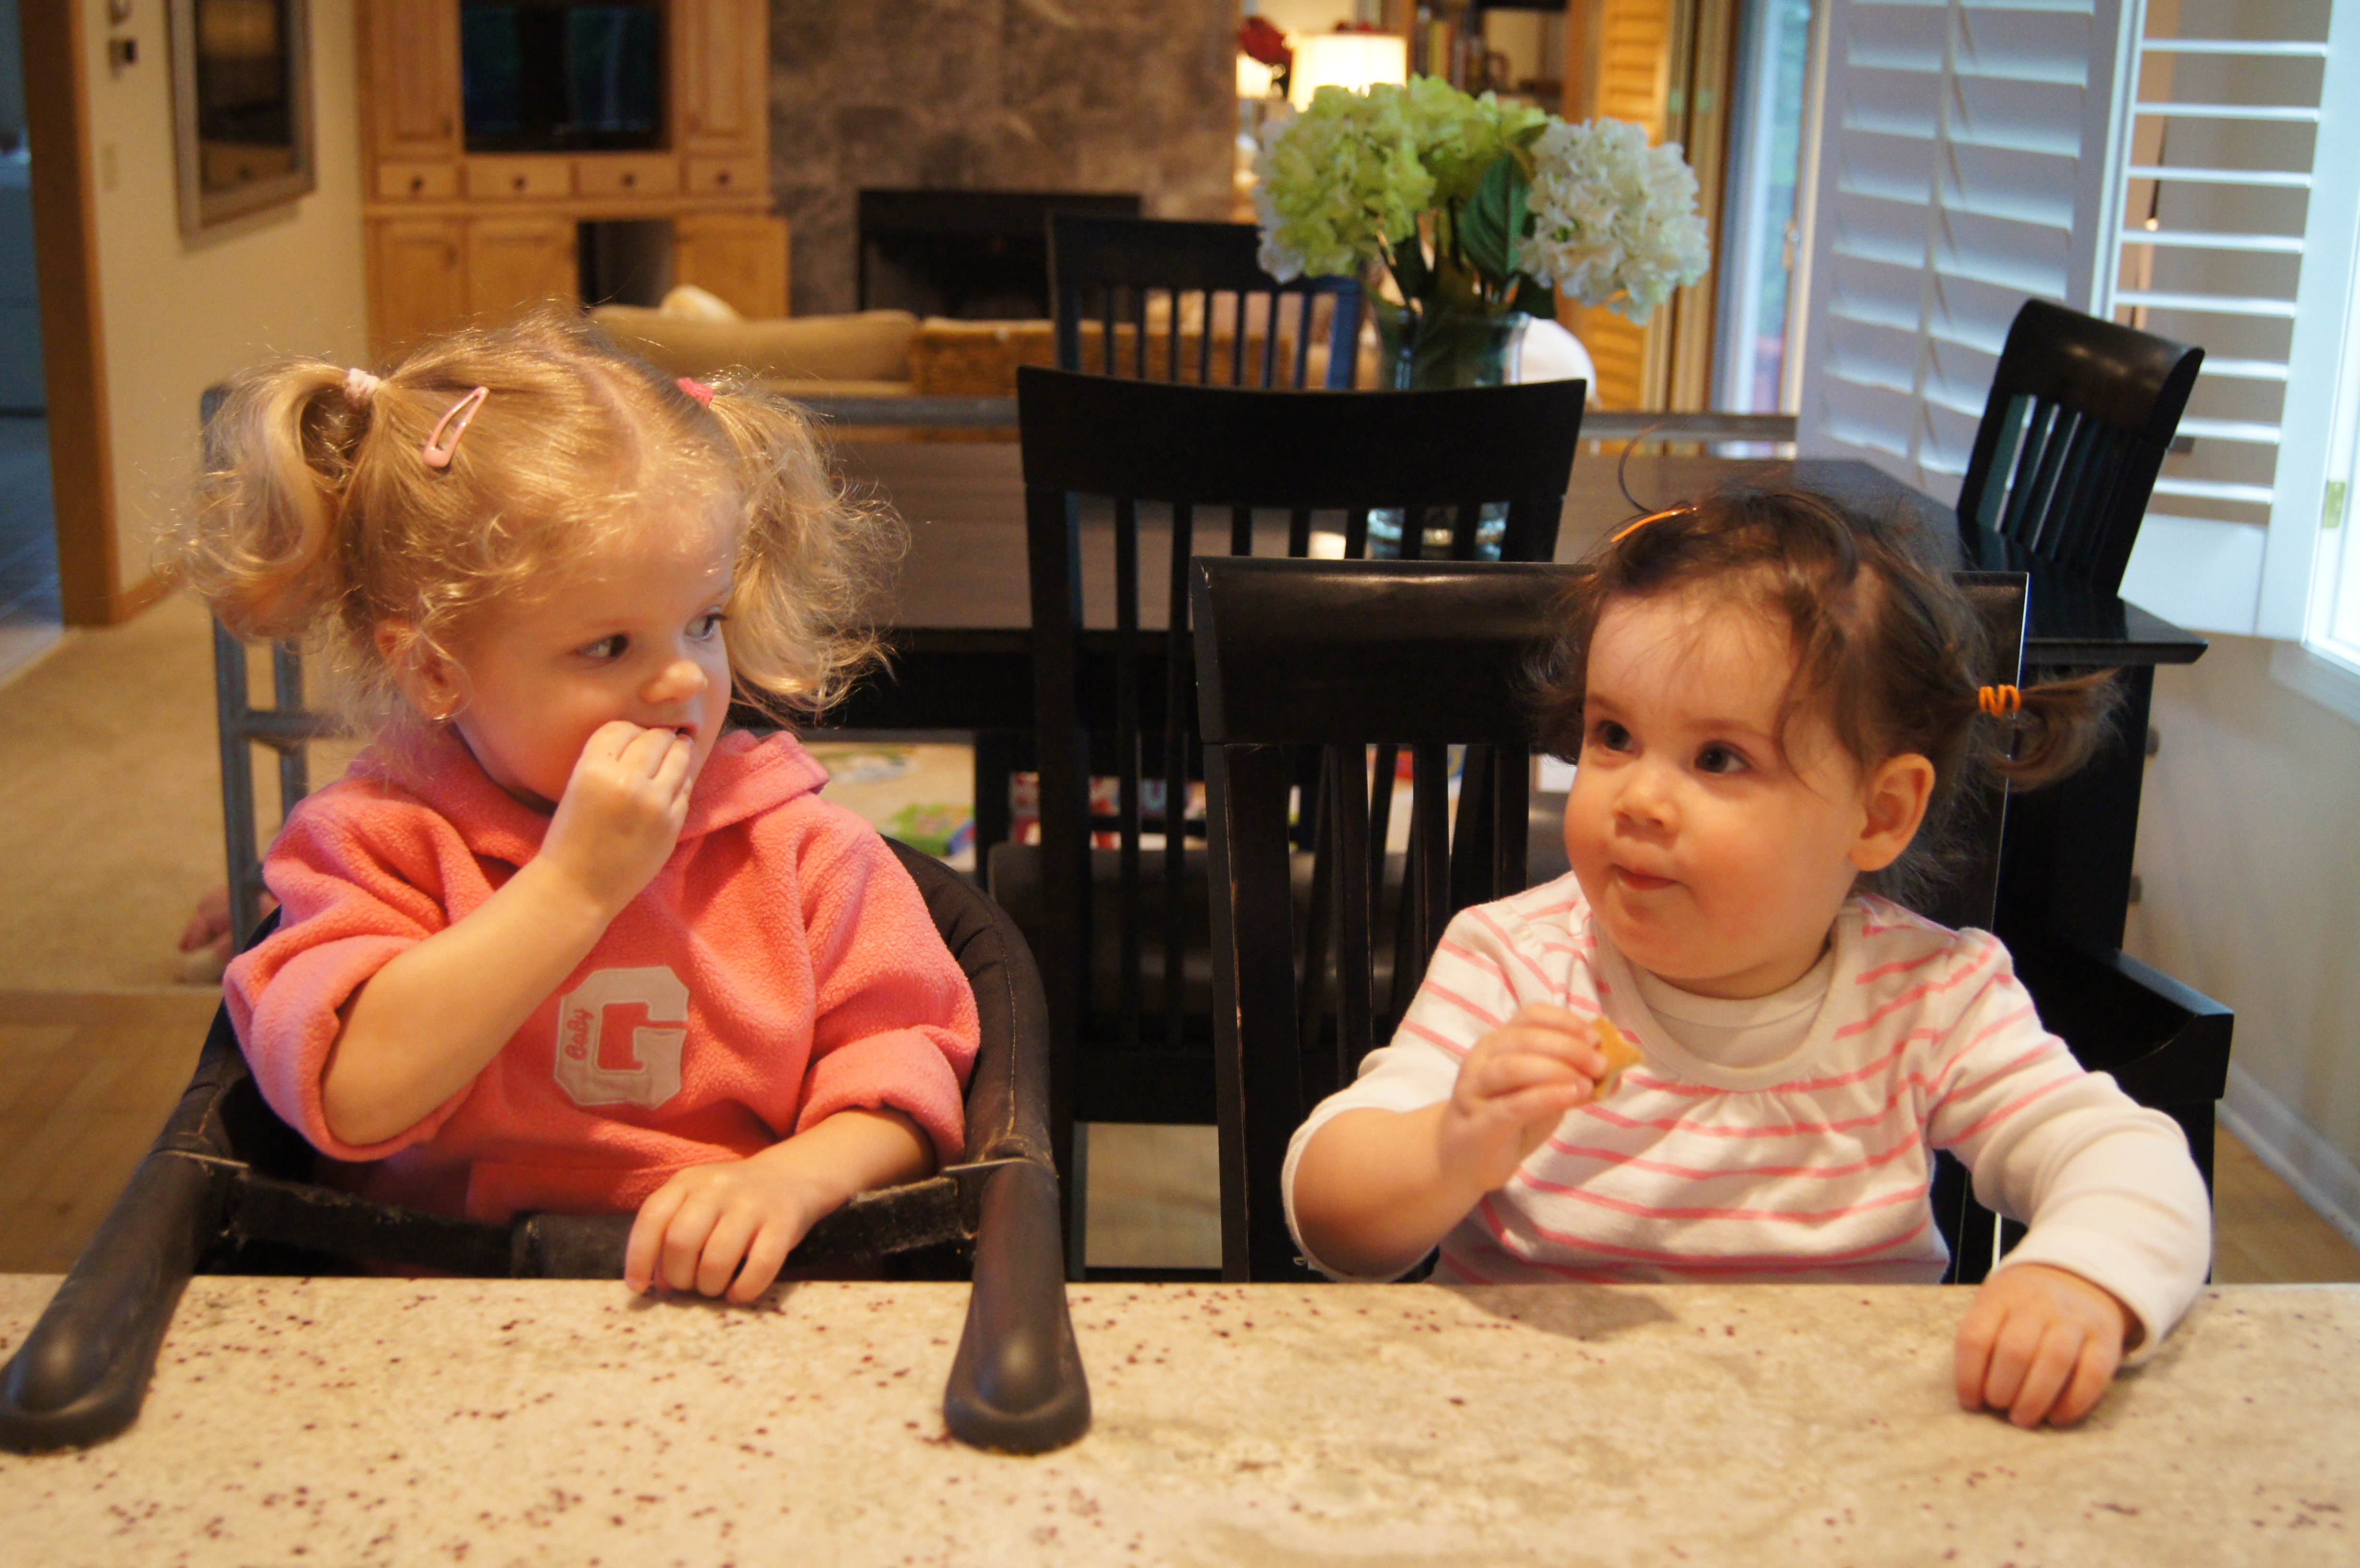
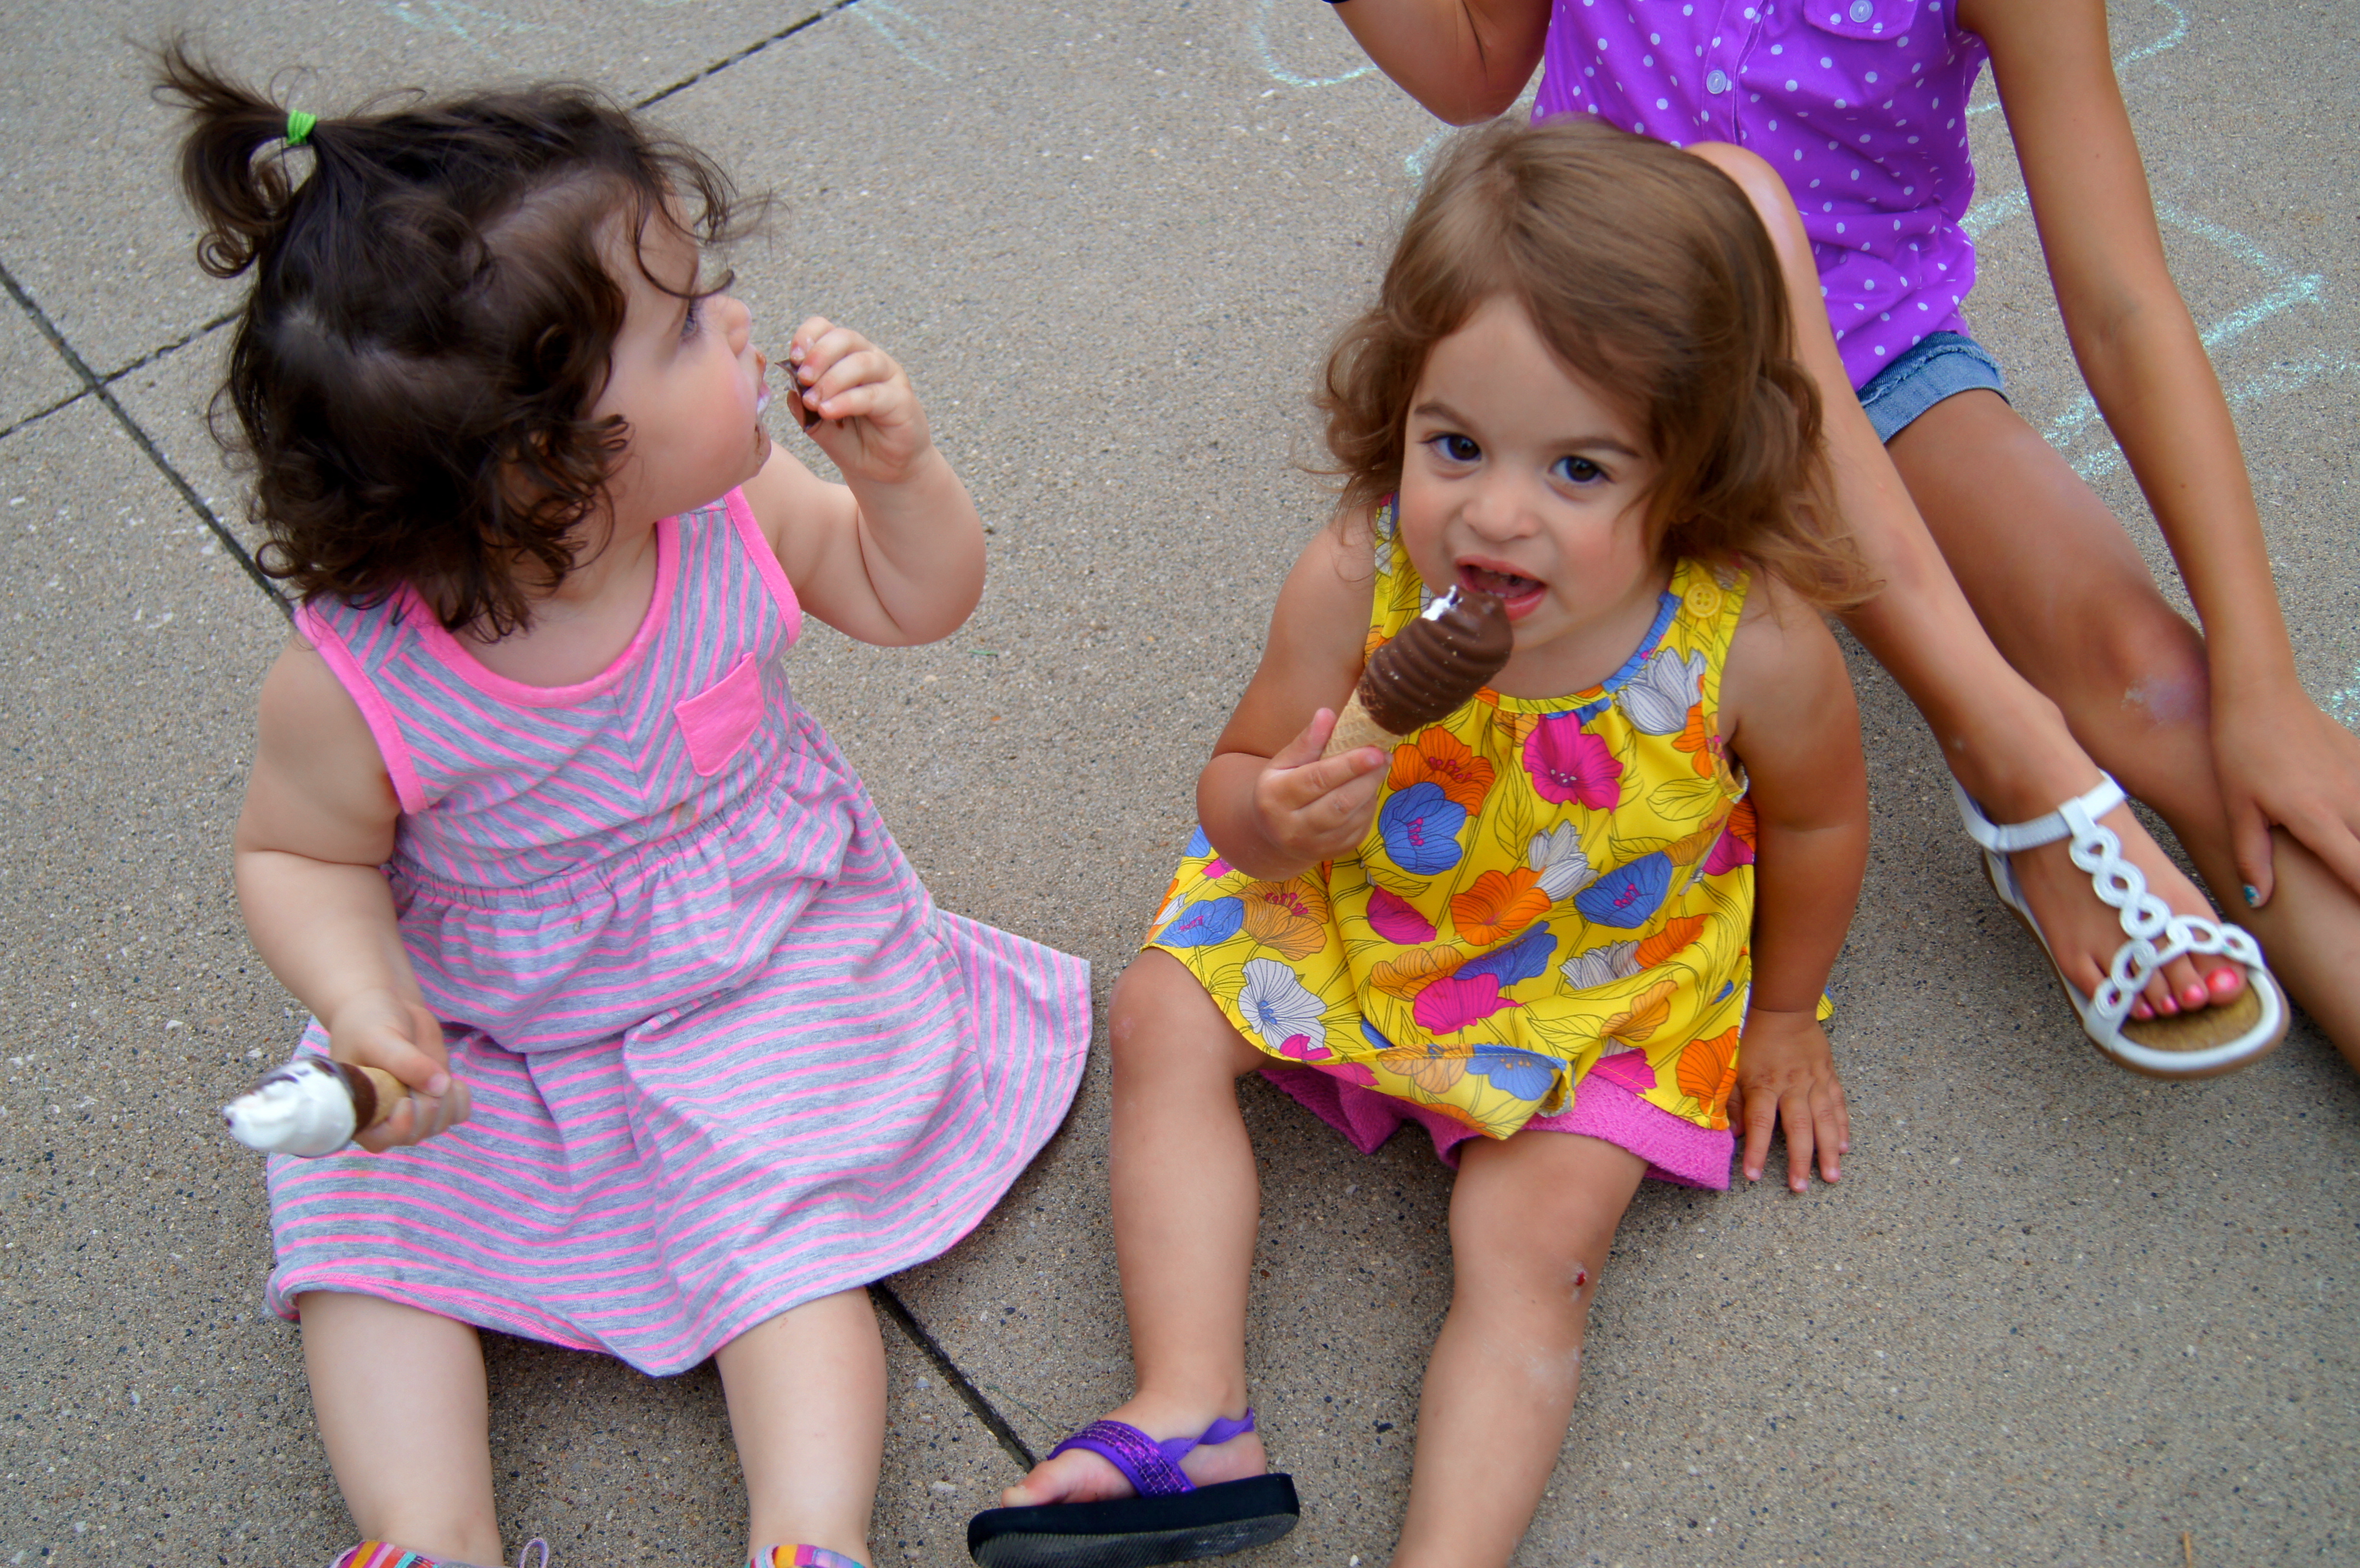
Eating sundaes with Sitties homemade hot fudge with some very special cousinsImage

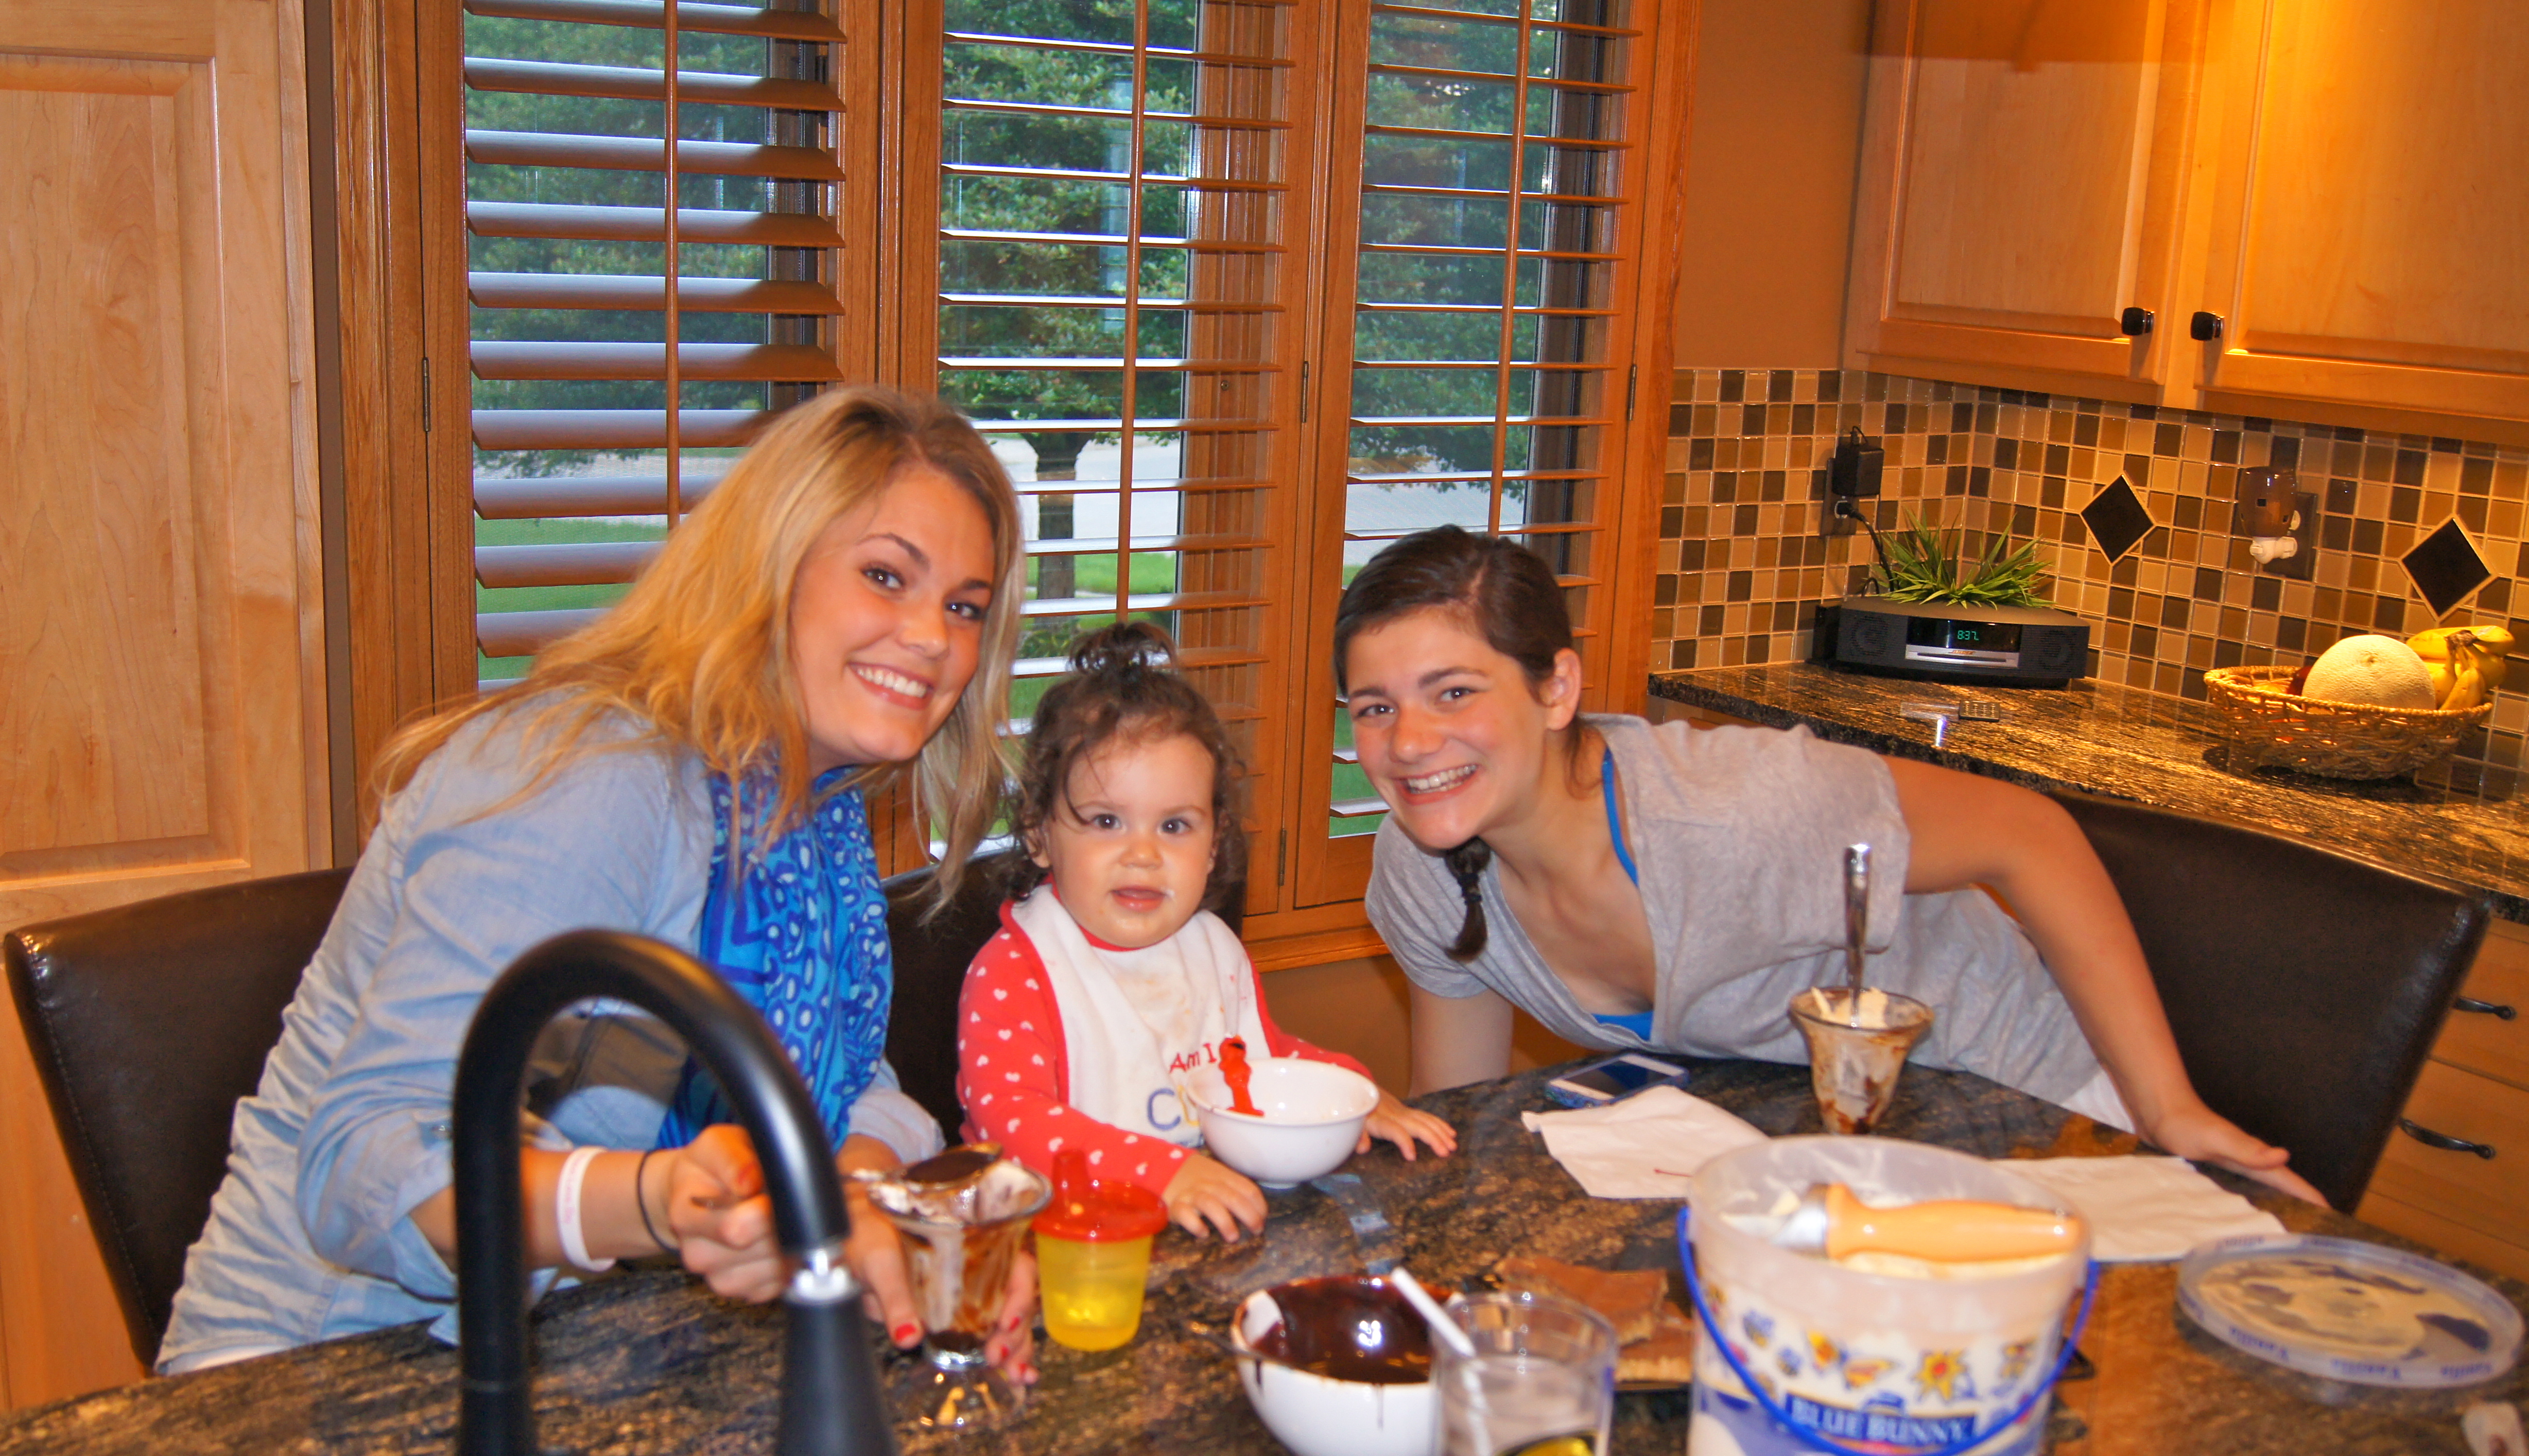
And now making cupcakes! With the hidden dollar bill baked into one just like my own Sittie used to do 🙂Image

Picking rhubarbImage

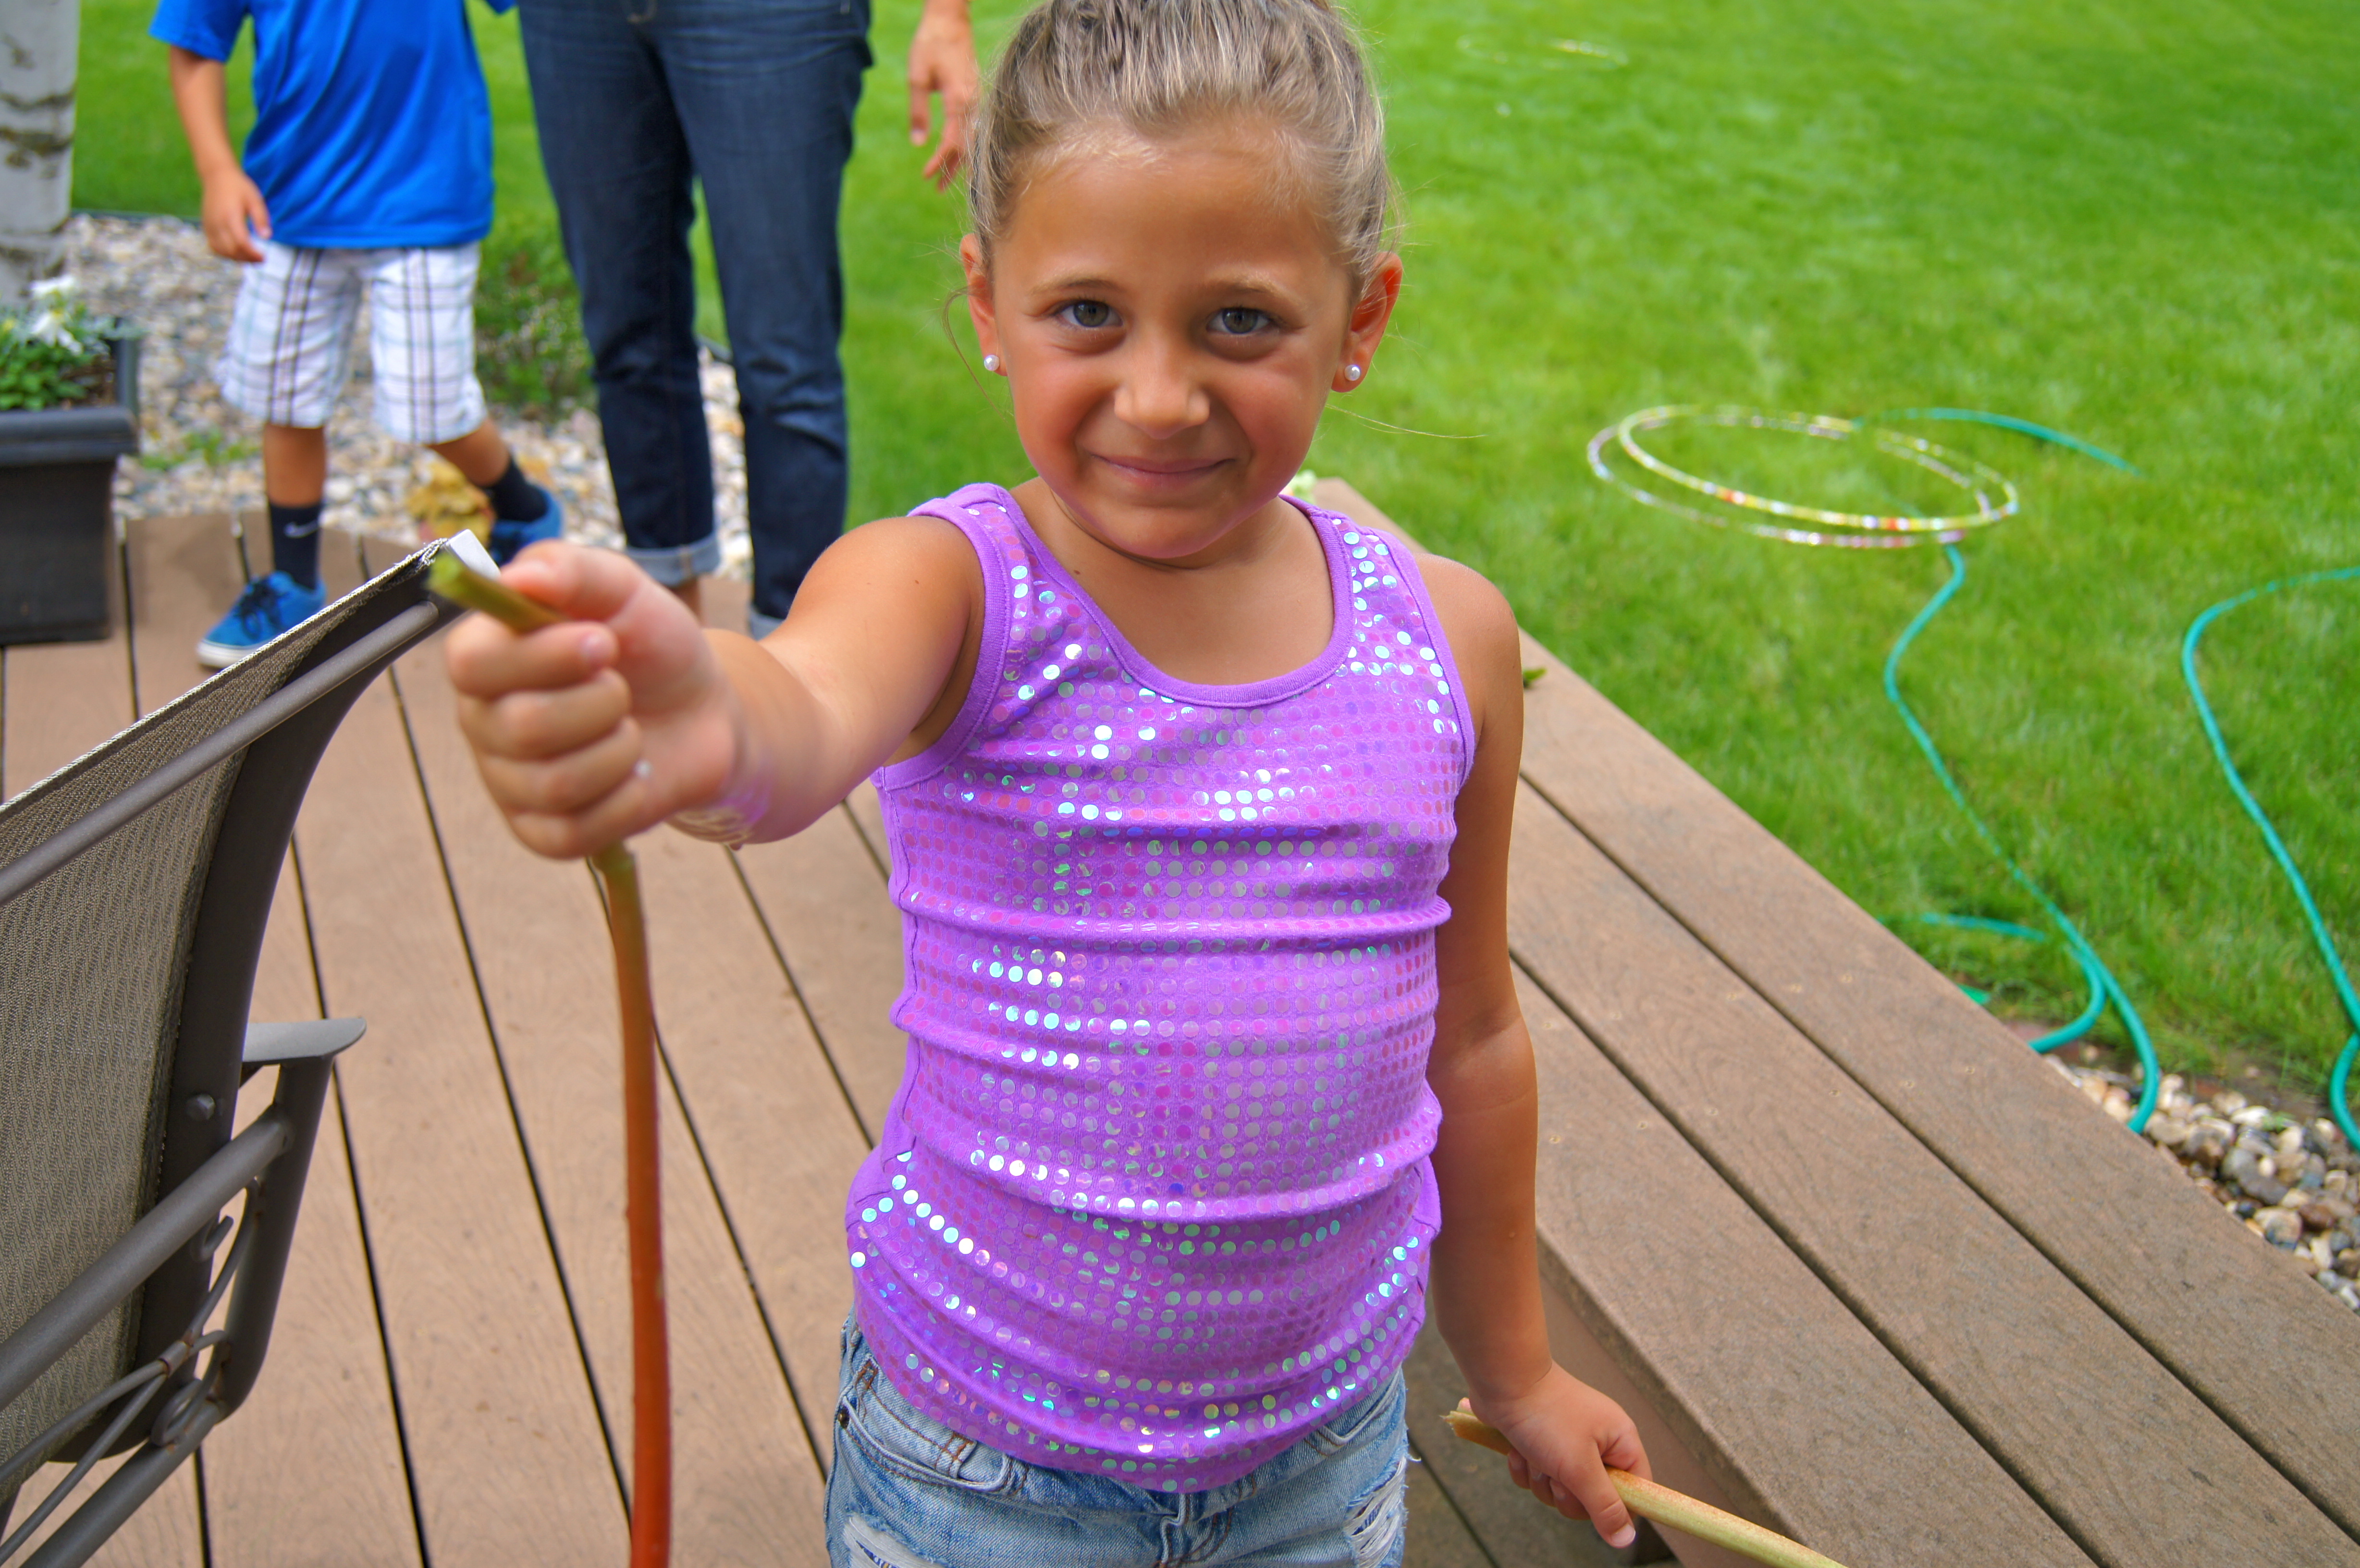
And tasting the rhubarb…sour!Image

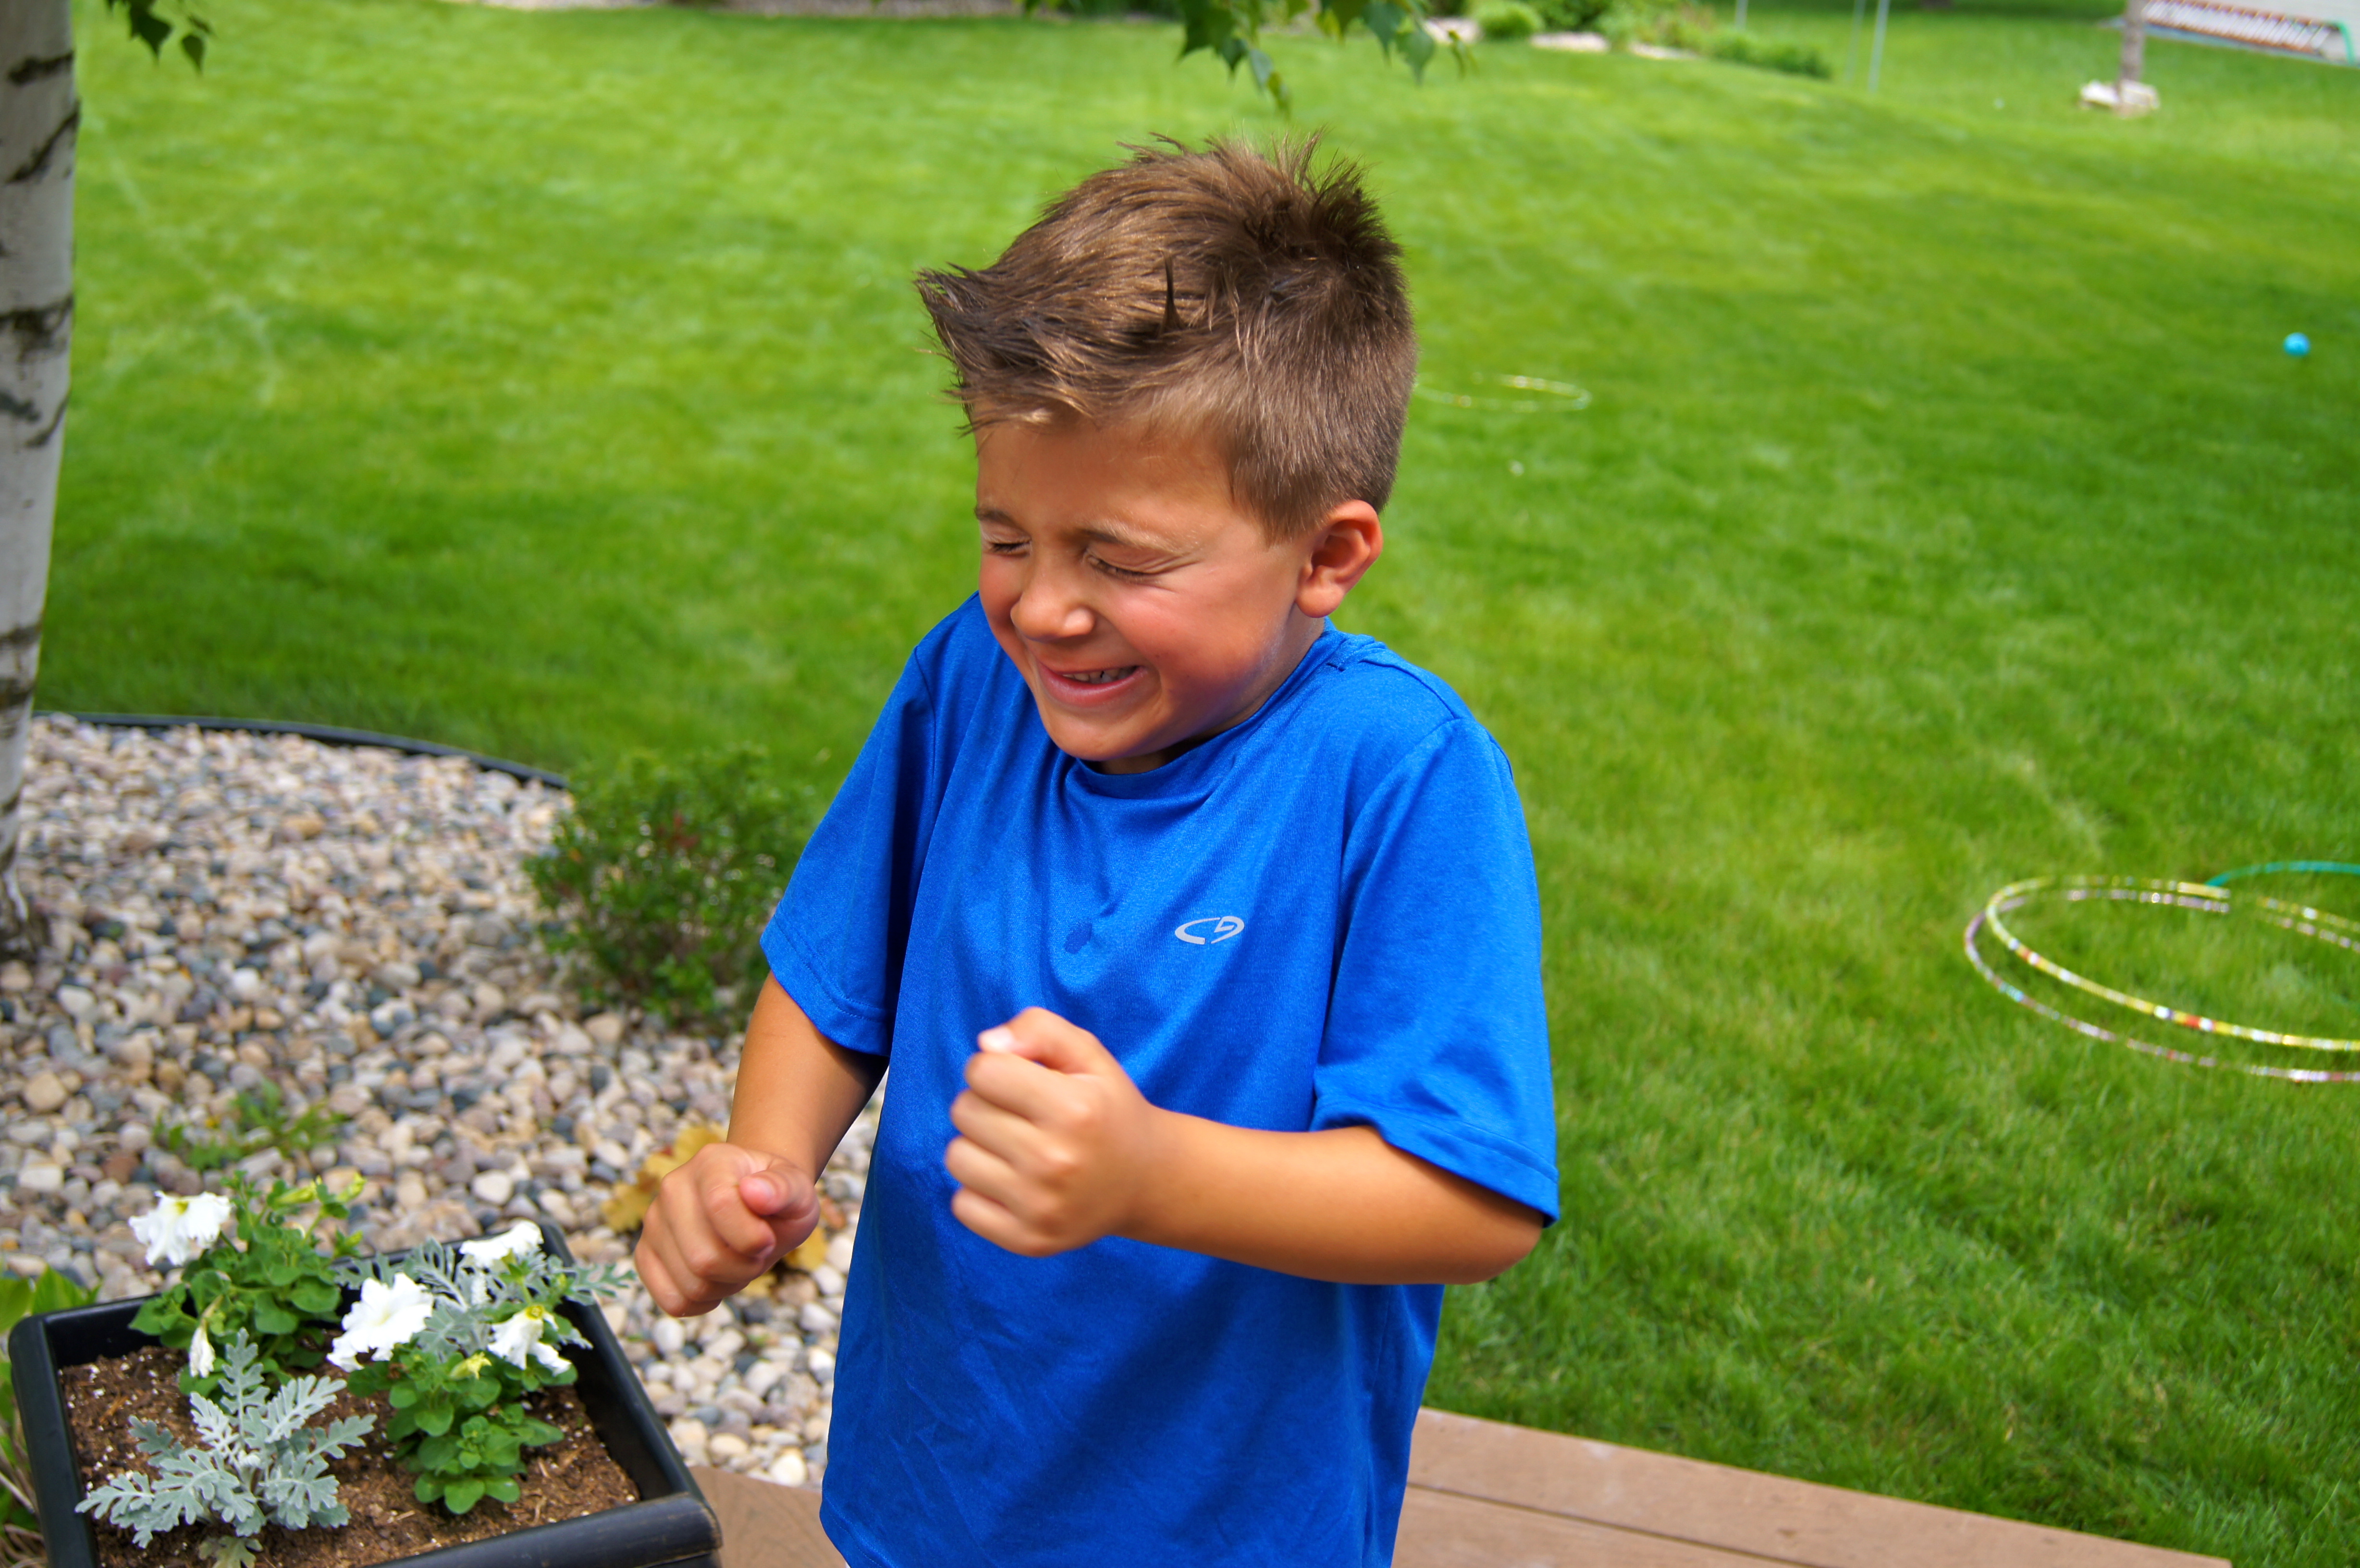
Kusa:  squash stuffed with rice, beef or lamb, tomato sauce and spicesImage

Rice and Peas:  sweet peas simmered in tomato sauce with onion and spices and served on the most buttery-tasting rice everImage

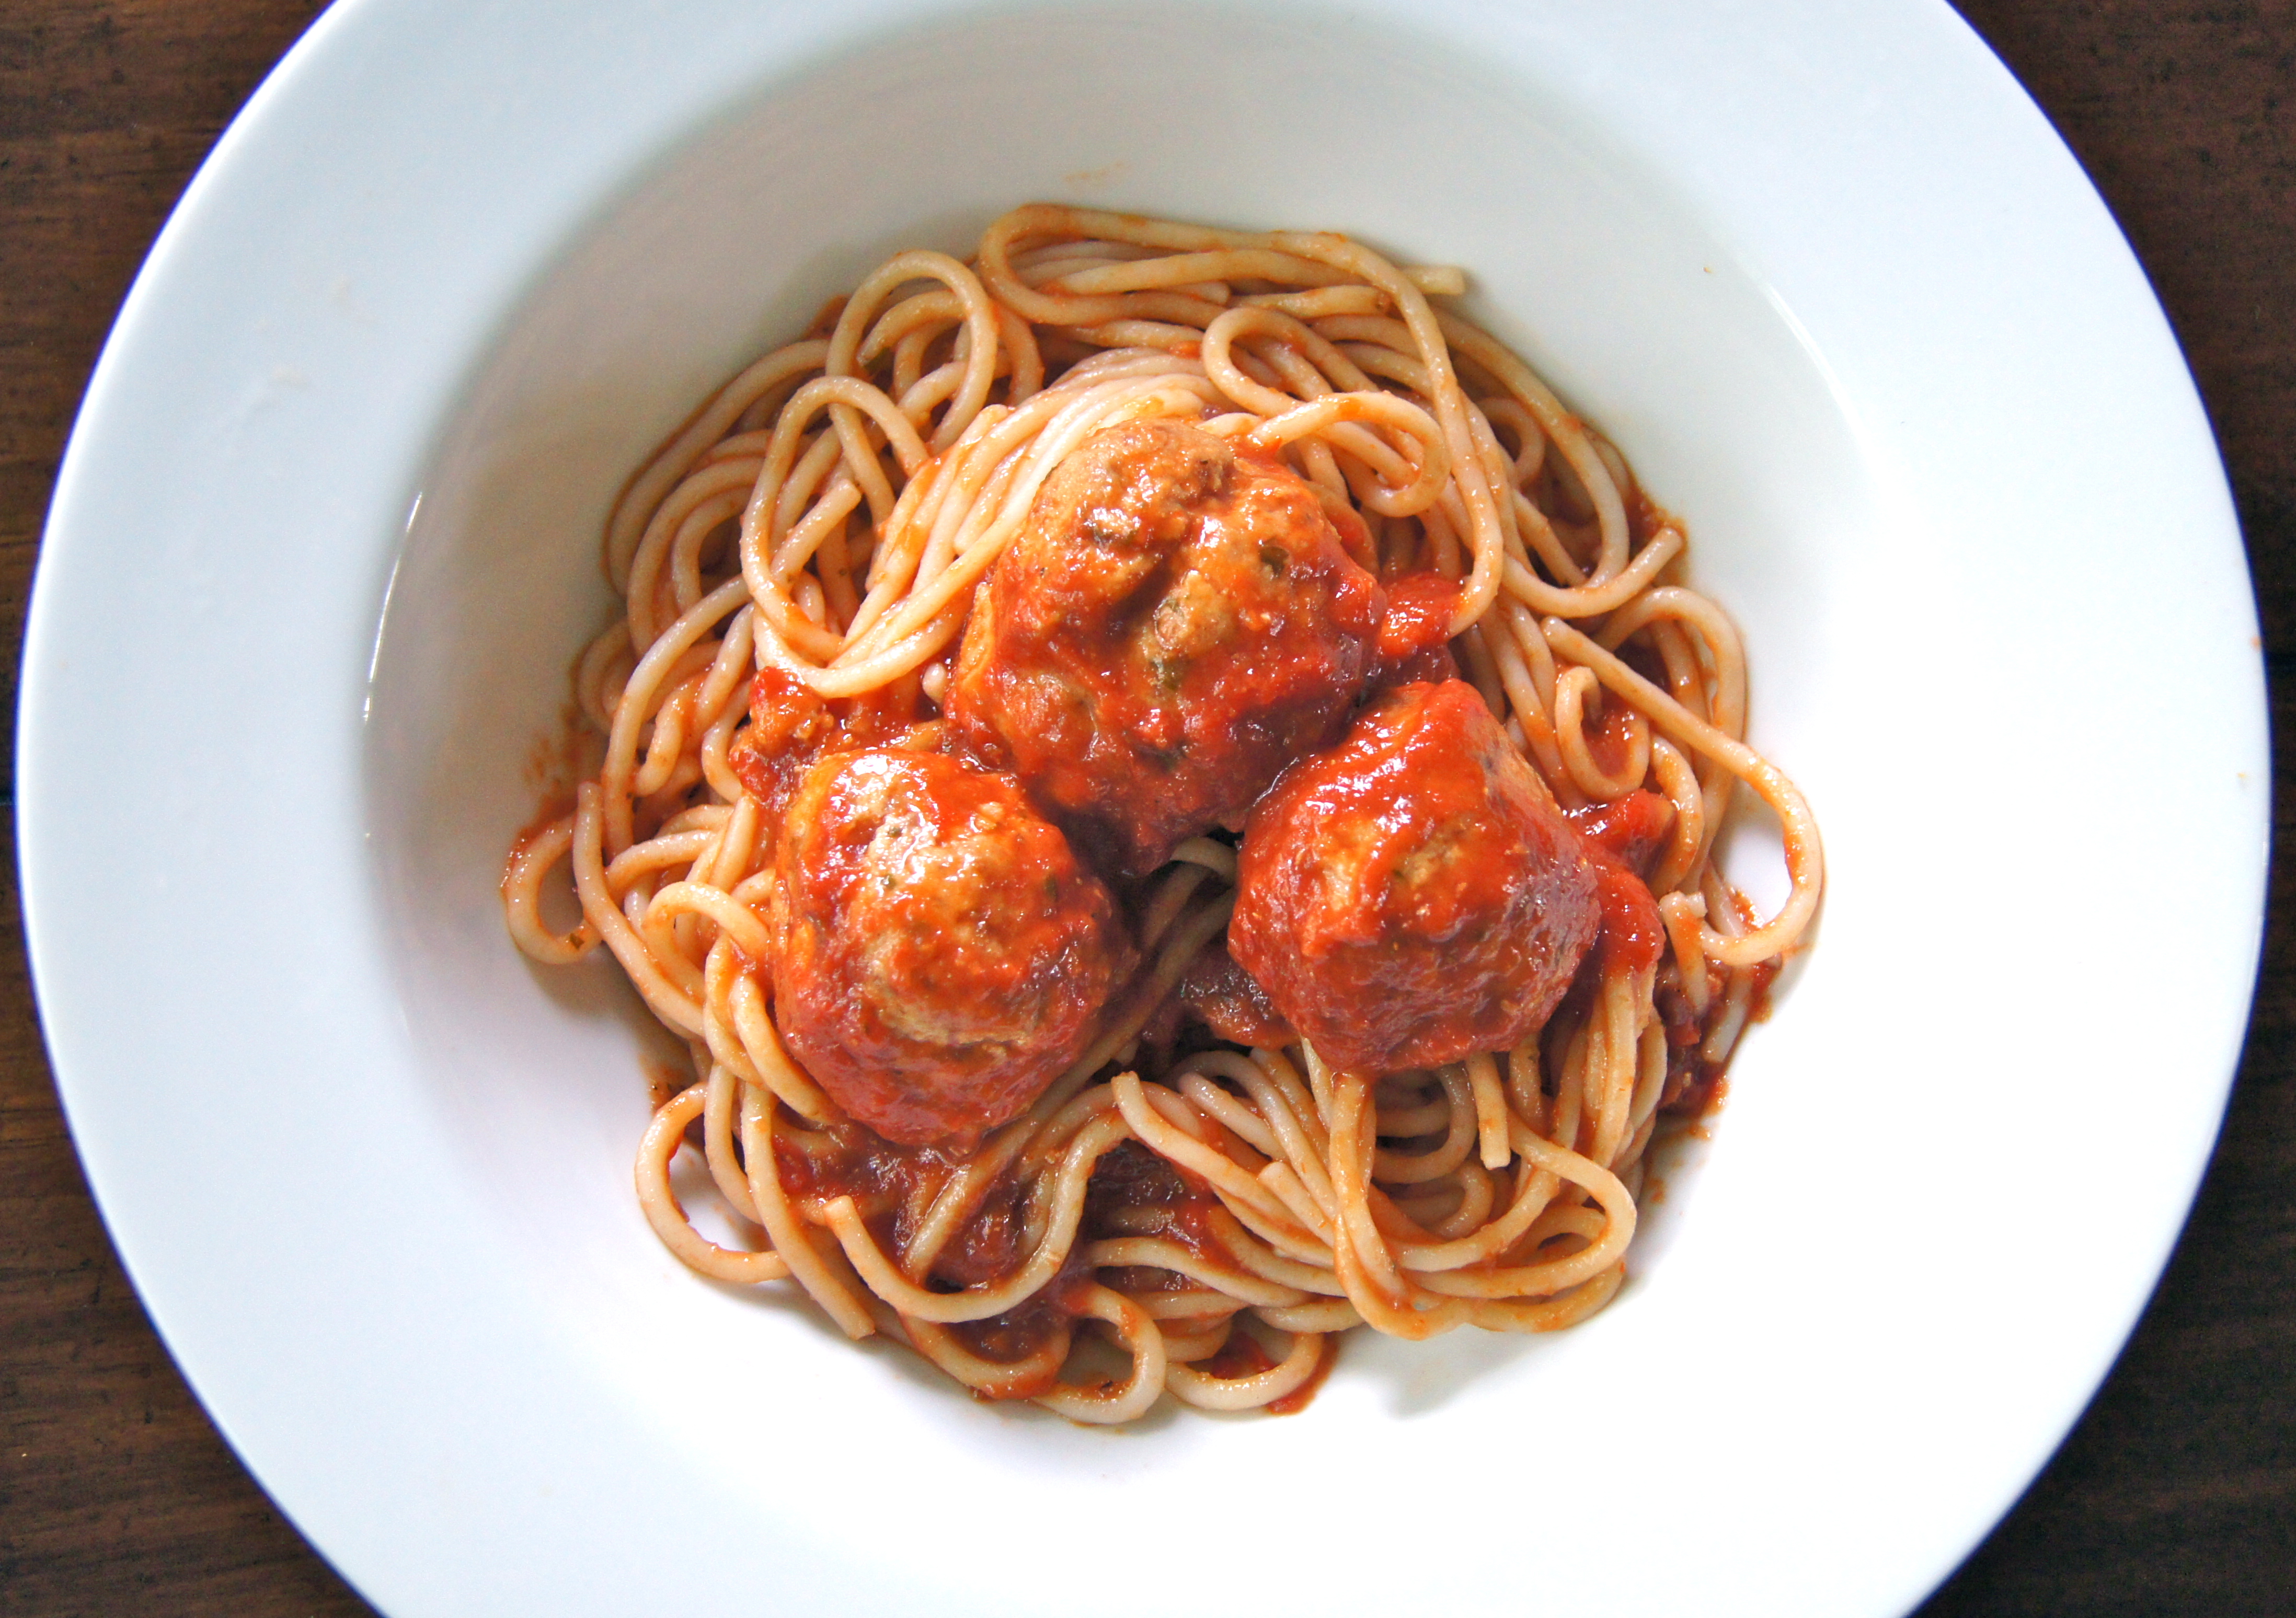
Raw Kibbi:  very very lean ground lamb or beef mixed with bulgur wheat, onion and spices.  my absolute favorite.Image

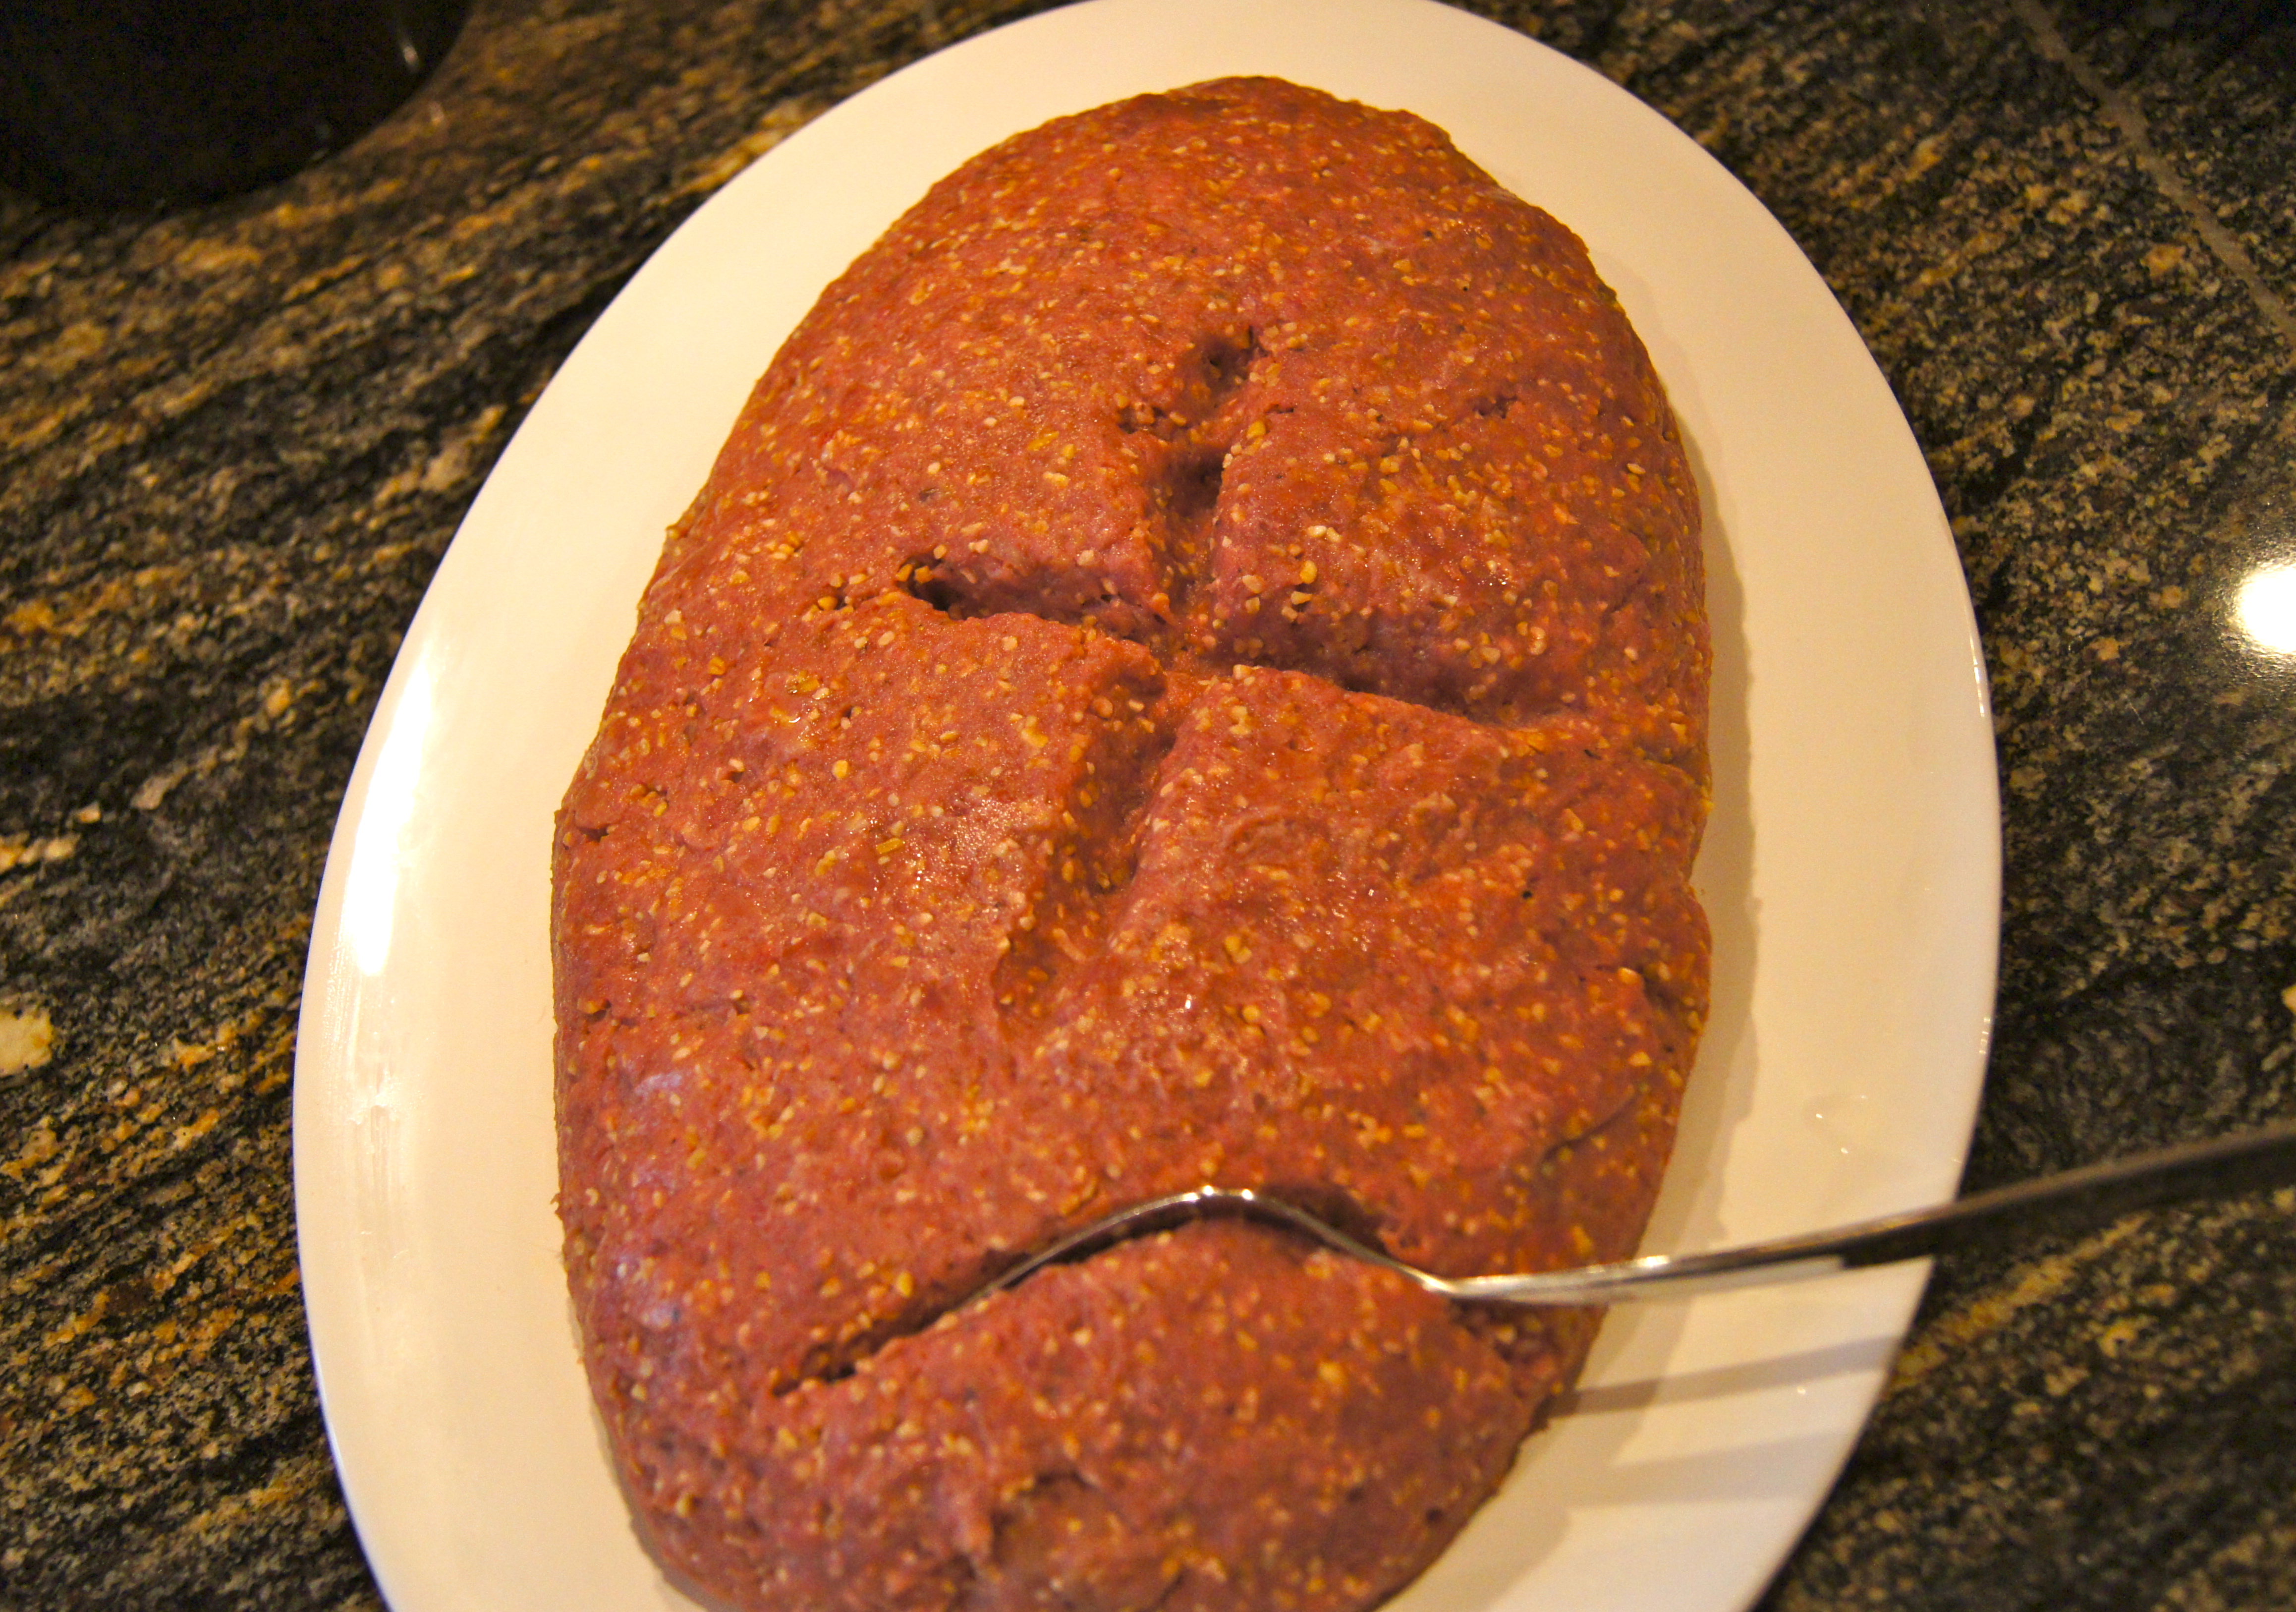
Baked Kibbi:  because my mom is crazy thought the raw just wasn’t enoughImage

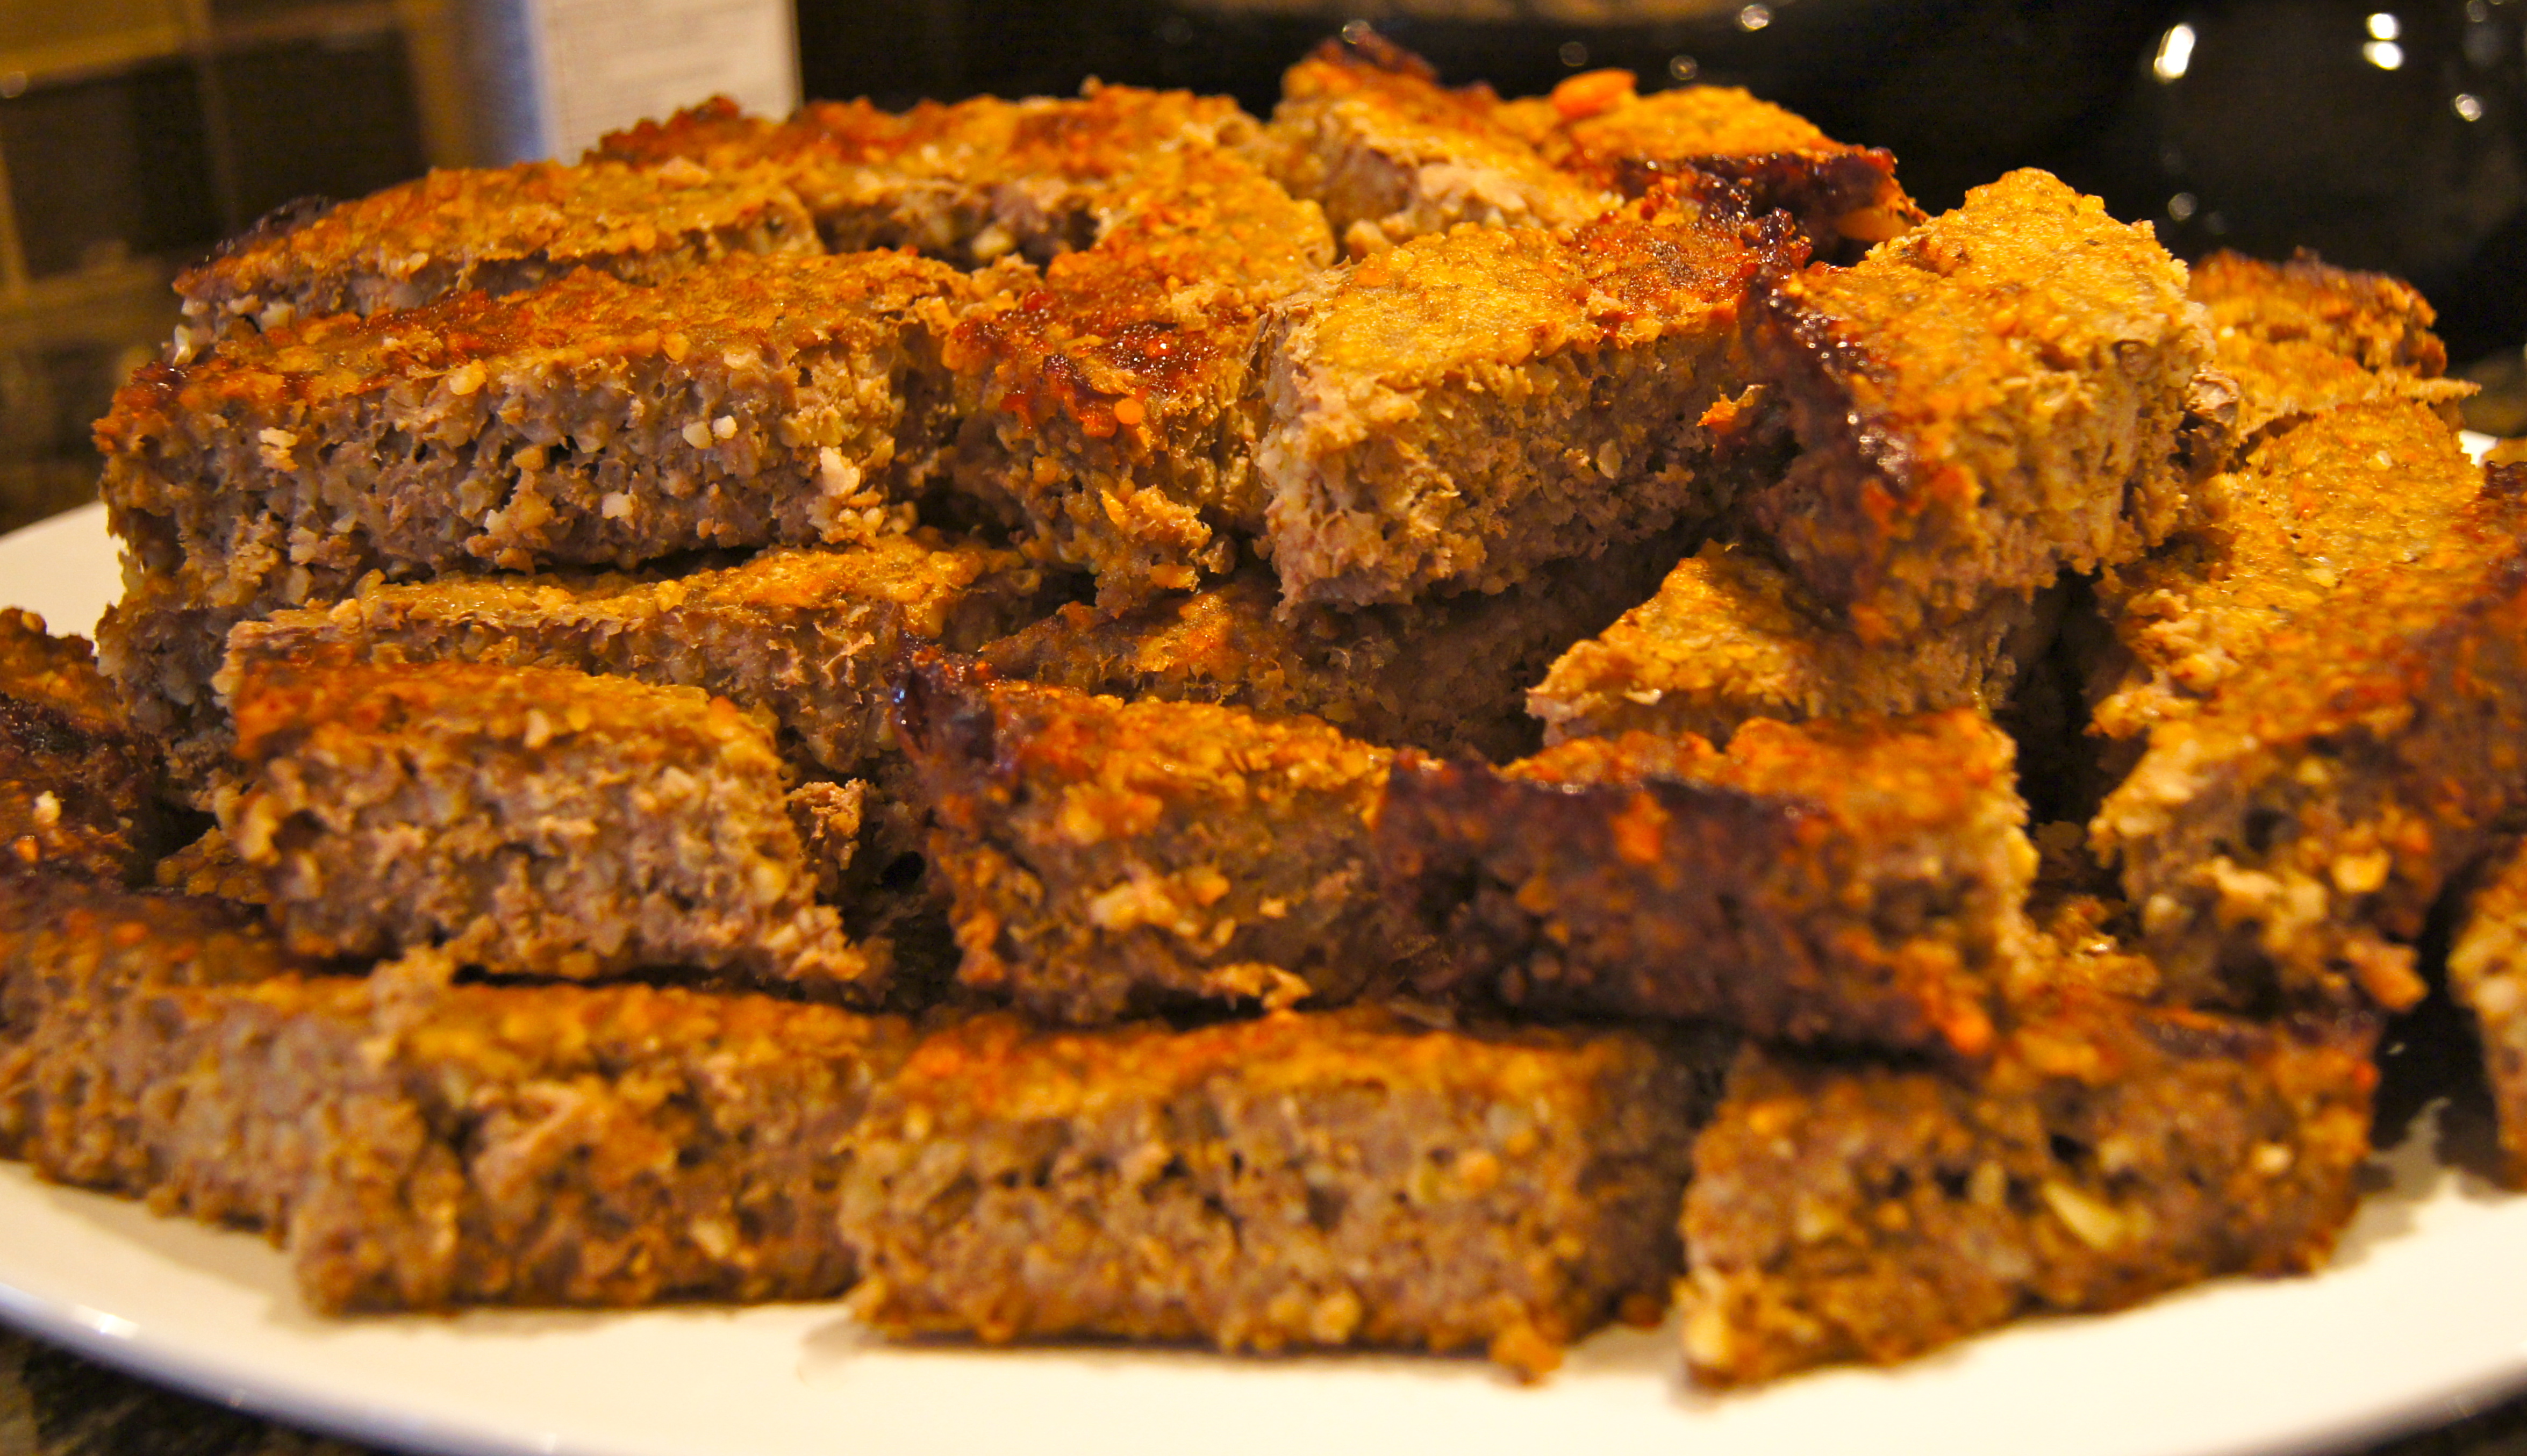
Stuffed Cabbage RollsImage

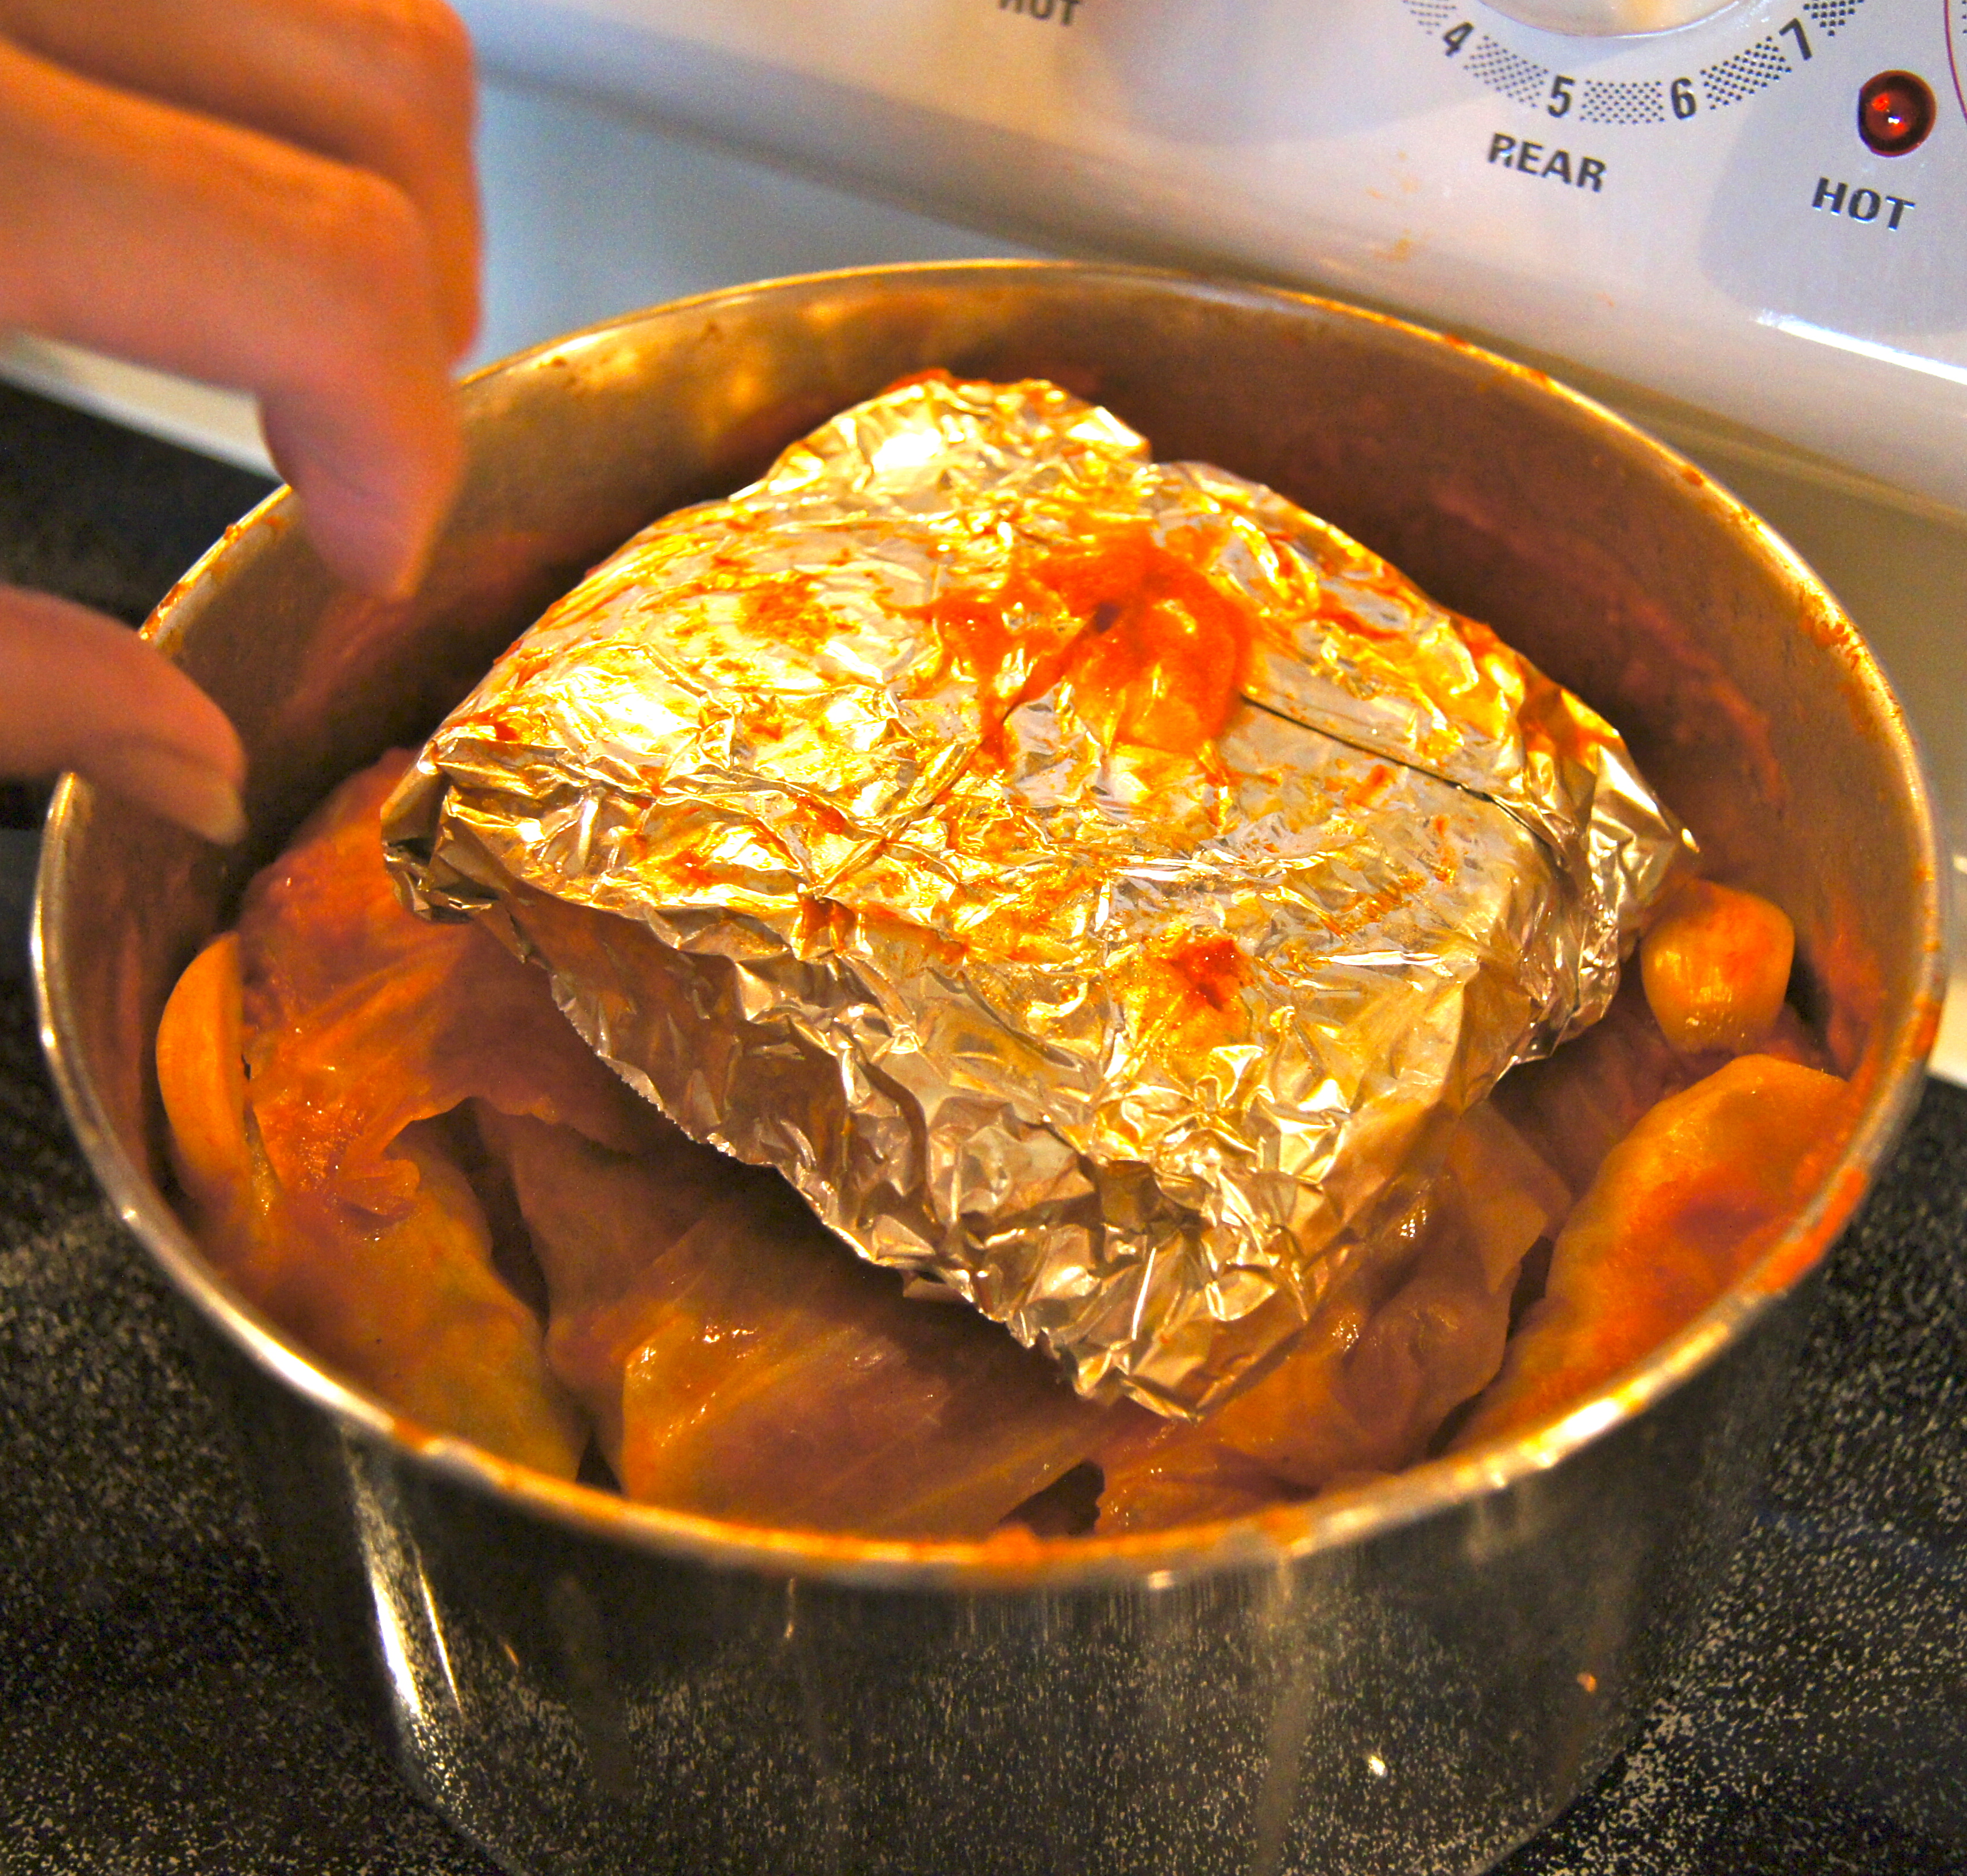
An after dinner ice cream treatImage

Image

Image

Hula hooping!Image

Jiddo fixing the bike.  For any of you who know my father you’d be very proud…he fixed it:)Image

The worlds best daddy.  Thank you for wanting to spend your special day with my family…it made my heart so happy.  We are beyond blessed to have you xoImage

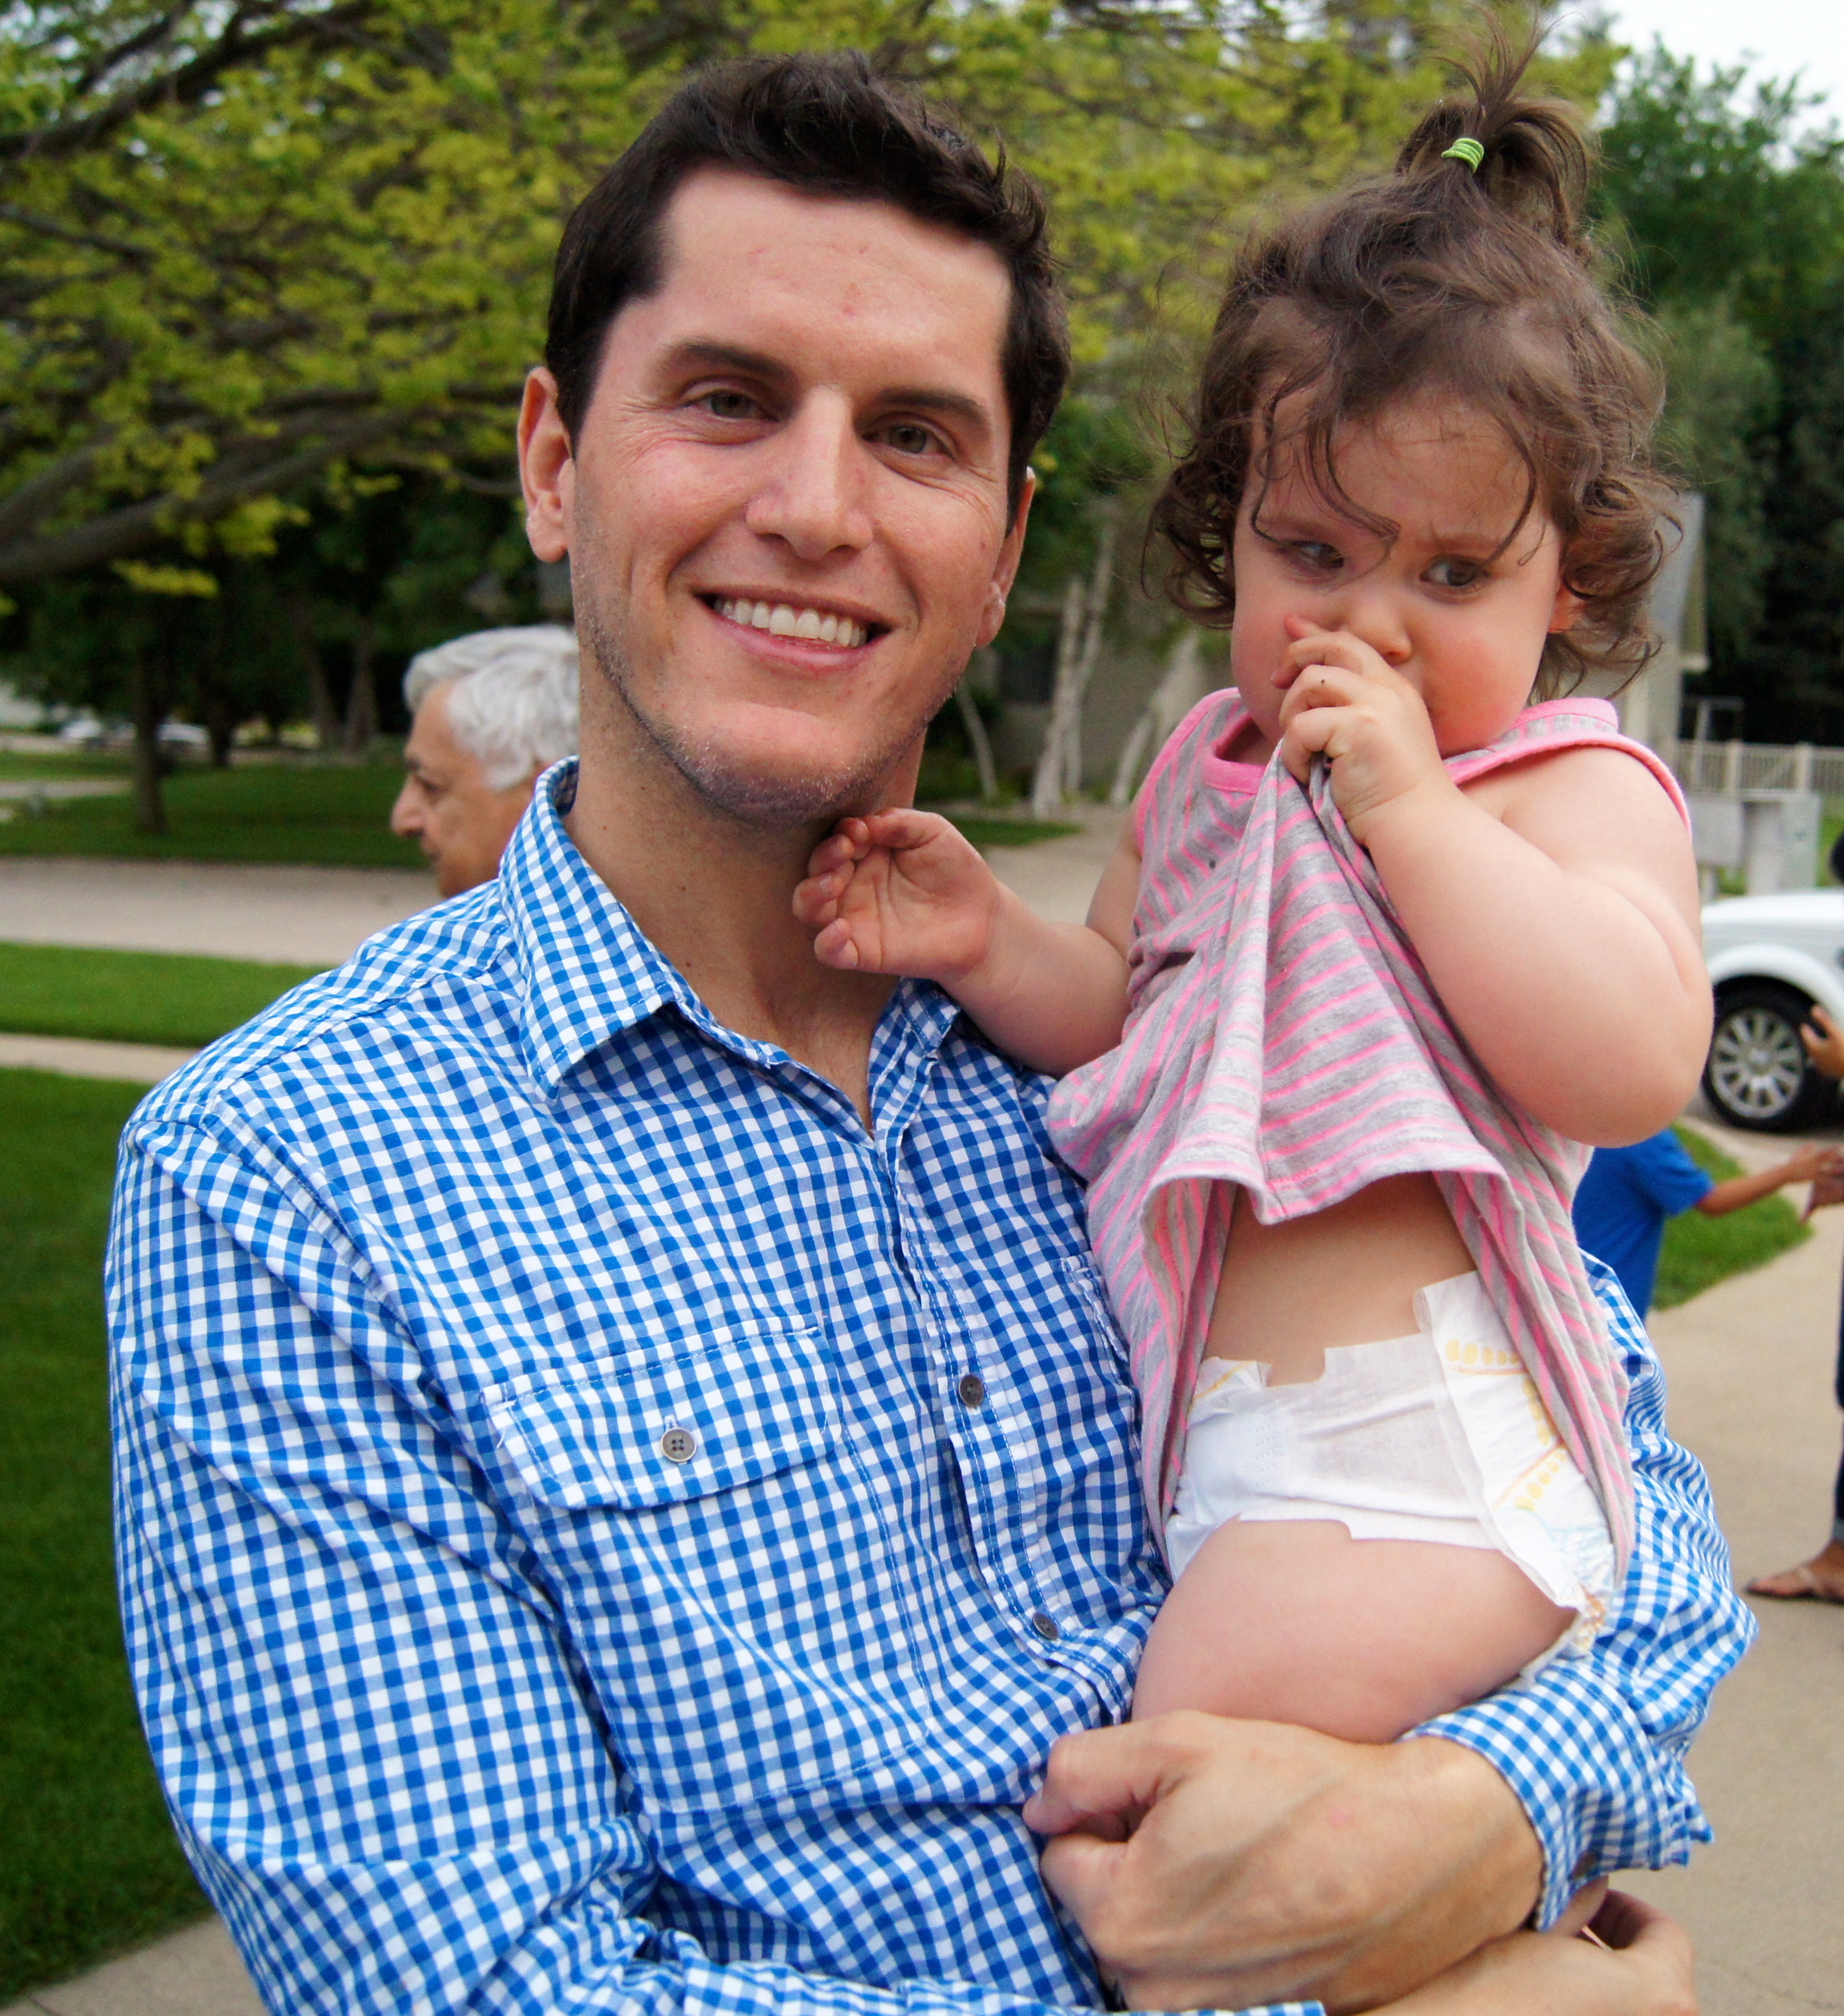
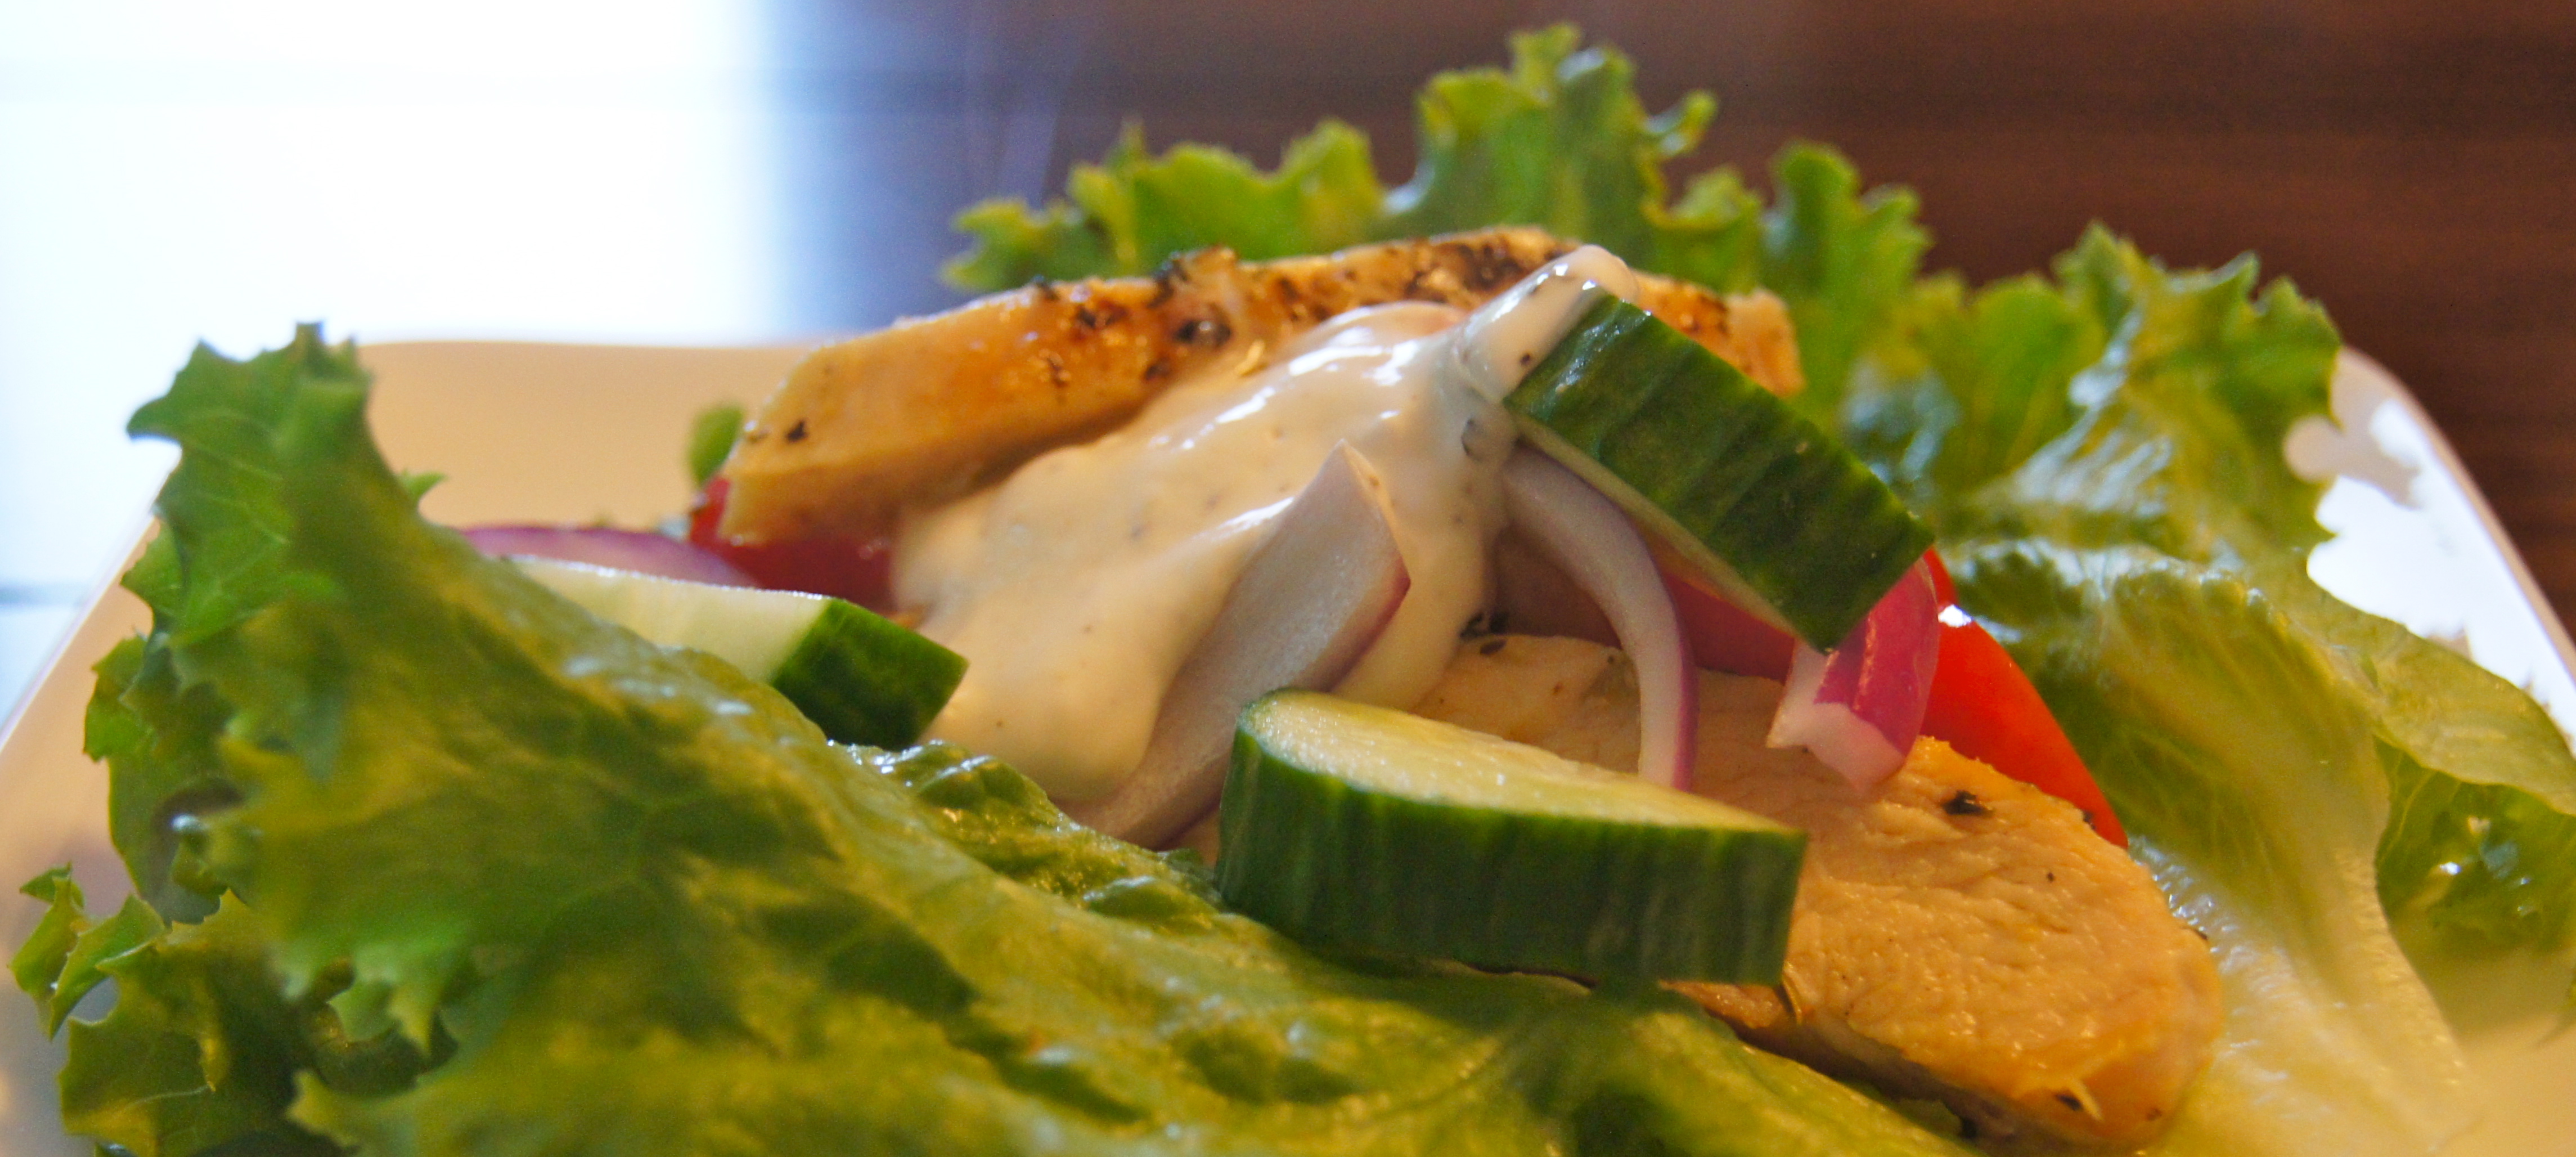
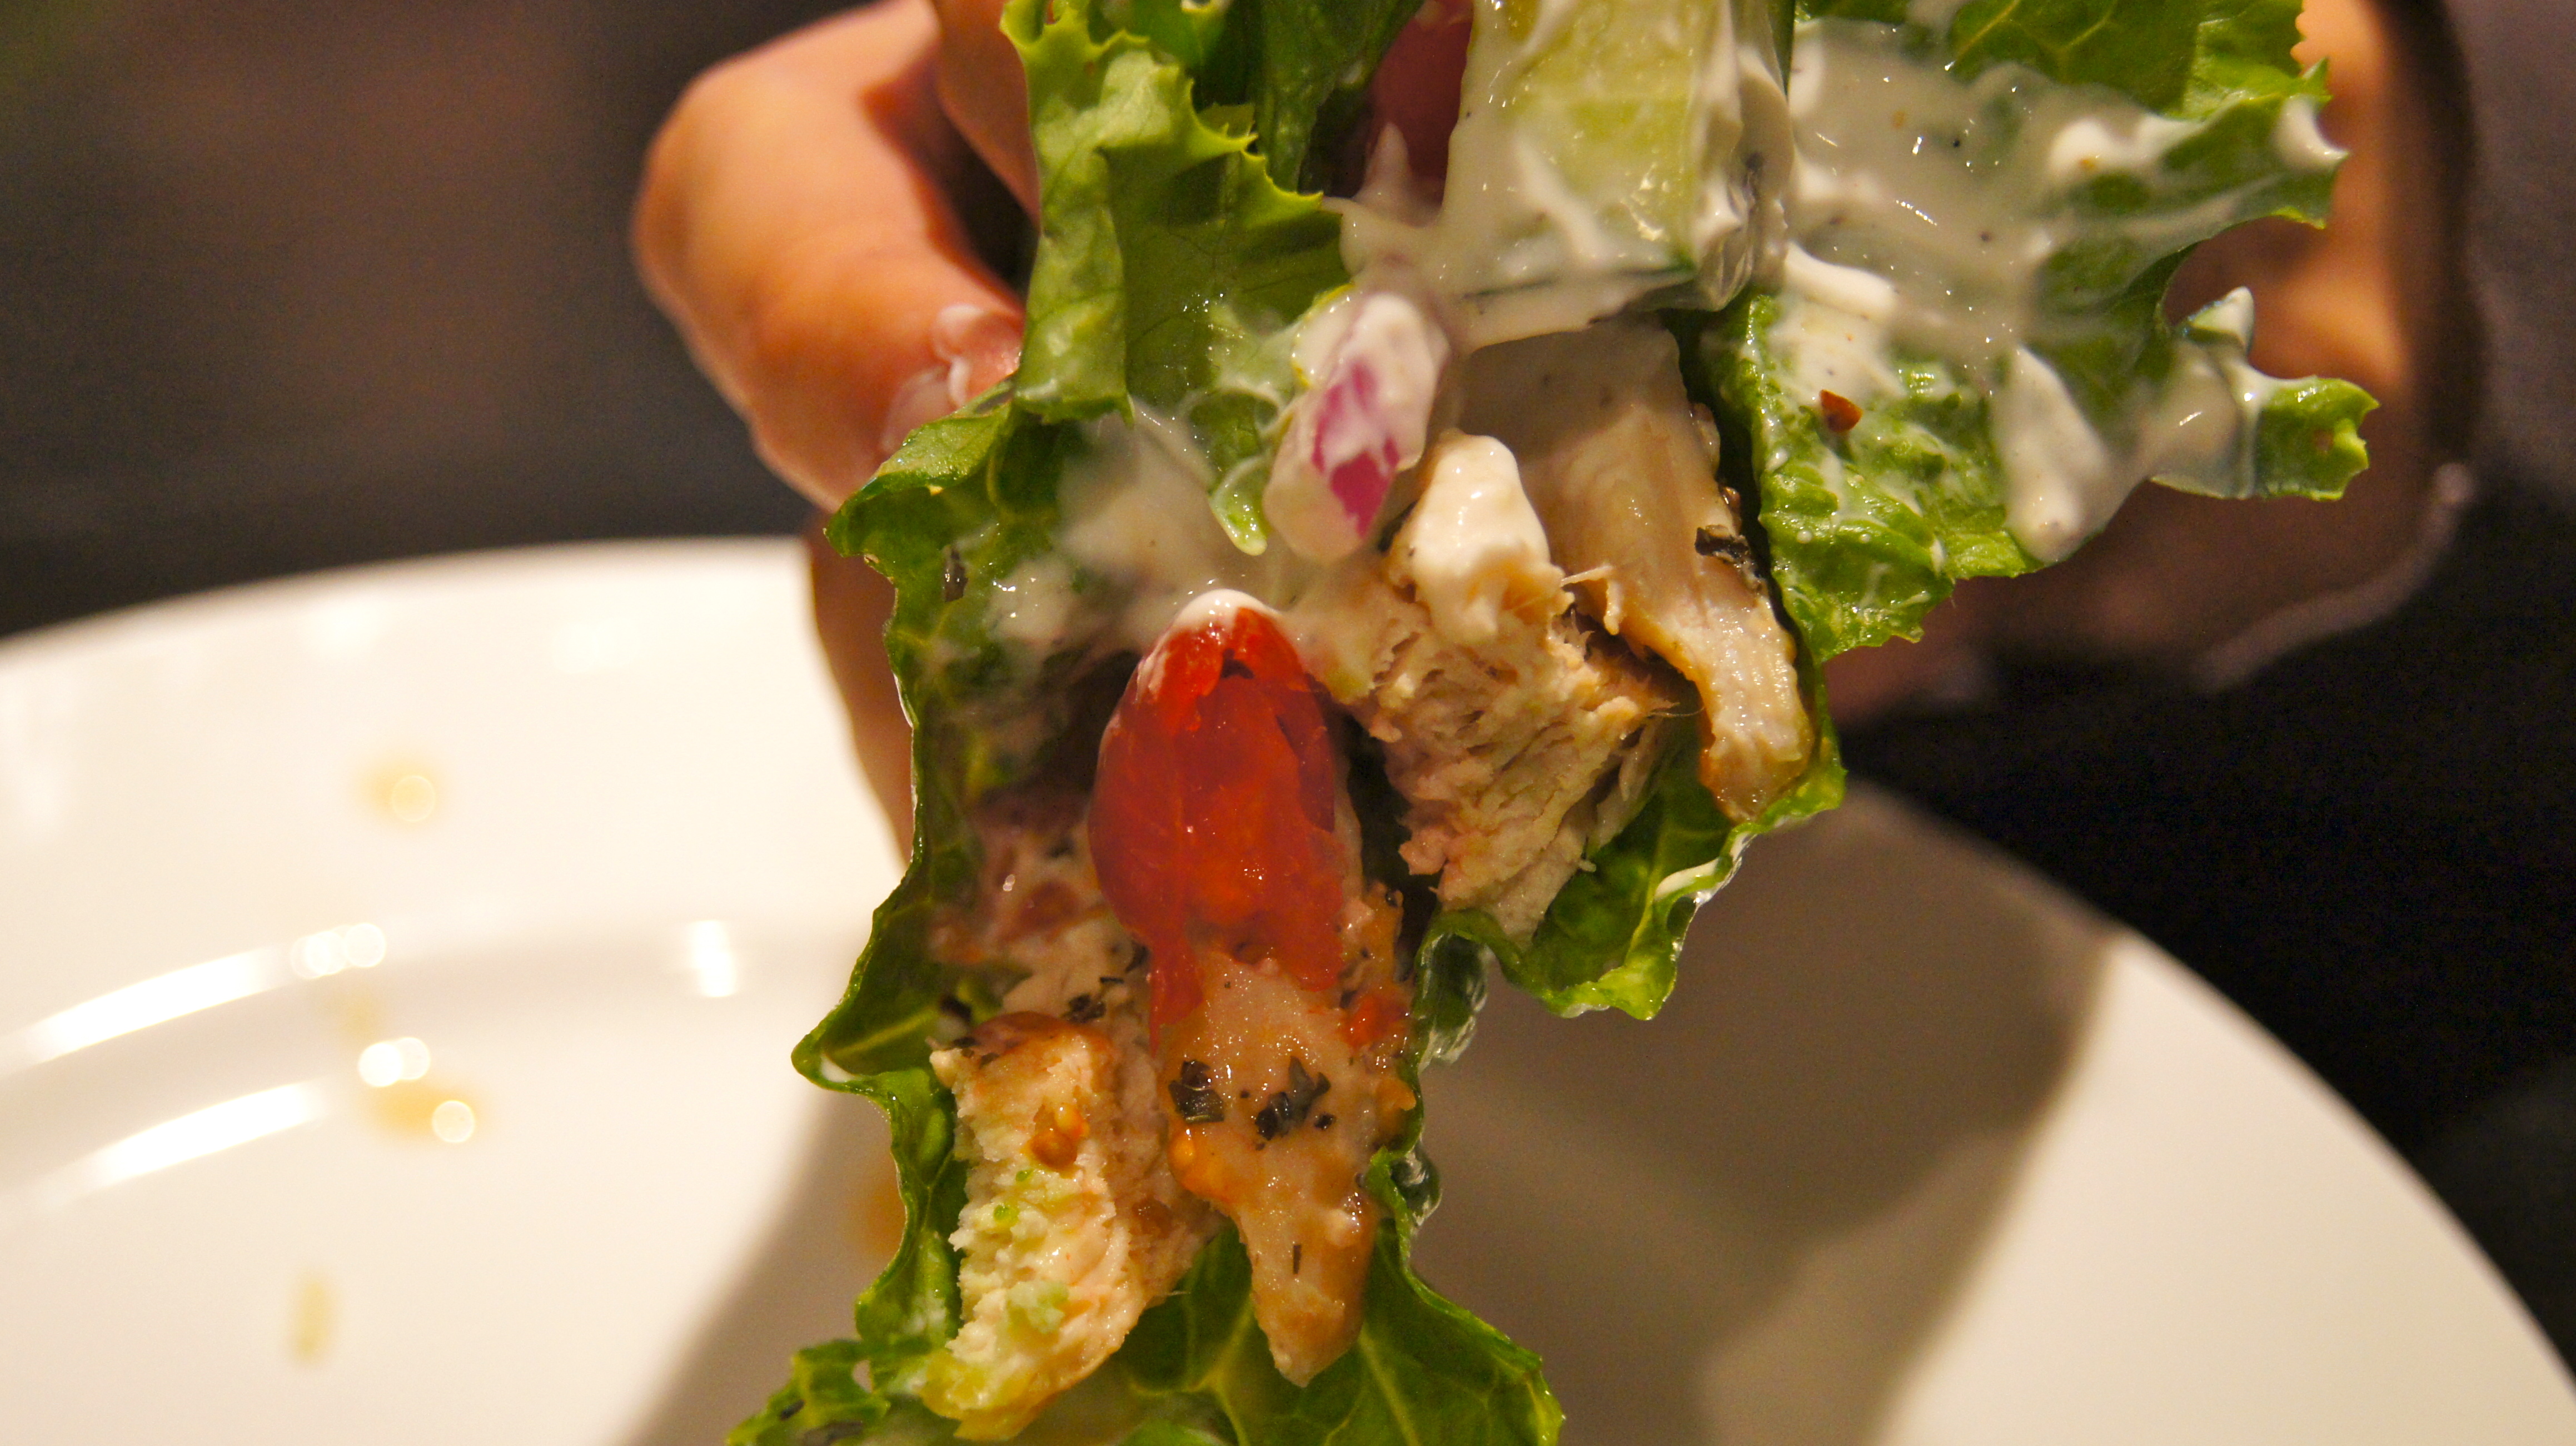
This salad is everyone’s favorite.  It is so healthful, fresh and simple to put together and was a staple with almost every meal I grew up eating.  You will love it.

Salata

Ingredients

1 Head Romaine, chopped or torn

1 Pint Cherry Tomatoes, halved

1 English Cucumber, halved and sliced

1/2 A Sweet Yellow Onion, sliced

1/2 Cup Olive Oil

1/2 Cup Lemon Juice

1 Large Clove Garlic, grated or pressed

1/4 Cup Chopped Fresh Parsley

1/4 Cup Chopped Fresh Mint

1 Teaspoon Salt

1/2 Teaspoon Pepper

1/4 Cup Kalamata Olives, optional

Crumbled Feta Cheese, optional

Directions

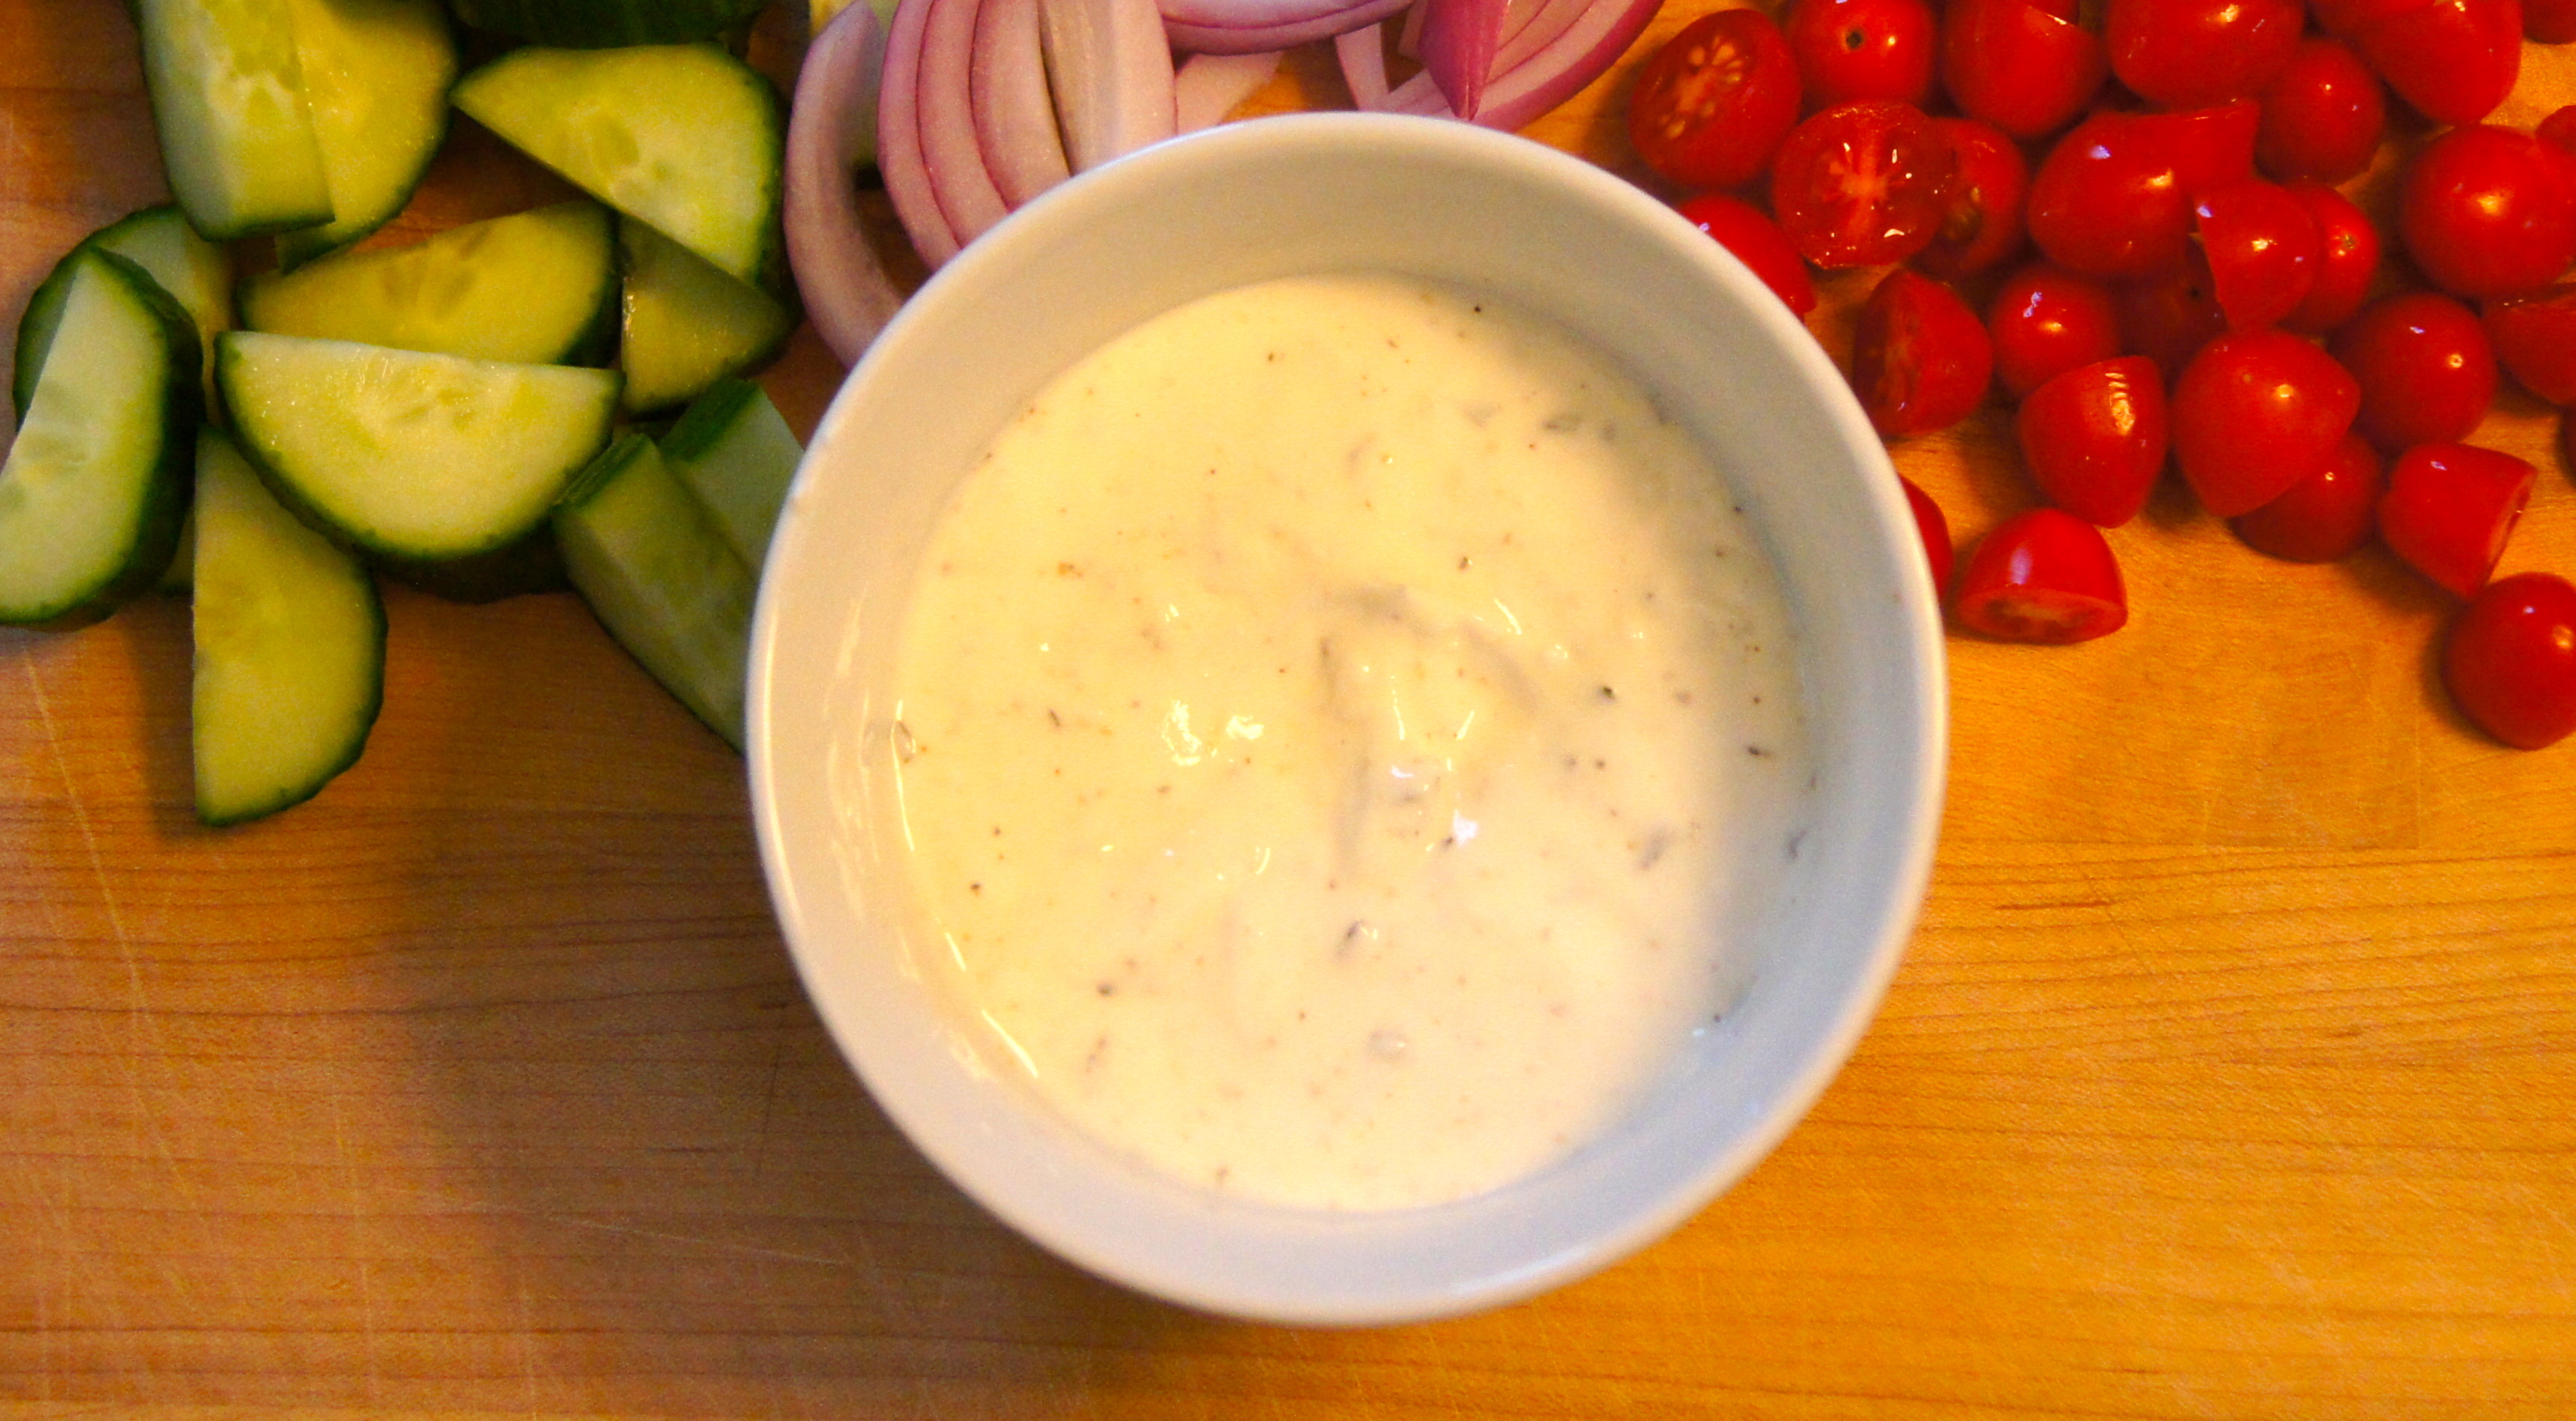
In a small bowl whisk together olive oil, lemon juice, garlic, parsley, mint, salt and pepper.  Place romaine, tomatoes, cucumber, onion, olives and feta, if using, in a large bowl and drizzle half the vinaigrette over the top and toss with your hands.  Add as much vinaigrette as desired, the leftovers will keep in the fridge for up to one week.

Blackened Fish Tacos with Red Cabbage Slaw

Image

Part of me wants to call these tacos “Happyville” because that’s exactly where they take me.  There are so many components to this simple-to-make dish it is unreal;  cool, warm, crunchy, soft, sweet, tangy, spicy and creamy all in one of the tastiest bundles you’ll ever eat.

This meal is also packed full of nourishment.  The fish provides a great dose of protein and healthy omega fats.  The cabbage is full of antioxidants and anti-inflammatory properties…folks are even talking that this beautiful veggie may help prevent cancer.  Awesome tasting and awesome for you…it’s a win win, guys.

Image

Image

Blackened Fish Tacos with Red Cabbage Slaw

Note:  any white fish will work for this recipe but you’ll find that a firmer fish such as halibut, cod or mahi mahi will be easier to grill

Ingredients

1 Pound White Fish

4 Tablespoons Olive Oil, divided

2 Teaspoons Blackened Seasoning

4 Cups Shredded or Thinly Sliced Red Cabbage

3 Green Onions, sliced

1/4 Cup Cilantro Leaves, chopped

2 Tablespoons Mayo

1 Tablespoon Apple Cider Vinegar

2 Teaspoons Lime Juice

2 Teaspoons Honey

1/4 Teaspoon Salt

1/8 Teaspoon Pepper

6-8 Soft Corn Tortillas

1 Avocado, diced

Lime Wedges

Directions

To Make Slaw:  Combine mayo, vinegar, lime juice, honey, salt and pepper in medium sized bowl.  Whisk in 2 tablespoons of olive oil until dressing is completely combined.  Add cabbage, green onion and cilantro to the dressing and toss to coat.  Chill in the fridge for up to 4 hours.

To Grill Fish:  Make sure your grill is oiled well before beginning.  You can do this by brushing the grates with a high heat oil such as canola before heating it.  Heat the grates over medium high heat.  Rub fish with 2 tablespoons olive oil and sprinkle the blackened season over both sides.  Rub the seasoning in with your hands, place the fish on the grill.  Cook, with lid closed, for 3-4 minutes or until a nice crust has formed on the down side of the fish.  Flip over and cook for an additional 3 minutes or until fish is completely cooked through.

To Make Tacos:  Place slaw and then fish on top of warmed corn tortillas.  Top with diced avocado and a squeeze of fresh lime.  Serves 4.

Goat Cheese, Spinach and Tomato Stuffed Pork Chops

Image

I’m not sure what I am more sick of:  people complaining about the weather or the actual weather.  Yes it has rained every day for the last five zillion years, people, I know.  I also know we will probably not have a summer.  And that it wouldn’t be as bad if we were guaranteed some warm weather later in the year but chances are we will still get snow in October.  And it’s June and 50 degrees!  And it’s so dreary and depressing!  But guess what, if I hear one more ounce of negativity about it I might lose my cool  (no, I have not already lost it…I’m simply on the verge of losing it).

It seems you can’t go anywhere or talk to anyone these days without hearing the above comments.  Well guess what, I’m done giving the weather the satisfaction of having it bother me.  Guess what, weather…rain some more!  I’d love it!  Then we can go outside and run around and joyfully splash in the midst of all of your wonderfulness!  Which leads me to a visual thought of me grilling these pork chops yesterday.  I waited until the rain started coming down to throw these on on the grill because I was so excited to go out and celebrate more rain.  I put them on the grill and instead of going inside to wait for them to cook I danced around the back yard frolicking and splashing away…it was so wonderful.  None of this is true.  The rain actually waited until the minute I stepped outside to come down, typical.  And once I put them on the grill I was in pure awe of the cat-like reflexes I am capable of.  Pretty sure I was inside before the lid of the grill was even shut.  My motto these days:  this beats snow any day of the week 🙂

I love making these chops for company because you can put them together ahead of time and let them sit in the fridge until you are ready to grill them…and they only take a few minutes on the grill.  The stuffing is as simple as pie to put together and the final product looks and tastes so gourmet…without the gourmet effort.  I have yet to come across someone who has not raved about these and if porks not your cup of tea the stuffing is great with chicken as well.

Image

One last note:  if you do not feel like frolicking in the rain to grill theses bad boys you can surely bake or pan roast them with great results.

Image

Image

Image

Goat Cheese, Spinach and Tomato Stuffed Pork Chops

Ingredients

2 Boneless Pork Loin Center Cut Chops

2 Teaspoons Olive Oil

1/4 Cup Sun Dried Tomatoes, chopped

1 1/2 Cups Fresh Baby Spinach Leaves

2 Ounces Fresh Goat Cheese

Salt, Pepper

Directions

Heat olive oil in a large skillet over medium heat.  Add the sun dried tomatoes and spinach and cook, stirring occasionally, until spinach is wilted down, about 3-5 minutes.  Remove from heat.  Transfer mixture to a medium bowl, add goat cheese and mix until stuffing is combined.  Place bowl in the freezer to chill while you prepare your pork.

With a sharp knife, slice a large slit through the middle of each chop, slicing horizontally so that it can be opened like a book.  Remove stuffing from freezer and spoon it into the middle of each chop.  Secure each pork chop closed with a couple of toothpicks.  At this point chops can be stored in the refrigerator for up to 24 hours.

Preheat grill to medium high (about 500 degrees).  Sprinkle both sides of the chops liberally with salt and pepper.  Place stuffed chops on the grill and cook for 5-8 minutes with the lid closed or until the bottom half is mostly cooked through.  Flip the pork chops over, close the lid and cook an additional 4-6 minutes or until completely cooked through.

Parmesan Green Beans

Image

New ways of making veggies are always welcomed in my kitchen and this one is a keeper.  It’s SO fast and effortless and the results are absolutely delicious.  I’ve often roasted broccoli and cauliflower using this method so when I saw this recipe for green beans I knew I had to try it; with a few modifications.  Recipes like this make me feel like it’s possible for anyone to get a healthful, balanced meal on the table no matter what kind of day they’ve had…pair this with grilled shrimp or fish and you have yourself a great dinner in less than 20 minutes.

Parmesan Green Beans

adapted from this recipe

Ingredients

1 Pound Fresh Thin Green Beans

3 Tablespoons Olive Oil

1/8 Teaspoon Pepper

1/2 Cup Fresh Grated Parmesan Cheese

Directions

Preheat oven to 400.  Place green beans on a baking sheet, sprinkle with pepper, drizzle with the olive oil and toss to coat well.  Spread the beans out in a single layer and bake for four minutes.  Remove from oven, sprinkle with the parmesan, toss to coat and place back in the oven for an additional 8-10 minutes or until a nice crust has formed on the beans.  Serves 4.

Warm Potato Salad with Mustard Vinaigrette

Image

This dish is so very simple to put together and can be made a couple of hours in advance and kept at room temperature.  It’s the perfect side dish to take to a picnic or bbq because it does not need to be refrigerated and is such a nice change of pace from your typical, expected potato salad.  I have made this in the past for many different bouts of company and had such great reviews from all.  The sweetness of the red potatoes pairs so well with the tanginess of the dressing and it makes a great side dish to almost anything; we especially love it along side grilled steak, pork or burgers.  Simple enough for a weeknight dinner and special enough for company; my kind of dish.

Image

Image

Warm Potato Salad with Mustard Vinaigrette

adapted from this recipe

Ingredients

2 Pounds New Potatoes

1 3/4 Teaspoons Salt

1 Medium Shallot, finely chopped (about 3 Tablespoons)

1 Tablespoon Dijon Mustard

1 Tablespoon Stone Ground Mustard

2 Tablespoons Apple Cider Vinegar

1/2 Teaspoon Pepper

4 Tablespoons Olive Oil

1 1/2 Tablespoons Chopped Fresh Tarragon

Directions

Place potatoes and 1 teaspoon salt in a large pot and cover with water by one inch.  Bring to a boil and let cook for 10 minutes or until potatoes are just fork tender.  Drain in a colander.

While potatoes are slightly cooling in a colander whisk shallot, dijon and stone ground mustards, vinegar, 3/4 teaspoon salt, pepper, olive oil and tarragon in a large bowl until well combined.  Cut the potatoes into fourths and add them to the vinaigrette in the large bowl.  Stir potatoes gently to coat with the vinaigrette.  Serve immediately while salad is still warm or at room temperature.

Eggplant Bake with Tomato Cream Sauce

Image

In the process of putting this together last night I wasn’t quite sure what the end result would be.  What I did know is that I wanted something that reminded me of my moms zucchini casserole but a little more on the healthful side and I wanted it to be indulgent and light all in one.  All I can say is that I will be making this again and again.  It was incredibly simple with just a few ingredients and had our protein, veggies and healthy fat all in one delicious dish.  Although I have never done so, I would suspect this would be a great dish to put together ahead of time and bake just before you are ready to serve it.

I really felt I was taking a risk by not technically making a cream sauce and just mixing cream and parmesan together to pour over the top of the layers but man, it was a risk well worth taking; it made the process so fast and simple, too.

Here are what the layers look like

eggplant on the bottom

Image

Next goes the ground beef, if using, and the marinara sauce

Image

And last, the parmesan cream mixture and mozzarella

Image

Eggplant Bake with Tomato Cream Sauce

Ingredients

3/4 Pound Ground Beef, browned and drained, optional

4 Tablespoons Olive Oil

1 Large Eggplant, sliced 1/2 inch thick

1/3 Cup Heavy Cream

1/3 Cup Freshly Grated Parmesan Cheese

1/2 Teaspoon Salt

1/4 Teaspoon Pepper

1 3/4 Cup Marinara

3 Ounces Fresh Mozzarella Cheese, cut into cubes

Directions

Preheat oven to 450.  Brush both sides of eggplant slices with olive oil and place on a baking sheet in a single layer.  Place in the oven and roast for 25 minutes, flipping halfway through, or until both sides are nicely browned.  Remove from oven and cool slightly.

While eggplant is roasting mix cream and parmesan together in a small bowl; stir well to combine.

Turn the oven down to 375 and grease a 9×13 baking dish.  Place the eggplant in a layer to cover the bottom of the dish…if the eggplant overlaps a bit that is just fine.  Next layer the ground beef, if using and then the marinara.  Last pour the parmesan cream mixture over the top and dot the top with mozzarella cubes.  Place in the oven and bake, uncovered, until bubbling and the top begins to brown, about 30 minutes.  Remove from oven and let sit for 5-10 minutes before serving.

Mediterranean Chicken Lettuce Wraps

Image

I don’t know about you but this past long weekend overflowed with indulgent food around here….flooded, really, and I have not a single complaint.  All good things in moderation, right? It started with date night with my much better half that consisted of oh so good eats…that included but was not limited to:  pork belly, shrimp scampi, spinach salad with bacon and a soft boiled egg (that I will be recreating immediately) and a stop at my favorite ice cream joint for dessert.  This was just one night, my friends.  We also enjoyed some amazing local bbq and met some family and friends for, by far, the best burger in the Twin Cities…I will even throw myself out there and put it up against the best burger known to human kind.  I’m still drooling..and somehow those ridiculous burgers get more and more enjoyable each time we have them.  If you’ve never been, please treat yourself and go…life changing, I swear.

So, needless to say, we were ready for a light, refreshing meal last night.  I give you…Mediterranean Chicken Lettuce Wraps.  In the good old days of newlywed life living downtown we often ate these wraps at our local neighborhood bar; they usually followed a couple of bloody mary’s on a Saturday afternoon.  My gosh that life seems like so many moons ago and as much as I loved every ounce of it I wouldn’t take it back for the world.  What’s different now?  Instead of following a couple of bloody mary’s they now follow a long day of changing dirty diapers, washing crayon marks off the walls and reasoning with a 1.5 year old on why Paddington the Bear is not allowed to take baths in the potty.  I mean, who needs bloody mary’s?

Truly, these wraps are even better than what we got at the bar.  They are so satisfying and the flavor is just top notch.  They make a great, fast weeknight meal and I have even served them as appetizers at cocktail parties.  Once you make these they will become a regular in your kitchen…your’e going to love them.

Image

Be sure to slice the chicken after it has rested while it is still in the pan…this allows you to coat the slices with all of those savory pan juices.

Image

My husband took one bite and I ran to get the camera…I mean look at this!  So many layers of awesome flavor…and you see the juice drippings on his plate?  You should be sold by now.

Image

Mediterranean Chicken Lettuce Wraps 

note:  Greek or Mediterranean Seasoning is available at your local market.  It makes a wonderful shortcut for quick meals and is something I’d highly reccomend keeping on hand.  It’s ingredients:  Mint, Oregano, Onion, Garlic, Sea Salt

Ingredients

2 Tablespoons Olive Oil

2 Boneless Skinless Chicken Breasts

1 1/4 Teaspoons Greek or Mediterranean Seasoning

1 Cup Greek Yogurt, preferably full fat

1 Tablespoon Lemon Juice

1 Small Garlic Clove, minced or pressed

1/4 Teaspoon Dried Mint Flakes or 1 Teaspoon Fresh Chopped Mint Leaves

1/4 Teaspoons Salt

1/4 Teaspoon Pepper

6 Leaf Lettuce Leaves

Sliced Cucumber, for topping

Sliced Tomato, for topping

Sliced Red Onion, for topping

Directions

Preheat oven to 400 and season both sides of the chicken with greek/mediterranean seasoning.  In an oven proof skillet heat olive oil over medium high heat.  Add the chicken and cook, top side down, until you get a nice sear on the top, about 4 minutes.  Flip chicken over, transfer to the oven and roast until cooked through, about 15-20 minutes.  Remove from the oven and let chicken rest in the pan for about ten minutes so the meat can absorb all the pan juices.

While the chicken is cooking combine yogurt, lemon juice, garlic, mint, salt and pepper in a small bowl.  Stir well to combine.  Can be made 2 days ahead and stored in the refrigerator.

Slice the chicken while it is still in the pan and stir the slices around to coat them in all of the pan juices.  Serve chicken on top of lettuce leafs and top with a spoonful of the yogurt sauce, cucumber, tomato and onion, if desired.

Baked Sweet Potato Fries

Image

I love bar food.  Like, seriously love bar food.  Buffalo wings, fries, potato skins, nachos, all of it.  While I don’t indulge in it much, I am always trying to find new ways to get those fixes at home.  Sweet potato fries have become quite popular over the last couple of years and they are one of my favorites.  Quite honestly, put me in a restaurant that owns a deep fryer and give me a choice between a regular fry and a sweet potato fry and I’m team sweet potato all day long.  There is something about the crispy outside and the sweet soft inside…and when they top them with salt right out of the fryer?  Don’t even get me started.

Well, this is my home version.  I will say in all honesty they are not as crispy and indulgent as the deep fried version but folks, they’re wonderful.  And they will give you the exact same satisfaction with much less guilt.  They make a wonderful, easy side dish for so many meals and they are great solo or dipped in just about anything.  If you’d like to treat you tastebuds to one of my very favorite combos pair these bad boys with the spicy mayo dip from this recipe.  Knock-your-socks-off-delic.

It’s almost embarrassing to share this recipe with you because there is nothing to it.  Literally. An oven, a pan, sweet potatoes, olive oil and salt.  So now you have no excuse 🙂

A quick nourishment note about sweet potatoes:  It is nearly impossible to find a more nutrient rich food; full of antioxidants, fiber, folate, potassium, protein, Vitamin C, iron, calcium, the list could go on and on.  One of natures best medicines.

Baked Sweet Potato Fries

Ingredients

2 Medium Sweet Potatoes

3 Tablespoons Olive Oil

Sprinkling of Salt

Directions

Preheat oven to 400 with the racks in the middle.  Line two baking sheets with foil and grease or spray with nonstick cooking spray.  Slice sweet potatoes into 1/4 inch strips, heres an example

Image

Place potatoes in a plastic storage bag, add olive oil to the bag, seal and toss the potato strips around until they are well coated with the oil (if they are not completely coated in oil add a little more).  Arrange the potatoes amongst the two prepared baking sheets and be careful not to overcrowd them as they will steam instead of crisping up.  Heres what one of my pans looked like

Image

Place baking sheets in the oven and cook for 15 minutes or until bottoms begin to brown.  Remove from oven, flip the fries over one by one and place back in the oven for an additional 10 minutes or until desired crispness.  Remove from oven, sprinkle with salt and toss to coat. Serves four.

Vanilla Spice Cookies

Image

I know, I know, this is not a “mom blog”.  But this little cookie date was too much wonderfulness not to share with all of you.  Below meet Hadley, my beyond dear friends adorable little lady.  We had a plan to head to the park but the weather was pure gloom so we made a cookie date out of it instead.   I think all were happy about the decision…including the mothers who have ingested 98.7% of the results.  I was going for a take on an animal cracker but calling these a cracker would be selling them far too short.  They are so simple tasting but so addictive; the hint of vanilla and spice are perfect and that tiny bit of salt hits you right at the end.  The plan was to make these into number shapes but we were working with two toddlers.  Who both liked stars.  Clearly the stars won, but any shape cookie cutters would do.  Such a fun treat.

The method is as simple as it gets.  Measuring the ingredients is the most difficult part

Image

And cutting out the shapes is the perfect job for the kiddos.  Look at that teamwork

Image

Tasting their blood, sweat and tears

Image

Taste test approved.  They were so good high fives were given

Image

Vanilla Spice Cookies

adapted from this recipe

note:  I chose to use gluten free flour in this recipe  but any all purpose flour would do.  Also, butter can be substituted for the coconut oil, so you would be using 1/4 cup total butter.  If you are using coconut oil you can zap it in the microwave for a couple seconds to melt it.

Ingredients

1 1/2 Cups Gluten Free Flour (xanthan gum included)

1/2 Cup Oats

1 Teaspoon Baking Powder

1/2 Teaspoon Salt

1/2 Teaspoon Ground Nutmeg

1/4 Teaspoon Ground Cinnamon

1/2 Cup Sugar

1/4 Cup Melted Coconut Oil

4 Tablespoons Chilled Butter, cut into cubes

1 Teaspoon Vanilla

1 Large Egg

Directions

Preheat oven to 350.  Add flour, oats, baking powder, salt, nutmeg, cinnamon and sugar to the food processor and pulse a couple of times to combine.  Add butter and pulse until it is broken up into little pieces, about 10 pulses.  Add coconut oil, butter, vanilla and egg and pulse until a dough ball has formed.  Remove dough from processor, pat into a firm ball, wrap in plastic wrap and refrigerate for 20-30 minutes.  Remove from wrap, place on a floured surface and roll out until dough is about 1/4 inch thick.  Cut out shapes, place on a greased cookie sheet and bake 12-15 minutes or until bottoms are just golden.  Makes 45-55 cookies.

Hadley thanking Georgia for the fun morning.  And baby Will wondering how he got screwed out of the cookie deal

Image

Two words.  Heart Melting.  xo

Ricotta and Parmesan Meatballs with Red Sauce

Image

I write this with a mouthful of leftovers and, most likely, a fair amount of red sauce smeared all over my face.  It’s just that good.  My husband requested “pasta Sunday” this weekend and this was the outcome.  So fast and perfect for the entire family and I love the fact that there are no breadcrumbs in the meatballs.  Simple, real and so incredibly tasty.

Ricotta and Parmesan Meatballs with Red Sauce

Adapted from this recipe

Ingredients

For the Meatballs:

1 Pound Ground Beef, preferably 85/15

15 Ounces Whole Milk Ricotta

1 Egg, lightly beaten

3/4 Cup Freshly Grated Parmesan Cheese

1/4 Cup Chopped Fresh Parsley

1/2 Teaspoon Salt

1/4 Teaspoon Pepper

1/8 Teaspoon Ground Nutmeg

For the Sauce:

1 Tablespoon Olive Oil

6 Cloves Garlic, chopped

3/4 Cup Red Wine

1 28 Ounce Can Crushed Tomatoes

1 28 Ounce Can Tomato Sauce

1 1/2 Teaspoons Onion Powder

2 Teaspoons Salt

1 Teaspoon Pepper

2 Tablespoons Chopped Fresh Basil

1 Tablespoon Agave or Honey, optional

Directions

For the Meatballs:

Preheat oven to 400, line a baking sheet with foil and grease the foil to prevent meatballs from sticking; non stick cooking spray would work fine also.  Combine all ingredients in a large bowl and mix gently with your hands until just combined.  Use an ice cream scoop to measure out portions of the mixture and then roll into balls.  Place meatballs on prepared baking sheet about 1 inch apart and cook for 15-20 minutes or until just cooked through.  Makes 24-26 meatballs.

For the Sauce:

Heat olive oil in a large saucepan over medium high heat.  Add garlic and cook, stirring constantly, for one minute.  Add wine and bring to a boil and let boil for 2 minutes or until most of the alcohol smell has cooked out.  Add tomatoes, tomato sauce, onion powder, salt and pepper and simmer, over low heat, for 15 minutes.  Add basil and if the sauce tastes too acidic add agave or honey.  Place meatballs in the pot of sauce and simmer for five minutes, stirring occasionally.  Serve with your favorite pasta or polenta, if desired.