This pasta is out of control. I kid you not, the three of us ate nearly the entire bowl…and we had grilled chicken breasts on the side. My husband and I kept looking at each other every time my toddler would say “more noodles”…like is she serious? there’s no way.. and each little bit more we gave her she nearly inhaled. Counting that as a win on my end.
It’s cheesy and creamy and sweet and salty without being super heavy. I’m really not sure what I like most about it: the fact that it tastes so indulgent but in essence is so healthful or the fact that there are such few ingredients and such little work time. You’ll have this on the table in 20 minutes no problem…perfect weeknight meal that your entire family will love. And you might want to make a double batch 😉
Goat Cheese, Tomato, and Spinach Pasta
Adapted from this recipe
Note: A fresh log of goat cheese is a must for this recipe, the “crumbles” will simply not cut it as they contain far less moisture.
Ingredients
12 Ounces Brown Rice or Quinoa Pasta
1/4 Cup Olive Oil
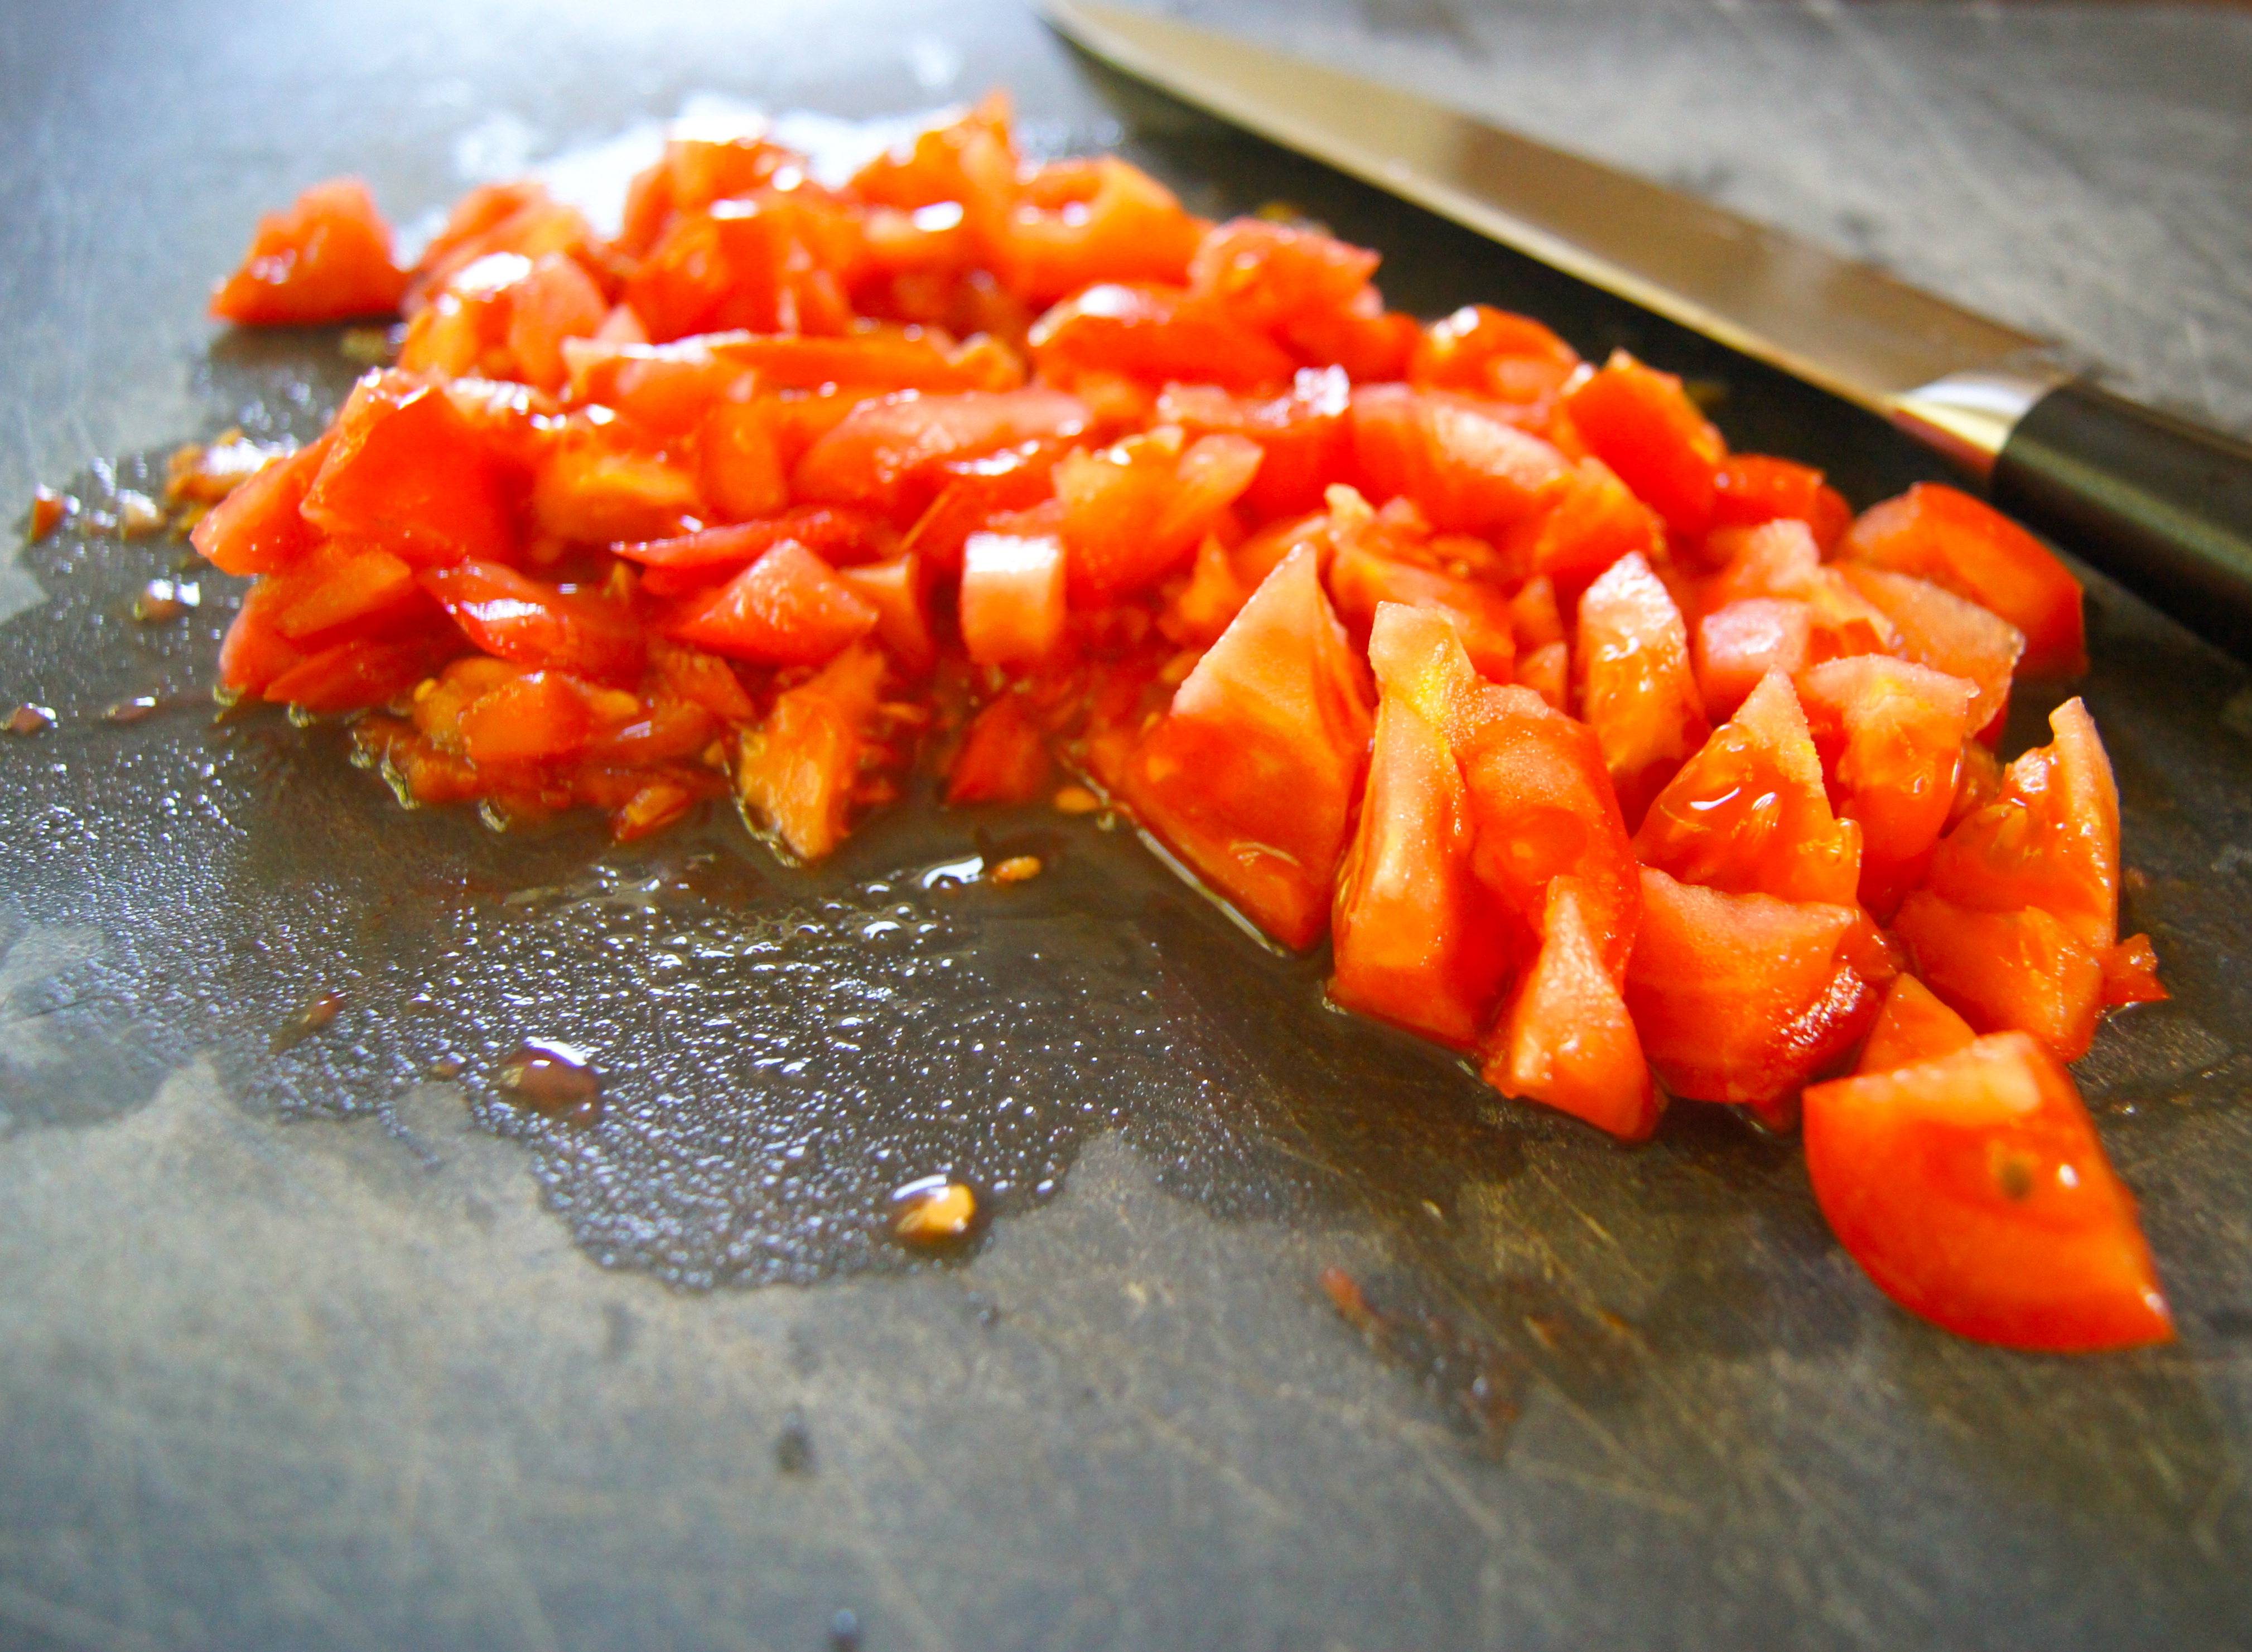
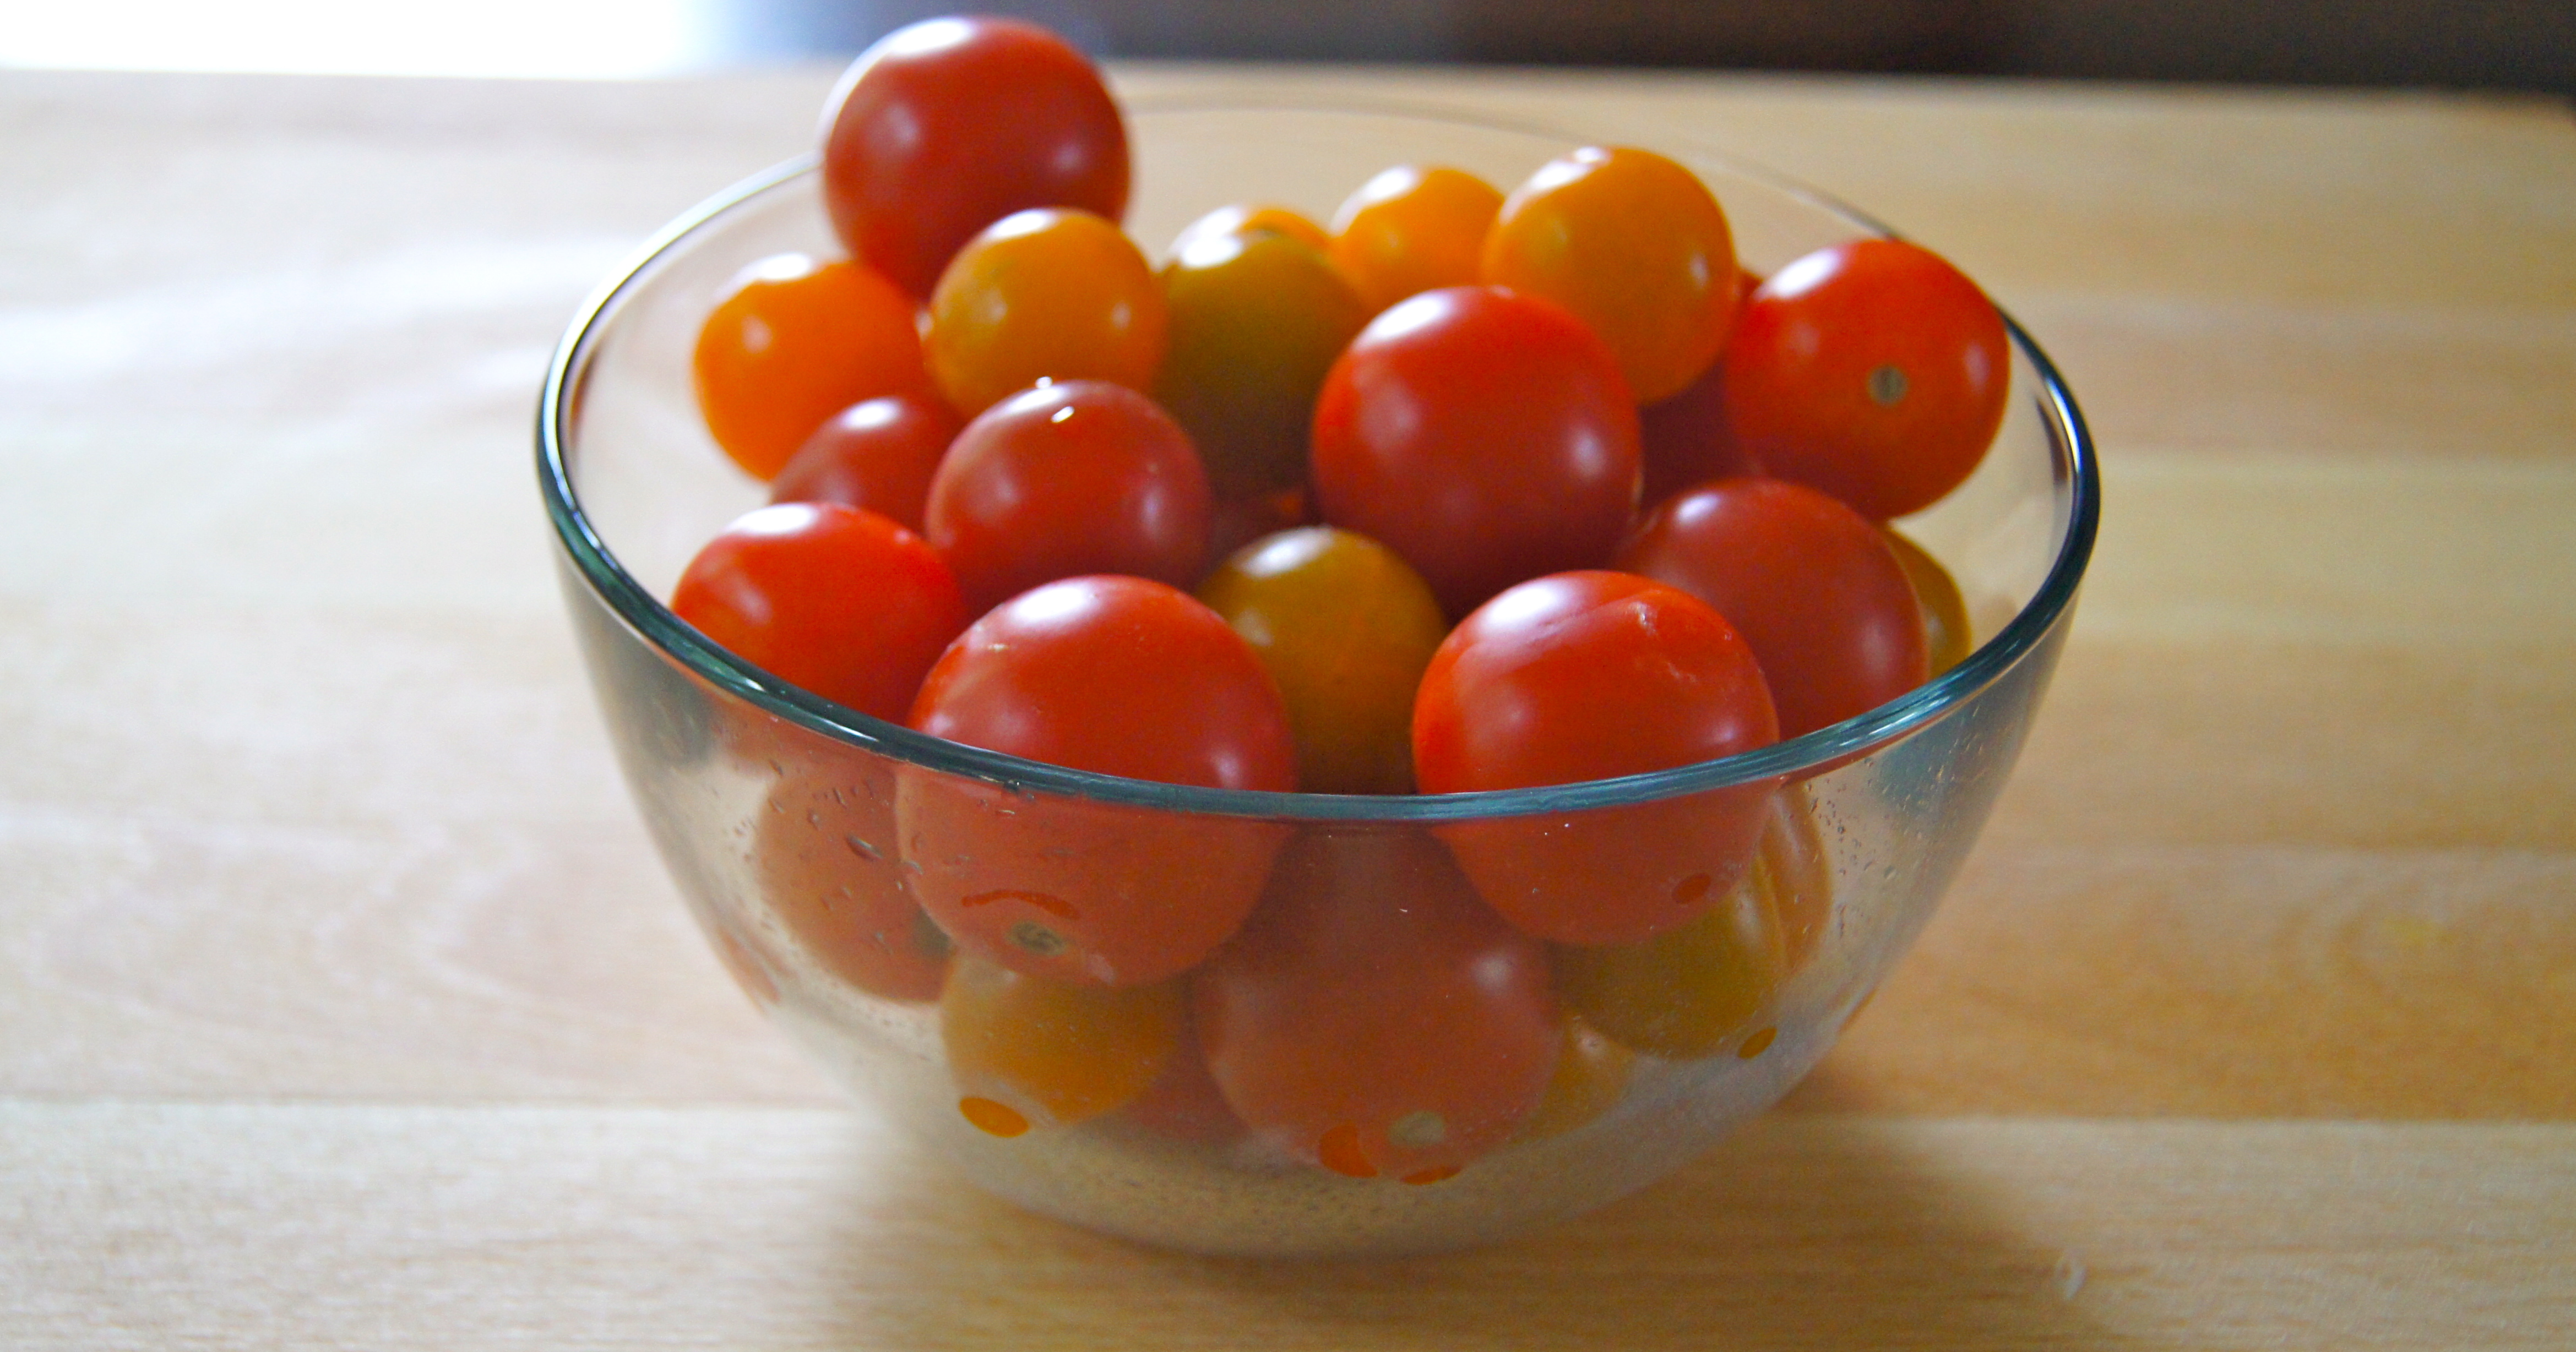
2 Cups Cherry Tomatoes, halved
4 Garlic Cloves, finely chopped
1/2 Teaspoon Salt
1/4 Teaspoon Pepper
5 Cups Packed Baby Spinach Leaves
1/3 Cup Freshly Grated Parmesan
4 Ounces Goat Cheese
Fresh Chopped Basil
Crushed Red Pepper Flakes
Directions
Cook pasta according to package directions. Once pasta is cooked dip a measuring cup into the pot to reserve 1 cup of the cooking liquid/water. Drain pasta and set aside.
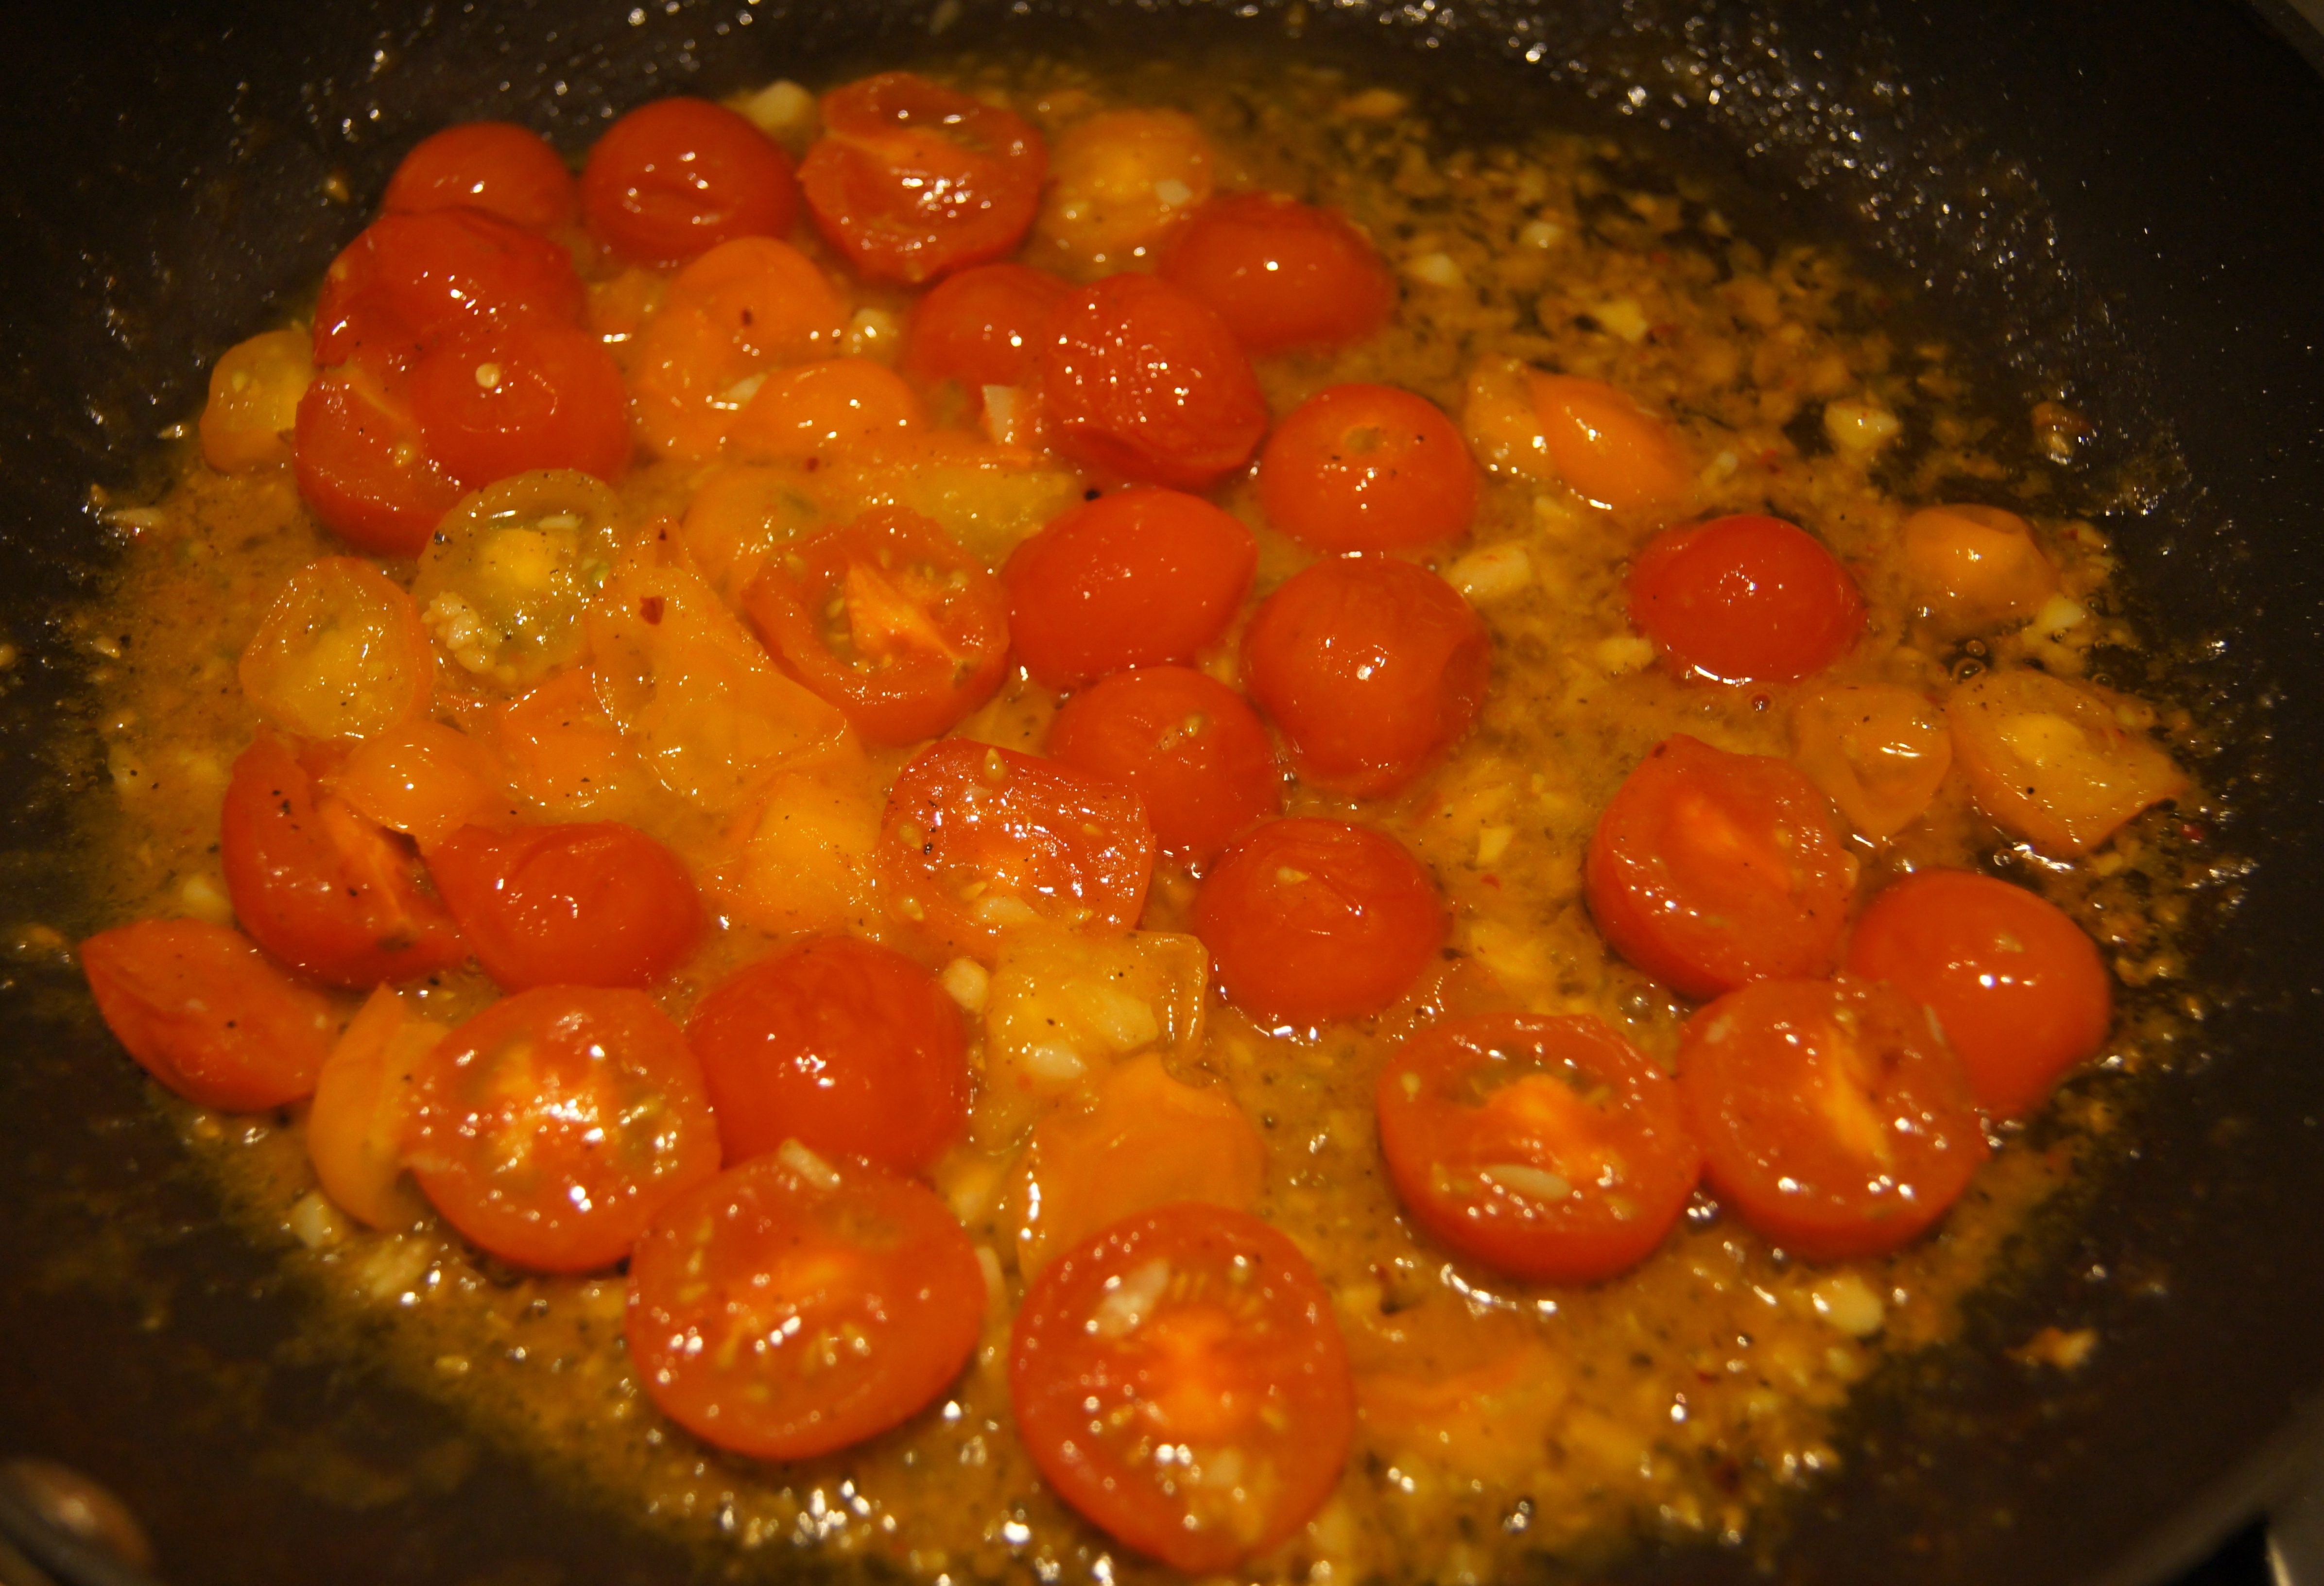
While pasta is near the end of cooking heat olive oil in a large skillet over medium high heat. Add tomatoes and garlic and sauté for 3-4 minutes or until tomatoes begin to burst and release their juices. Stir in salt and pepper.
Add pasta back to the pot you cooked it in. Add spinach, pour in the tomato sauce and stir to combine. Stir in parmesan, goat cheese and the cooking liquid/water. Continue to stir until the goat cheese has melted and a gooey sauce has coated the pasta. Serve topped with fresh basil and crushed red pepper flakes, if desired.