 This is just one of those crunchy, salty, savory treats that I crave; and listen, we all have to treat ourselves now and again, right? As easy as it can be to purchase a bag at the store there are a few reason I try to avoid doing so: 1) there is so much gluten and so many preservatives in the store bought variation it is INSANE 2) nothing tastes quite as good as a homemade version of this party snack…especially warm out of the oven 3) when I make it at home I have complete control over what goes into it 4) it’s a really fun way to get the kids in the kitchen…measuring, pouring, stirring; all just perfect for those sweet little hands This is about the most simple recipe there is out there. I love to make a batch and store it in the freezer in plastic freezer bags (thanks, Mom 😉 )…it’s so simple to pull out and serve when unexpected company stops over. And let me just tell you….pair this with a Saturday football game and a cozy couch with blankies; holy cow now thats my idea of a party!
  Gluten Free Party Mix
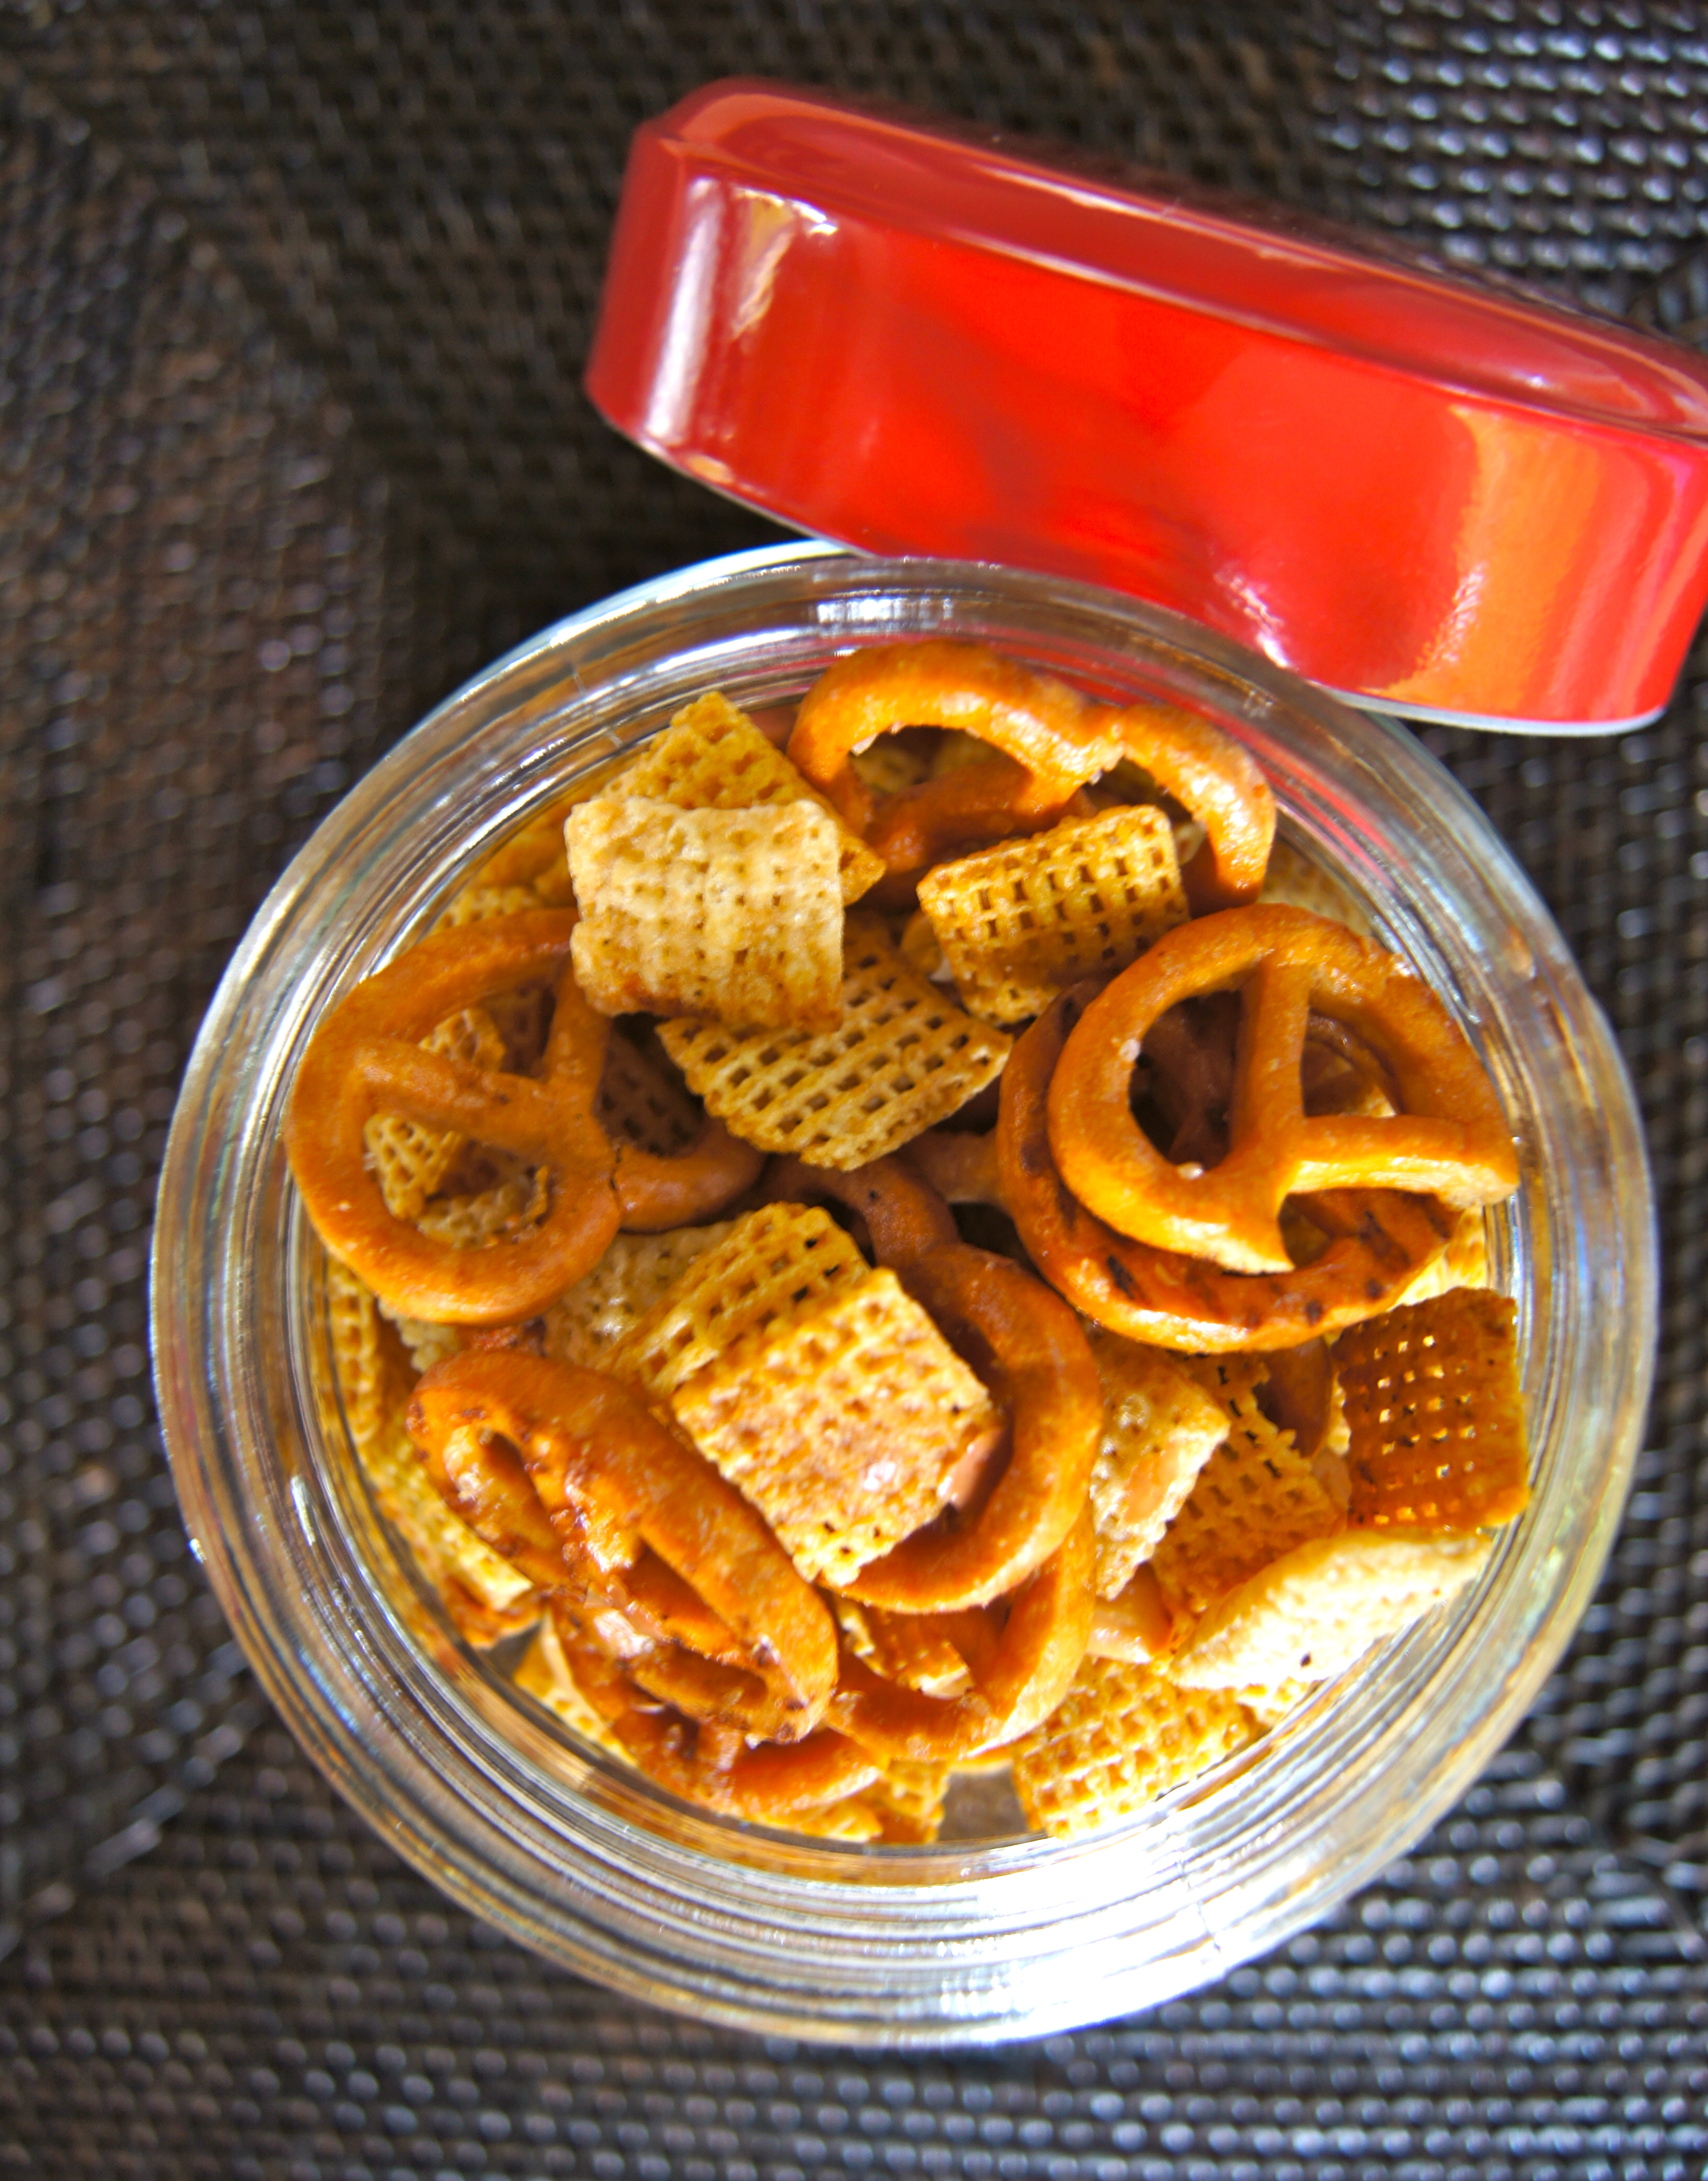
Ingredients
1 Box (9 cups) Corn Chex Cereal
5 Cups Rice Chex Cereal
4 Cups Unsalted Peanuts
3 Cups Gluten Free Pretzels (available in the health/GF aisle of every market I’ve been to)
8 Tablespoons Unsalted Butter
5 Tablespoons Low-Sodium Tamari (available in Asian section)
3 Teaspoons Seasoning Salt
1 3/4 Teaspoons Garlic Powder
1 1/2 Teaspoons Onion Powder
Directions
Preheat oven to 250 and place both cereals, peanuts and pretzels in a large roasting pan. Melt butter on the stove or in the microwave and then stir in Tamari, seasoning salt, garlic powder and onion powder. Drizzle the mixture over the dry ingredients and gently stir until the dry ingredients are well coated. Bake, uncovered, for one hour, stirring every fifteen minutes. Store in airtight container.